I N S T A L L A T I O N I N S T R U C T I O N S
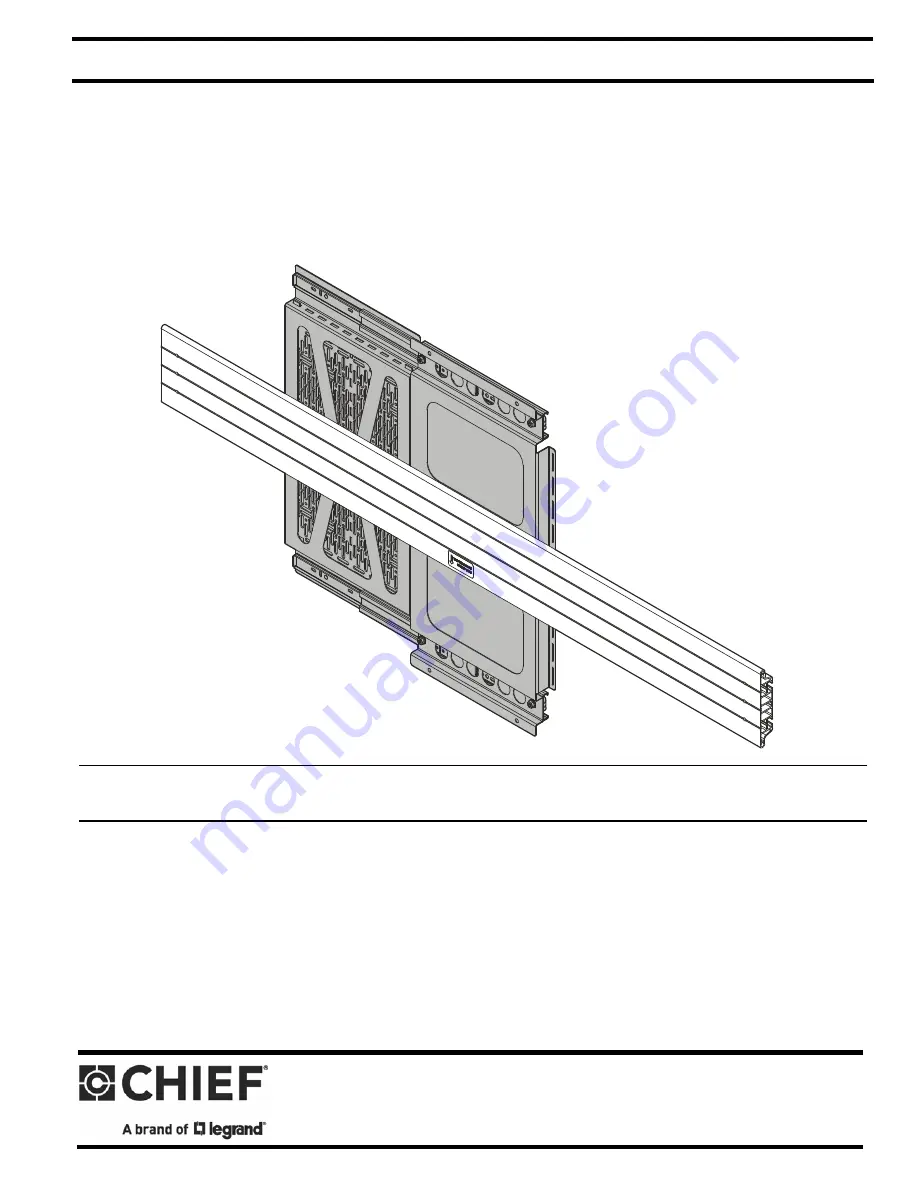
Sliding Storage Panel
Spanish Product Description
German Product Description
Portuguese Product Description
Italian Product Description
Dutch Product Description
French Product Description
CSSMP15X10
Страница 1: ... I N S T R U C T I O N S Sliding Storage Panel Spanish Product Description German Product Description Portuguese Product Description Italian Product Description Dutch Product Description French Product Description CSSMP15X10 ...
Страница 2: ...gned to be attached or resting on an accessory or mounting system such as a video camera CPU screen display projector etc WARNING A WARNING alerts you to the possibility of serious injury or death if you do not follow the instructions CAUTION A CAUTION alerts you to the possibility of damage or destruction of equipment if you do not follow the corresponding instructions IMPORTANT SAFETY INSTRUCTIO...
Страница 3: ...Installation Instructions CSSMP15X10 3 DIMENSIONS DIMENSIONS INCHES MILLIMETERS ...
Страница 4: ... Chave de bocas Chiave a punte aperte Steeksleutel Clé à fourche By Hand A mano Von Hand Com a mão A mano Met de hand À la main Hex Head Wrench Llave de cabeza hexagonal Sechskantschlüssel Chave de cabeça sextavada Chiave esagonale Zeskantsleutel Clé à tête hexagonale Pencil Mark Marcar con lápiz Stiftmarkierung Marcar com lápis Segno a matita Potloodmerkteken Marquage au crayon Drill Hole Perfora...
Страница 5: ...tions CSSMP15X10 5 TOOLS REQUIRED FOR INSTALLATION PARTS 2 1 2 1 4 Installation Hardware Kit A 4 10 12 x 1 G 1 CSSMP15X10 Storage Panel drywall anchor B 4 10 x 1 C 2 Slot nut D 4 5 16 18 x 3 8 E 20 625x 140x 031 F 2 Rivet ...
Страница 6: ...etermine location for the CMSSP15X10 2 Using the CMSSP15X10 G as a template mark the locations of four mounting holes See Figure 2 Figure 2 3 Drill four 1 4 pilot holes and insert drywall anchors A at markings See Figure 2 CAUTION The storage panel must be mounted with the clip at the bottom See Figure 1 4 Fasten storage panel G to wall using four 10 x 1 Phillips pan wood screws B See Figure 2 Ins...
Страница 7: ...bottom of the storage panel See Figure 6 2 Place component s on mounting plate and position in the desired location with the hole pattern in mounting plate best aligned to component mounting holes See Figure 6 Figure 6 3 Using the fasteners provided with the component and the washers E attach the component to the mounting plate See Figure 6 4 Return mounting plate to storage panel by installing th...
Страница 8: ...952 225 6000 F 877 894 6918 952 894 6918 Europe A Franklinstraat 14 6003 DK Weert Netherlands P 31 0 495 580 852 F 31 0 495 580 845 Asia Pacific A Office No 918 on 9 F Shatin Galleria 18 24 Shan Mei Street Fotan Shatin Hong Kong P 852 2145 4099 F 852 2145 4477 8800 003122 Rev02 2019 Legrand AV www legrandav com 07 19 ...