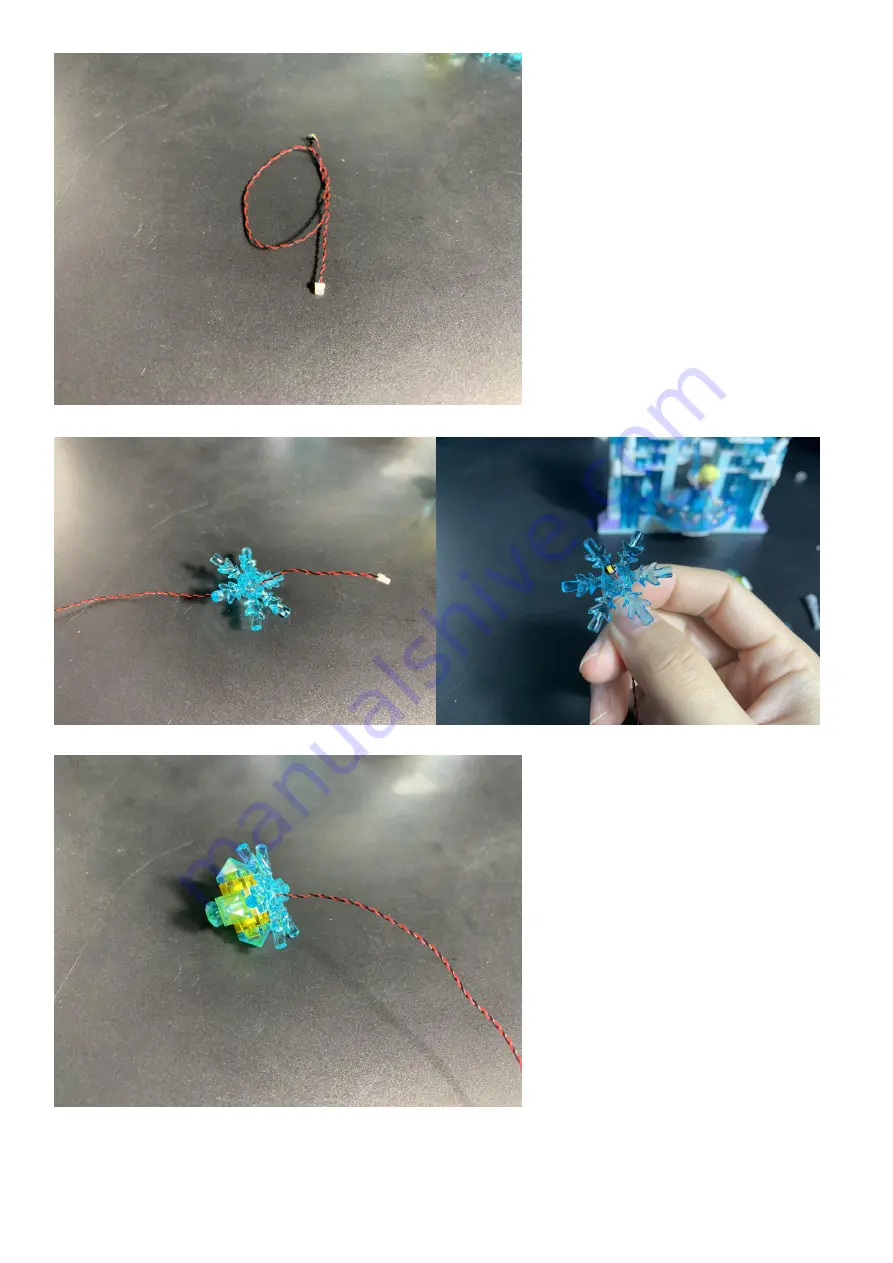
Thread the connector through the snowflake piece, pull till the light is facing up
Connect this section as per below
Take another 15cm blue dot light, thread its connector through the following trans blue piece
Страница 1: ...an be place between the building blocks or under the block but they should be placed between the studs correctly Insert the connectors to the ports Be careful when you are operating there s only one correct way to insert make sure the expansion board is upward find the soldered sign on the left of the port When you are inserting the side which the wires can be seen should be faced to the sign and ...
Страница 2: ...e studs or between studs Connecting cable connectors to Strip Lights Take extra care when inserting connectors to ports on the Strip Lights Connectors can be inserted only one way With the Strip Light facing up ensure the side of the connector with the wires exposed is facing down If a plug won t fit easily into a port connector don t force it Doing so will damage the plug and the connector ...
Страница 3: ...Finally please pay attention to the positive and negative terminals of the battery when installing the battery case OK Let s Begin ...
Страница 4: ... kit Divide the building into 2 parts Start from the first part Remove the snowflake piece from the top take a 15cm blue dot light Thread the connector of the light through the blue piece pull the cable out till the light is facing up ...
Страница 5: ...Reconnect the snowflake piece place the cable behind Remove and disassemble the lamp as per below Take a 15cm white dot light ...
Страница 6: ...ead the connector through the snowflake piece pull till the light is facing up Connect this section as per below Take another 15cm blue dot light thread its connector through the following trans blue piece ...
Страница 7: ...connect the lamp wind the 2 cables together Reconnect the lamp place the cables behind Take a 6 port expansion board take the battery pack inserted with batteries connect the cables of the lights we installed to the expansion board turn the power on to test the current ...
Страница 8: ...Take a 15cm blue dot light remove the following pieces ...
Страница 9: ...Connect the dot light as per below hide the cable underneath the baseplate behind ...
Страница 10: ...Turn the building to its back Place the cable as per below to hide it ...
Страница 11: ...Similarly connect another 15cm blue dot light to the same position at the other side Remove the following piece to hide the cable of the light from the top underneath twist the cables into a larger one ...
Страница 12: ...Connect the cables to the 6 port expansion board Remove the following pieces place the expansion board at the space per below ...
Страница 13: ...t parts in the figure below are for demonstration purposes only connect the cable from the left to the expansion board secure the cable in place by connecting the trans piece over Take a 15cm connecting cable connect it to the remaining port secure it in place as we did in the previous step ...
Страница 14: ...Take another 6 port expansion board stick 2 adhesive tapes to its back Turn the power on to check if all lights are working OK ...
Страница 15: ...Take a 15cm white dot light a 2x2 round plate Turn the first part of the building over secure the light in the following place by connecting the round plate over ...
Страница 16: ...her as per below Stick the strip light to the bottom of the baseplate place the 15cm cable as per below group the cables together Now we finished installation for the first part continue to install lights for the second part start from the lights in front of the door ...
Страница 17: ... blue 30cm dot lights 2 trans 1x1 plates 2 trans 1x3 plates Disconnect the following pieces Connect the trans pieces as per below The transparent parts in the figure below are for demonstration purposes only ...
Страница 18: ...Install the 2 blue 30cm dot lights to the following places Reconnect the pieces we removed before twist the 2 cables together ...
Страница 19: ... second part to thread the cables through the space underneath to the back Pulled into the room from the left stair gap Disconnect the following piece and disassemble it as per below Take a 15cm blue dot light ...
Страница 20: ...ct it to the piece as per below Reconnect the piece back make sure the cable is facing inside of the room Reconnect the 2 parts pull the two 15cm connecting cables from the first part down to the room below ...
Страница 21: ...ion board tuck excess cables around the expansion board connect the expansion board to the battery pack place it at the following place Place the battery pack at the following position This completes installation of this LED Lighting Kit Turn the power on and ENJOY ...
Страница 22: ......