5
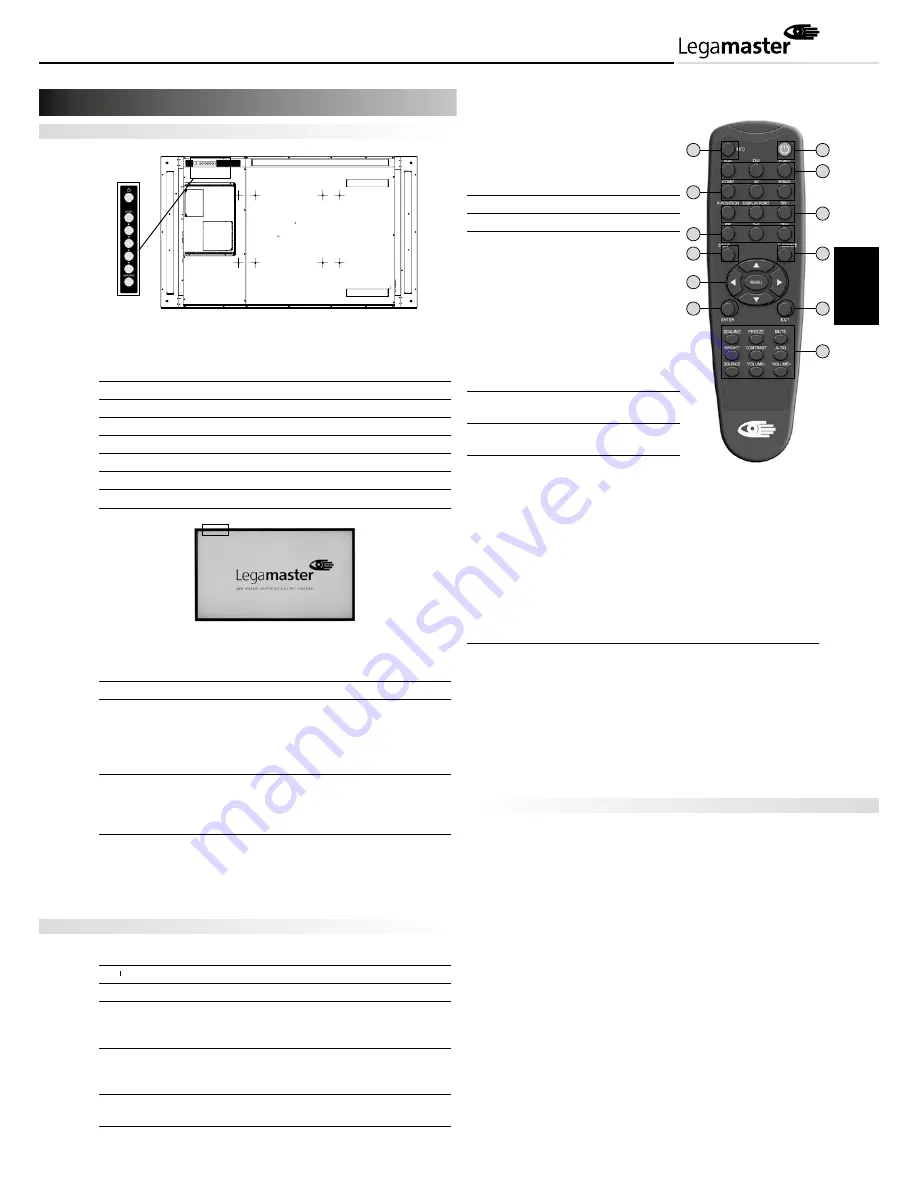
The side controller of the monitor
OSD Key Pad function List
Key Description
Power
Power on/Power off
Source
Source selection (toggle)
Menu Right/
Menu Left/Volume -
Menu Up
Menu Down
Menu/Exit
Menu/Exit selection
LED ON:
Power Status
Condition
Green
Power on
Orange
Power off
Power saving mode
Select LED on via menu
(Front LED: On)
Flashing orange No signal
Off
AC off
Power on
Select LED on via menu
(Front LED: Off)
LED OFF:
The LED turns completely off when in the „off“ mode
regardless of the monitor being on or off.
The Remote Control (RCU) Instructions
No Function
Description
1
Turns the monitor on and off
2 INFO
Provides source and resolution information
3 VGA
Selects the PC RGB source
DVI
Not available
HDMI 1
Selects the HDMI source 1
4 COMP
Not available
AV (Video)
Not available
HDMI 2
Selects the HDMI source 2
5 PIP position
Changes the position of the PIP window
DisplayPort
Select the DisplayPort source
6 PIP
opens the PIP
settings menu
S-V
Hot Key for
OPS source selection
HD-SDI 2
not available
7 SWAP
no function
8 P-SOURCE
Selects the PIP source
9 MENU
Opens the monitor’s
on-screen menu
system.
If the menu
system is already
open, pressing this
button will select the
previous submenu
,
,
,
Navigates through
submenus and
settings
10 EXIT
Closes the menu
system
11 ENTER
Selects highlighted
menu choices
12 SCALING
Toggles between
different aspect ratios
(Auto, Native, 4x3,
16x9, 16x10 and
Letterbox)
FREEZE
Freezes the current source image
MUTE
Turns off the sound
BRIGHT
Adjusts the brightness
CONTRAST
Adjusts the contrast
AUTO
Synchronizes the monitor with the source
SOURCE
Allows selection of the different sources
VOLUME-
Decreases the sound volume
Increases the sound volume
Hot Key: OSD Menu Lock/Unlock Control
Lock:
Press Enter, Enter, Exit, Exit, Enter and Exit
on the controller in sequence to lock OSD
Unlock:
Press Enter, Enter, Exit, Exit, Enter and Exit
on the controller in sequence to unlock OSD
Display Mode
Turning the monitor on
1. Correctly insert the power cord into the monitor and
into the power socket
2. Ensure the AC switch is set to “—“.
3. Press the power button on the remote or side control panel.
Turning the monitor off
With the power on, press the power button on the remote or
side control panel to place the monitor in a standby mode. To turn
off power completely, turn the AC switch to “
” or disconnect
the AC power cord from the power outlet.
NOTE:
If there is no signal input for a period of time, the monitor will
automatically revert to standby mode.
Power ON-Stand
by Indicator
Remote Control
Receiver
4
Operating the monitor
2
4
6
7
9
11
12
10
8
5
3
1
ENGLISH
Содержание e-Screen PTX-6500UHD
Страница 38: ...NOTES ...
Страница 39: ...LET S GET TOUCH www legamaster com IN ...


