background image


“LA” – Minimum Temperature Alarm: The 
cabinet air temperature has dropped below the 
programmed minimum. This alarm will continue 
to display until the cabinet temperature rises 
above the minimum level. 
 

Note

: Should a “P1” or “P2” alarm occur, check 

the probe wire connections to the control prior to 
replacing the probe wire.  
 
For more detailed information regarding the 
Electronic Control programming and instructions, 
please contact: Leer, Inc. Merchandiser Division 
Customer Service. Phone: 800-766-5337. Contact 
information is available on our web-site at 

http://www.leerinc.com/ice-
merchandisers/merchandiser-sales-distributors/


Loading Ice:


The merchandiser should be pre-chilled prior to 
loading with ice. Pre-chilling will aid the 
merchandiser in reaching storage temperature at a 
faster rate once loaded and reduce the risk of 
melting product. Do not over fill the merchandiser 
with ice!  
 
Auto-Defrost: Avoid stacking ice above the top 
edge of the air ducts that are installed on the walls 
of the cabinet interior. Blocking off these air ducts 
may restrict the even distribution of cold air 
throughout the cabinet. This may result in warm 
spots developing within the cabinet. Also, do not 
stack ice high enough to block off the evaporator 
fans in the unit cooler assembly. The evaporator 
fans are intended to pull warm air entering the 
cabinet into the unit cooler and then push that 
warm air across the surface of the evaporator coil. 
This process removes the heat prior to distributing 
the air into the cabinet.  
 

Maintenance and Service 


Danger! This unit is charged with R290 

(propane refrigerant). Propane is a flammable 
and explosive gas. Component parts shall only 
be replaced with like components. 
Maintenance and repair of the electrical and 
refrigeration systems should only be done by 

licensed, trained and qualified personnel. 
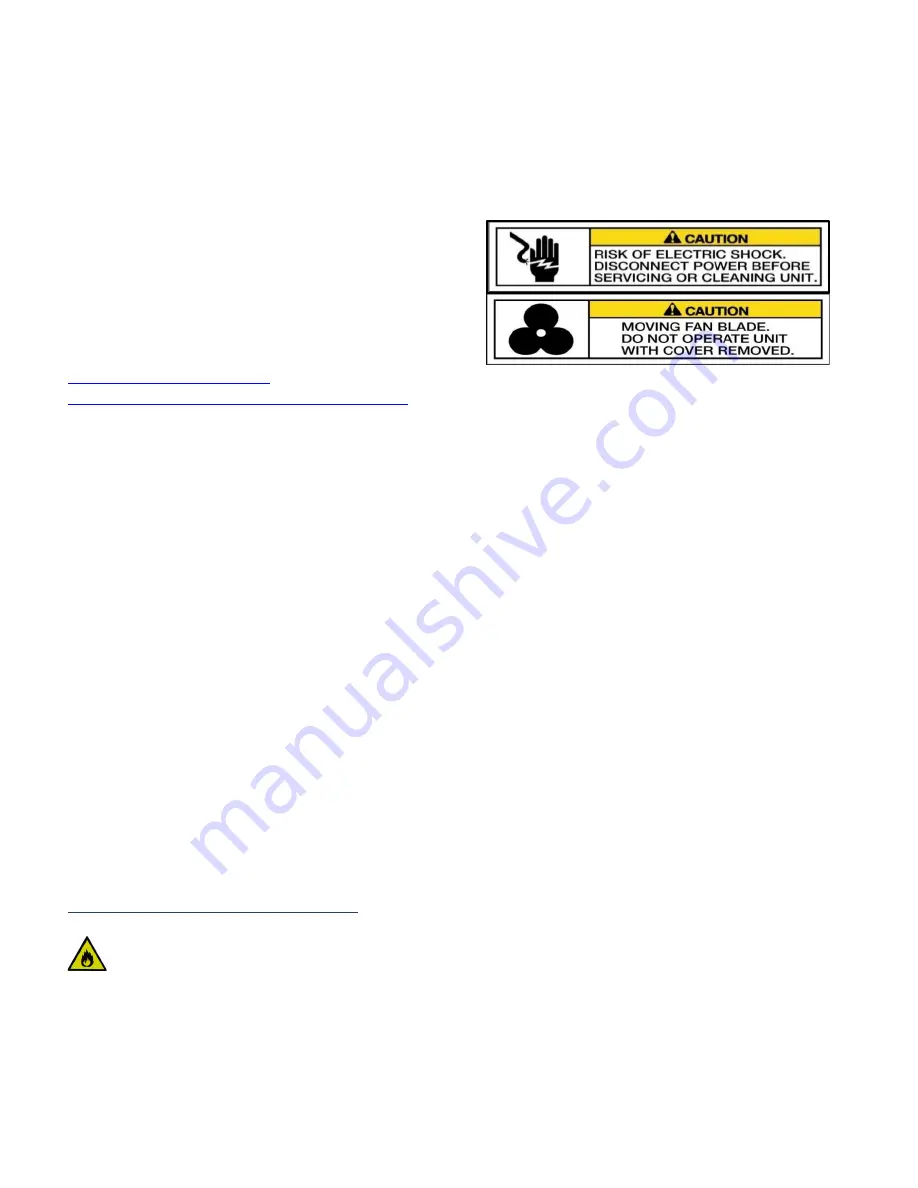
Disconnect power before performing service. 
Certain models may contain multiple voltages. 
Leer does not assume responsibility for any 
damage to people or things deriving from 
violation, improper use or in any case not in 
compliance with Leer’s instructions.  


Cleaning the Merchandiser:


The merchandiser should be cleaned annually.  In 
corrosive environments such as coastal regions 
and areas where deicing chemicals and road salts 
are used, more frequent cleaning is recommended. 
The exterior of the merchandiser can typically be 
cleaned with the use of detergents dilluted in 
warm water followed with a tap water rinse. The 
exterior paint is capable of withstanding the use of 
polishing compounds and most solvents. If using 
stronger cleaning agents, they should be tested on 
a small, inconspicuous areas prior to application 
onto visible surfaces of the merchandiser. If 
cleaning the interior of the merchandiser, the use 
of detergents with strong odors (i.e. citrus based 
cleaners), abrasive cleaners containing chlorine 
bleach, and any form of solvent based cleaners are 
not reccommended. They may leave objectionable 
odors inside the cabinet which may be absorbed 
by the ice being stored in the merchandiser. 
 

Cleaning Door Gaskets:


Door gaskets may mildew and stiffen over time. 
The gasket is made of a soft, flexible rubber-like 
material that can be cleaned using most kitchen 
and bath cleaners designed for mildew removal. 
Review manufacturer information and instructions 
on any cleaning agent prior to use to determine 
the cleaner’s compatability with the surface being 
cleaned.   


Содержание R290 PL

Страница 1: ...800 766 5337 www leerinc com R290 PL and TD MERCHANDISER INSTALLATION OPERATION AND SERVICE MANUAL WARNING This product can expose you to chemicals including nickel which is known to the State of Cal...

Страница 2: ...r manual owner s guide before attempting to service this product All safety precautions must be followed CAUTION Risk of fire or explosion Dispose of properly in accordance with federal or local regul...

Страница 3: ...d Alarm Codes 6 Loading Ice 7 Maintenance and Service 7 Cleaning the Merchandiser 7 Cleaning Door Gaskets 7 Cleaning Condenser Coils 8 Defrosting the Merchandiser 8 Auto Defrost Electronic Control 8 G...

Страница 4: ...iser installation location should have a solid level base If the merchandiser is exhibiting a slight forward lean the front of the cabinet should be blocked to bring the cabinet to a level position A...

Страница 5: ...vaporator Indoor auto defrost models are supplied with a condensate evaporator heater assembly which is packaged and shipped inside the merchandiser It will require simple installation by the consumer...

Страница 6: ...and contains two thermal couple probe wires Both probe wires are routed through the cabinet s suction line hole and into the unit cooler assembly which is mounted to the interior ceiling of the cabine...

Страница 7: ...a flammable and explosive gas Component parts shall only be replaced with like components Maintenance and repair of the electrical and refrigeration systems should only be done by licensed trained and...

Страница 8: ...consumer needs to install the condensate evaporator heater assembly described in the Installation section of this manual onto the exterior back wall of the cabinet The melt water from the defrost cyc...

Страница 9: ...uce stretching If the door gasket appears to be in good condition but is failing to seal to the surface of the cabinet both the spring load tension and adjustment of the hinges should be checked Solid...

Страница 10: ...nit charged with R290 is not serviceable on a consumer level Experienced technicians can contact Leer for an in depth service and guideline manual The use of special tools and proper procedures perfor...

Страница 11: ...pring and place the Adjustment Collar over the round pin Fig 2 4 Using the Adjustment Pin turn the Adjustment Collar until the Pin contacts the Hinge Then insert the Stop Pin in hole of Adjustment Col...

Страница 12: ...s to interfere with the new gasket installation 4 Align new gasket with door corners and use thumb to press into frame 5 Start at one corner of the frame and begin pressing the new gasket into the slo...

Страница 13: ...d in compliance to UL Standard 471 Replacement parts that are not UL Certified or are not identical to the OEM installed part will void the merchandiser s UL Listing and or the Factory warranty Contac...

Страница 14: ...cated below the threshold of the pallet load Connect each ramp by the grove and stud Repeat this process for ramp 3 Repeat for ramp 4 Move the ice into the Pallet Load Set the ice into place and remov...

Страница 15: ...a pallet jack by the base pallet Move the box into place firmly against the aluminum back stop Lower the pallet jack and remove the base pallet The unit has a rubber gasket that will seal the unit fro...

Страница 16: ...for repair or replacement of any defective part s or assembly only for defects reported to Seller within ninety 90 days after the date of installation ALL LABOR CHARGES SHALL BE AUTHORIZED OR APPROVE...

Отзывы: