background image

causing injury to the user or third parties. 

. Check the battery before use, once found leakage please stop use and replace the 
battery. 

. Warning. Protective equipment should be worn. Always wear shoes when riding. 

. Warning. Only for domestic use. 

. The toy must only be used with the recommended transformer. 

. The transformer is not a toy.

. Disconnect toy from the transformer before cleaning the toy with liquid. 

. Don’t ride on the vehicle during charging.

. Please regularly check the product to ensure the battery, charger, wire plugs, shells 
and other components are not damaged.

. If you have discovered any damages mentioned above, stop using until it is 
repaired. 


ASSEMBLY STEPS


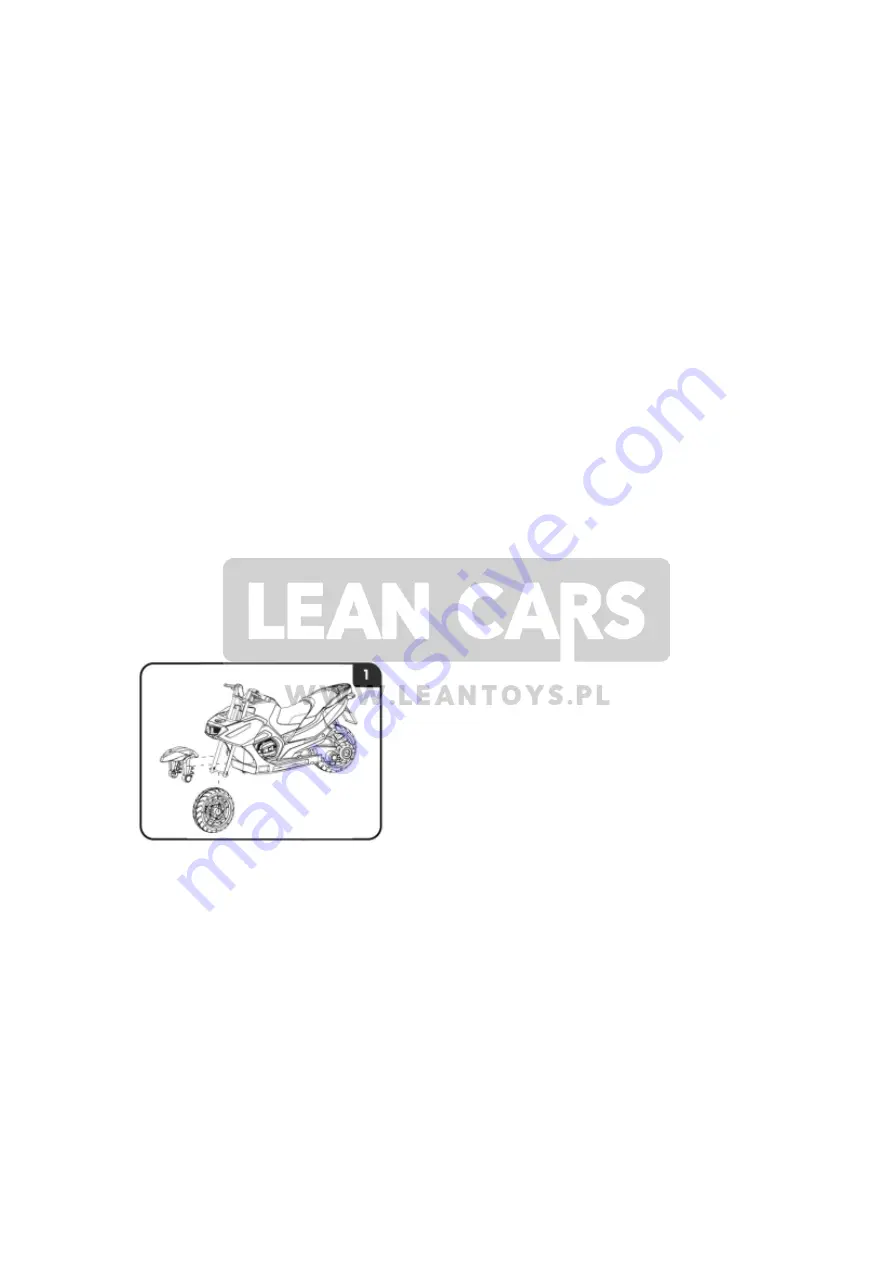
Remove the front axle from the front folk, assembly the fender. 


Insert the front axle through front folk, front wheel and fender tube, make 
them fit well. 


Cover the both end of the front axle by a little metal cap. 

5

Содержание HZB-118

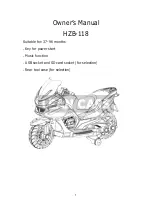
Страница 1: ...Owner s Manual HZB 118 Suitable for 37 96 months Key for power start Music function USB socket and SD card socket for selection Rear tool case for selection 1...

Страница 2: ...mation SPECIFICATION Age for 37 95months Max weight capacity 30kgs Battery 6V 7AH 12V 7AH Vehicle size 120 60 65cm Charge time 8 12 hours Speed 3 km h Charger Input According to local voltage Output D...

Страница 3: ...right position and tighten well SAFE WARNING For the safety of your children please pay attention to following warnings read and tell your children and their friend make sure they understand these rul...

Страница 4: ...d never let the child touch the moving wheels There is a safety belt for this product please tight it when use to ensure the safety There are some small parts for assembly please keep small parts far...

Страница 5: ...t toy from the transformer before cleaning the toy with liquid Don t ride on the vehicle during charging Please regularly check the product to ensure the battery charger wire plugs shells and other co...

Страница 6: ...nd head Insert the vehicle head onto the right position of the body and make sure all the grooves fit well Put the handlebar tubes onto the handlebar and fix them Connect the wire plugs to the battery...

Страница 7: ...g charging Charge the battery in a well ventilated area Do not charge the battery near heat or flammable materials Contact between the positive and negative terminals may result in fire or explosion A...

Страница 8: ...r plug into charge hole on vehicle body first then connect the other end with power supply 3 Charge the vehicle when each use after 1hour normal charging time is 10 to 12 hours 4 Each charge no more t...

Страница 9: ...eed mend smooth The vehicle moves on uneven surface No need mend Just ride the vehicle on smooth surface The wheels or axle seized up by something Check the wheels and axle remove the debris The batte...

Страница 10: ...Backward Motor Battery Power switch Pedal switch DISCLAIMER The wires structure and function can t be modified without manufacturer s permission or the manufacturer won t responsible for the problems...

Отзывы: