16
2. Go to
“Rotate”
setup, there are three options 90
˚, 180˚
and 270
˚.
Select and
press
CONFIRM
button to confirm. The image will rotate as desired.
NOTE: Only image file can be rotated.
7.5 FILE PROTECTION
1. In playback, press
MENU
button to enter setup menu.
2. Set to
Lock
will prevent deleting the file by false operation.
NOTE: Formatting the memory card will still erase the protected files.
8. CONNECTIONS
8.1 CONNECTING TO TV
Connect camera to your TV set and play the recorded videos or images on TV.
1: Switch camera off.
2: Connect camera to TV set by using the enclosed AV cable (one side plug into
TV-out port and the other side plug into the composite RCA connectors on TV set).
3: Switch TV set to correct video input source (AV1 or AV2 subject to your TV set).
4: Turn camera on.
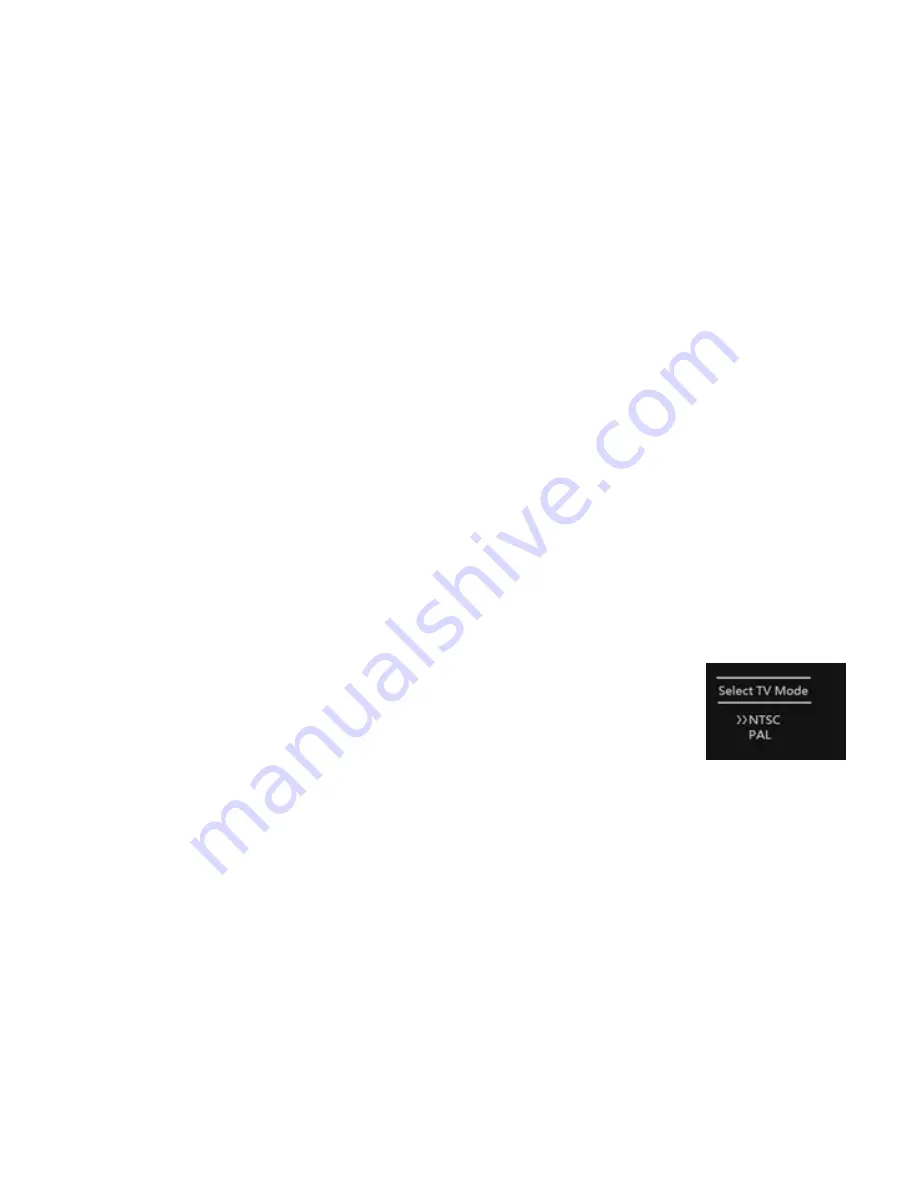
5: The
[Select TV Mode: NTSC, PAL]
menu will appear on
camera’s LCD screen. Select the correct TV mode you are, the
camera’s image will appear on TV.
NOTE: If the image on TV is flicking, this means you selected to wrong TV mode.
Turn camera off and select again.
8.2 MASS STORAGE (REMOVABLE DISK) MODE
This camera also works as a mass storage device (removable disk) in computer.
1: Connect camera to your computer by using the enclosed USB cable.
2: This camera will be automatically recognized as a USB mass storage device
(removable disk) in your computer. It is automatically detected without driver
Содержание LFC-554
Страница 4: ...3 1 KNOWING THIS CAMERA ...
Страница 7: ...6 3 ON SCREEN DISPLAY 3 1 DV MODE ...
Страница 8: ...7 3 2 DSC MODE 3 3 PLAYBACK MODE ...


