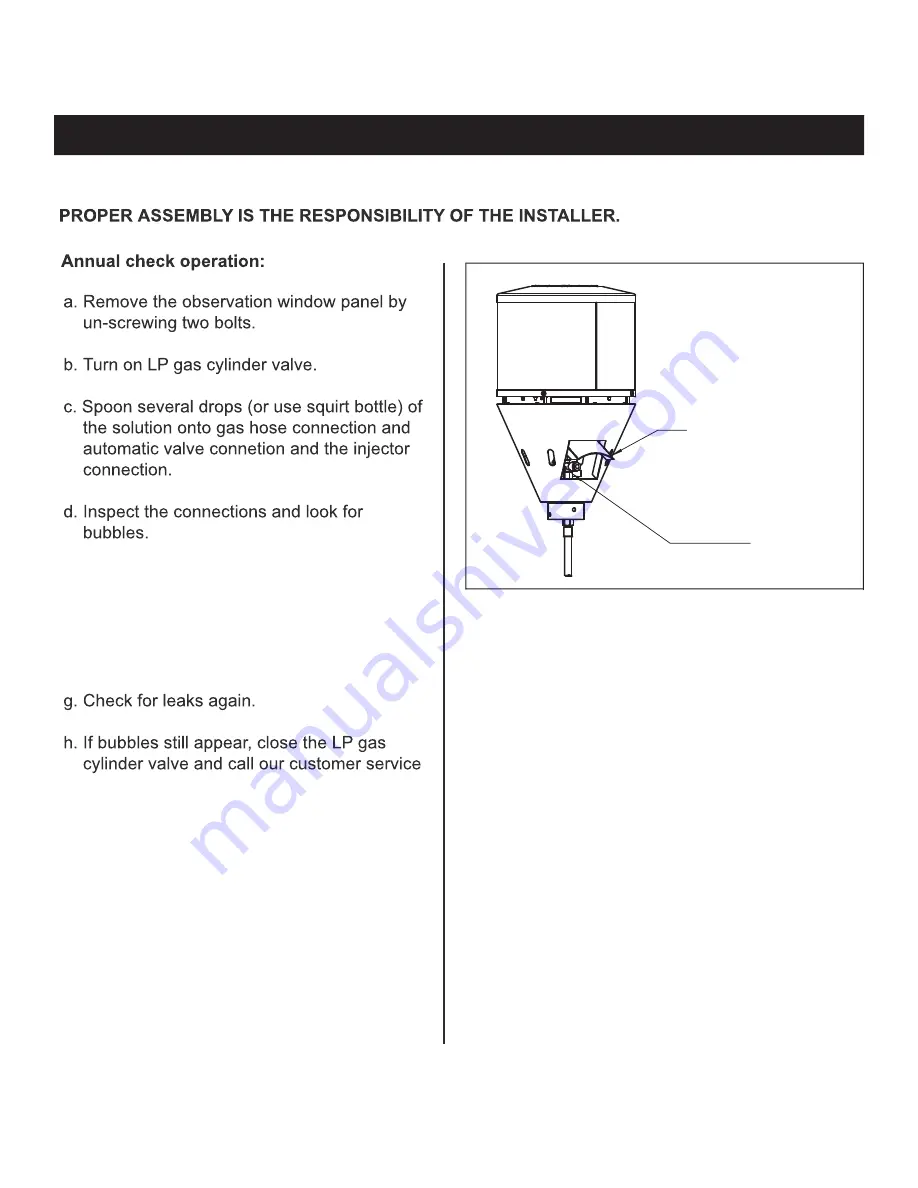
SAFETY CHECK
i. Hose checking step:
(1) Unscrew M4 X 8 screws from the pole.
(2) Pull out the head assembly, hose &
regulator from the pole.
(3) Check if there are cracks or owrn
sections on the hose. If yes, replace the
hose & regulator immediately.
(4) Check for leaks according to the above
step by step after replacing the
hose & regulator.
WARNING: ONLY AN AUTHORIZED GAS TECHNICIAN SHOULD INSTALL THIS PRODUCT.
e. If no bubbles appear, the connection is safe.
f. If bubbles appear, there is a leak. Shut off
the LP gas cylinder valve, loosen and then
re-tighten this connection.
line 1-866-814-0585. Do not attempt to
use the heater.
automatic valve
connection
observation
window panel
13
Содержание Verona
Страница 10: ...ASSEMBLY INSTRUCTIONS 2 5 x 1 10 x 1 Hx4 M6x20 1 11 x 1 13 x 1 Bx2 6MM Hx2 M6x20 Ix2 6MM 11 13 I B H 5 10 H 7 ...
Страница 11: ...ASSEMBLY INSTRUCTIONS 3 4 6 x 1 7 x 1 8 x 1 9 x 1 3 x 1 4 x 1 Ex5 M4x8 Fx5 4mm 9 4 F 3 E 6 7 8 14 14 x 1 8 ...
Страница 12: ...ASSEMBLY INSTRUCTIONS 5 6 G Gx6 M5x12 Bx3 6mm Dx3 M6x70 B 3 x1 D 3 9 ...
Страница 13: ...Ax12 M6x10 Bx12 6mm Cx12 M6 1 2 C B A Bx3 6mm Cx3 M6 1 x1 2 x4 ASSEMBLY INSTRUCTIONS 7 8 C B 10 ...
Страница 14: ...ASSEMBLY INSTRUCTIONS 10 12 12 x 1 9 Fill the sand into the hole till full Tighten 11 ...
Страница 17: ...14 ...
Страница 18: ...15 ...
Страница 19: ...16 ...
Страница 23: ...20 ...
Страница 26: ......
Страница 28: ......


