background image


QUICK OPERATION GUIDE     

MID-773


OR 

ACCESSORIES 

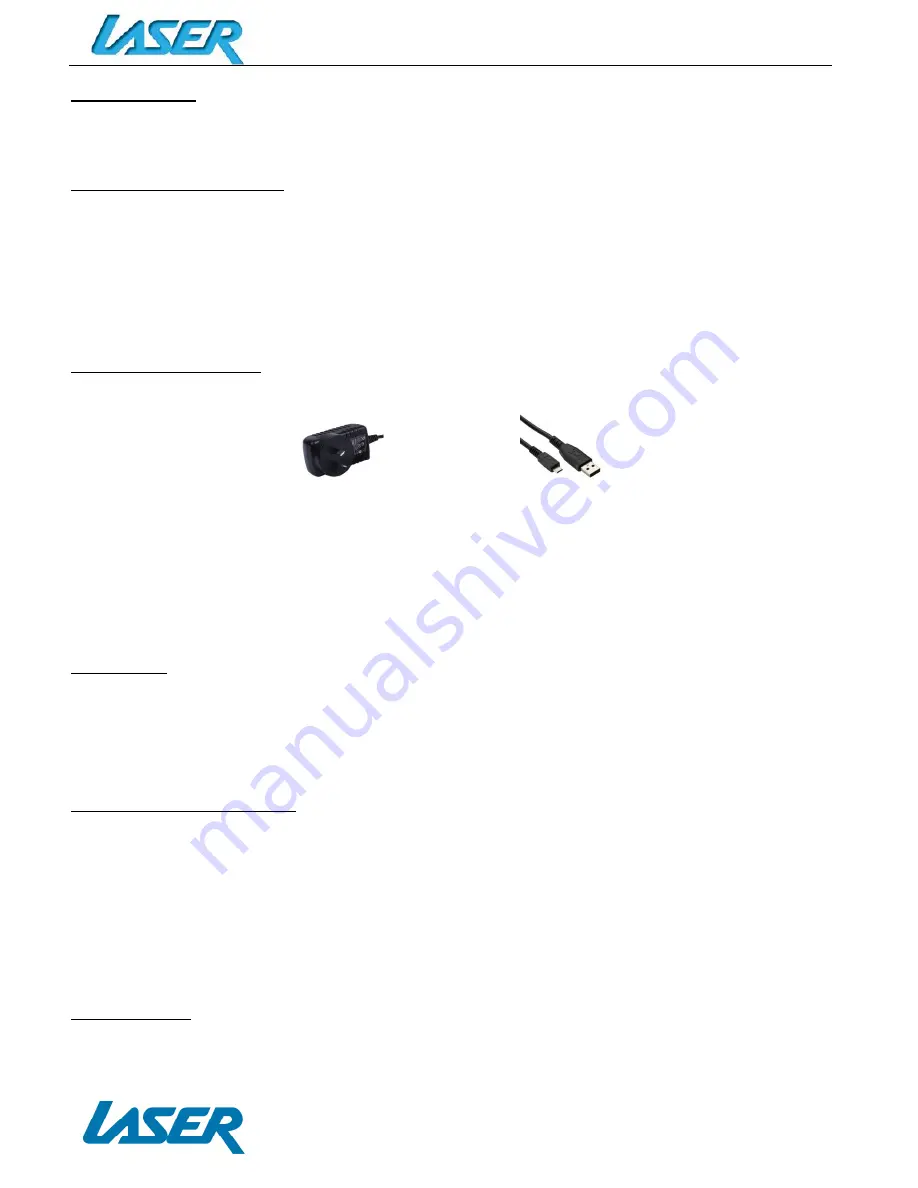
1 x 7” MID-773, 1 x Mains Power Adaptor, 1 x USB cable, 1 x User Guide   

TURNING ON AND OFF 

To turn ON, PRESS and HOLD the POWER button until the screen turns ON.   
To turn OFF, PRESS and HOLD the POWER button until the power screen appears. Then select 
turn OFF.   

Note: At any time you can press the POWER BUTTON to enter Snooze mode or to wake from Snooze 
mode. 

BATTERY CHARGING 

You can charge your MID-773 using the supplied Mains Power Adaptor or USB cable.   


You will be alerted when the battery charge falls below 15%. If the battery is completely 
depleted the MID-773 will automatically turn off. 
   

Note: If the battery has been completely exhausted, it may take a few minutes to switch the MID-773 
on once charging has begun. The MID-773 can be used
 during charging however this may increase the 
time needed to fully charge the battery. 

RUN TIME


Run time of portable devices such as this MID-773 can be extended by reducing the screen 
brightness, turning off Wi-Fi when not in use, turning off Apps that are not required and 
manually turning the screen off using the power button when not in use. 

5 POINT TOUCH SCREEN 

The MID-773 has 5 different touch screen behaviours. 
1 - TAP  


Tap once to select or start a function, option or application 

2 - TAP and HOLD   

Tap and hold to select or start a function 

3 - DRAG and DROP  Tap then drag an item and drop it to a location 
4 - DOUBLE TAP   

Double Tap an item twice to select or start a function 

5 - SLIDE/SWIPE   

Tap then slide an item up, down, left or right   


SLEEP MODE 

During prolonged inactive use where no buttons have been pressed, the screen will turn off 
automatically to conserve power. Press the POWER button to wake the MID-773. 

Содержание MID-773

Страница 1: ...QUICK OPERATION GUIDE MID 773 1...

Страница 2: ...ING 5 RUN TIME 5 5 POINT TOUCH SCREEN 5 SLEEP MODE 5 LOCK UNLOCK 6 CHANGING WALLPAPER 6 HOME SCREEN ICONS 7 WIDGETS 8 NOTIFICATION MENU BAR 8 SHORTCUT MENU BAR 8 SETTINGS 9 CONNECTING TO A PC MAC VIA...

Страница 3: ...ater or moisture ingress exposure to prolonged extreme heat or cold excessive humidity dust or sandy It is recommended to thoroughly charge the device for the first time overnight Subsequent charges c...

Страница 4: ...rd slot Supports cards up to 32GB 2 Increase Decrease Volume 3 Micro USB interface Data Transfer Charging USB Storage flash drive 4 Stereo Earphone Socket 3 5mm Jack 5 On OFF button Press and hold to...

Страница 5: ...has begun The MID 773 can be used during charging however this may increase the time needed to fully charge the battery RUN TIME Run time of portable devices such as this MID 773 can be extended by r...

Страница 6: ...hen release Note some of the following images may be different from the actual product supplied CHANGING WALLPAPER TAP and HOLD the current wallpaper from the main screen The wallpaper option window w...

Страница 7: ...Icon Function 1 Open web browser Voice command 2 Swipe Down Notification Menu Bar 3 Swipe Down Shortcut Menu Bar 4 View all apps 5 Increase Volume 6 Open a list of recently used applications 7 Home s...

Страница 8: ...e desktop To delete an icon press and hold the icon until the X icon appears at the top LEFT of the screen Drag the icon to the X and then release to delete NOTIFICATION MENU BAR Swipe down over the N...

Страница 9: ...available Wi Fi networks Note If your device was not detected press the SCAN button to conduct a new scan search Tap the desired NETWORK name If this NETWORK connects successfully Connected 1 will app...

Страница 10: ...t to WiFi and download mapping data before first use INTERACTING WITH eSTREET SCREENS Note Each RED coloured arrow below resembles the movement of a finger two in total for each screen movement Rotate...

Страница 11: ...arch JOURNEY DETAIL if a start or finish address has been put in Trip Details Clear Trip Buttons OPTIONS Check for Map Updates Show Help About To navigate to a location begin by pressing the ENTER ADD...

Страница 12: ...dress now replaces SET TRIP START as confirmation c To fill in the destination address press the MENU button again and select ENTER ADDRESS Enter your details in the same previous fashion Press SET TR...

Страница 13: ...on to use EACH LOCATION you input as either a HOME address or to add it to your SAVED LOCATIONS list Note Access your HOME and SAVED LOCATIONS directly from the MAIN MENU Press the HOME button to retu...

Страница 14: ...ame eg LASER Corporation To locate Nearby Points of Interest select NEARBY POI from the MAIN MENU Select from the following categories ATM Bank Exchange Administrative Region Airport Amusement or Holi...

Страница 15: ...up your FREE account Upon purchasing or borrowing an eBook using ADE it will then need to be transferred to your MID 773 From Adobe Digital Editions right click the eBook you wish to transfer and sele...

Страница 16: ...king it Then contents will appear on the right side of the Windows Explorer screen Right click this section and select paste The file has now been transferred Disconnected the MID 773 open the ALDIKO...

Страница 17: ...hoose NEW to create a new account and follow the set up steps SPECIFICATIONS Operation System Android 4 4 Size 192 x 116 x 11mm CPU processor speed 1 3GHZ Quad Core Memory 8GB RAM DDR3 512 MB Micro SD...

Страница 18: ...773 to factory default settings using the reset button My MID 773 becomes hot when in use or while it s charging 1 Some applications can consume more power than others causing the MID 773 to become wa...

Страница 19: ...he nature of the fault and refund or replace the product as per their store refund or warranty policy Step 2b If your place of purchase cannot be contacted then you can contact Laser Customer Service...

Отзывы: