8
English
H1
H3
H5
H2
H4
H
WoRKING
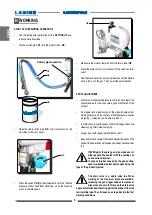
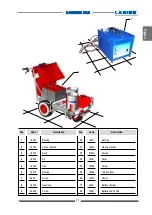
Delivery pipe connection
START oF THE PAINTING oPERATIoNS
• Use the tooling after performing all the
SETTING UP
ope-
rations above described.
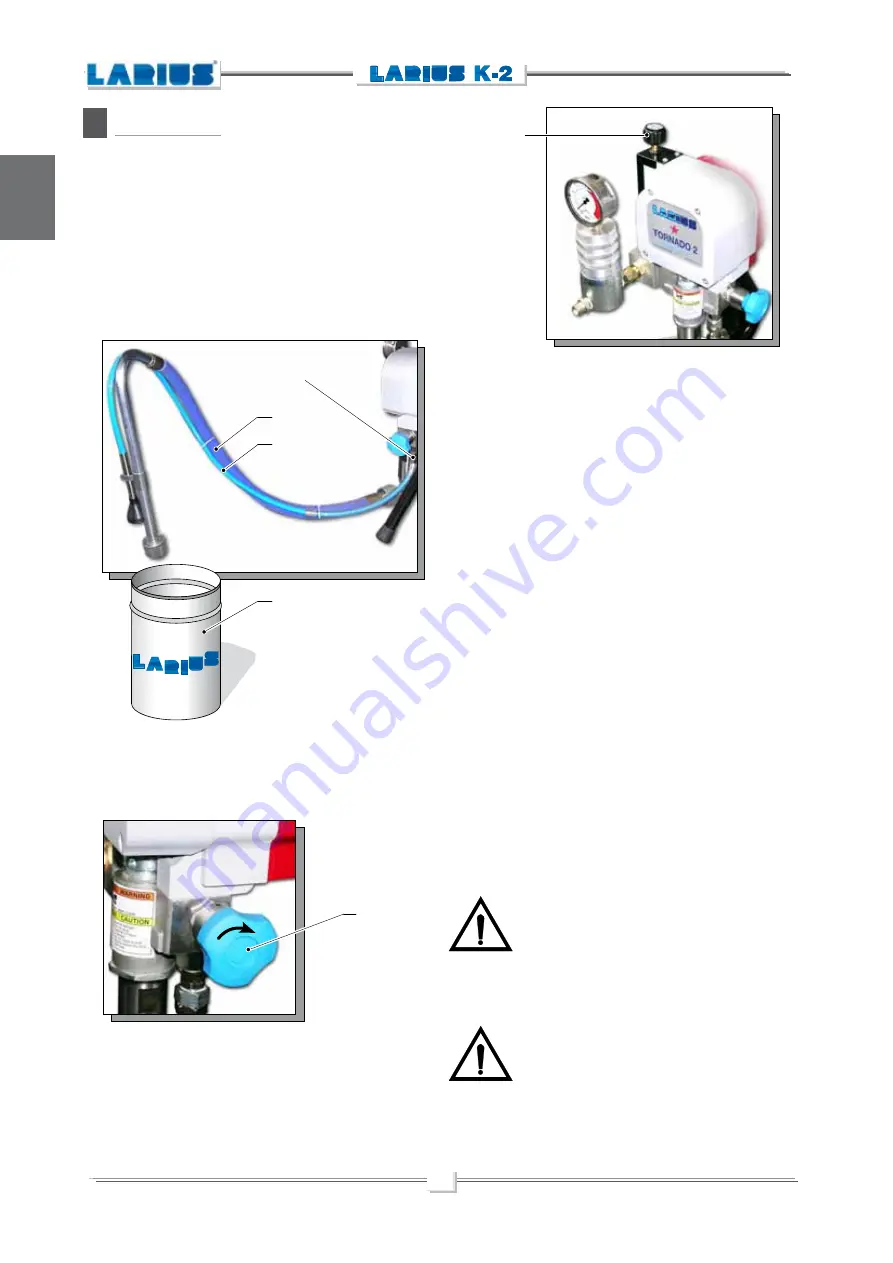
• Dip the suction pipe (
H1
) into the product tank (
H2
).
•
Make sure the product recycles from the return tube (
H5
).
•
Close the drain valve
(turn clockwise till the valve has rele-
ased)
.
•
Now the machine carries on sucking the product till the flexible
hose is full, up to the gun. Then it will stop automatically.
SPRAY ADJUSTMENT
•
Slowly turn clockwise the pressure control knob to reach the
pressure value in order to ensure a good atomization of the
product.
•
An irregular and marked spray on the sides indicates a low
working pressure. On the contrary, a too high pressure causes
a high fog
(“overspray”)
and waste of product.
•
In order to avoid overthickness of paint, let the gun advance
sideways
(right-left)
when spraying.
•
Always paint with regular parallel bands coats.
•
Keep a safety and constant distance between the gun and the
support to be painted and also keep yourselves perpendicular
to it.
NEVER point the spray gun at yourselves or at
other people. The contact with the casting can
cause serious injuries.
In case of injuries caused by the gun casting,
seek immediate medical advice specifying the
type of the product injected.
The drain valve is a safety valve too. When
working at the maximum pressure available,
releasing the gun trigger sudden increases of
pressure can occur. In this case, the drain valve
opens automatically eliminating part of the product from the
recirculating tube. Then it closes so as to go back to the first
working conditions.
•
Open the safety- relief valve (
H3
)
(turn clockwise so as the
pin slides on the cam track)
.
•
Press the switch
oN
(I)
of the equipment and turn a little the
pressure control knob (
H4
) clockwise, so as the machine
works at the idle speed.
Содержание K-2
Страница 2: ......
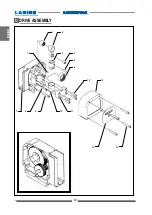
Страница 22: ...20 English 1 2 3 4 6 5 16 12 13 14 15 7 8 9 10 11 U DRIVE ASSEMBLY ...


