


Overload Protection
This Chipper/Shredder is equipped with an overload protection system. If the unit clogs while
running, the overload protection system will shut the power off. Wait at least one minute before
restarting. Press the Reset Button then turn the Power Switch on.
Maintenance and Servicing
Procedures not specifically explained in this manual must be performed only by a qualified
technician.
WARNING!
TO PREVENT SERIOUS INJURY FROM ACCIDENTAL OPERATION OR ELECTRIC
SHOCK:
Turn the Power Switch of the appliance to its “OFF” position and unplug the
appliance from its electrical outlet before performing any inspection, mainte-
nance, or cleaning procedures.
TO PREVENT SERIOUS INJURY FROM TOOL FAILURE:
Do not use damaged equipment. If abnormal noise or vibration occurs, have the
problem corrected before further use.
Cleaning, Maintenance
1. BEFORE EACH USE, inspect the general condition of the tool. Check for:
• loose hardware,
• misalignment or binding of moving parts,
• cracked or broken parts,
• damaged cord/electrical wiring, and
• any other condition that may affect its safe operation.
2. AFTER USE, clean external surfaces of the appliance with clean, moist cloth.
3. Replace or sharpen the Blades as needed. (See below.)
4. If the motor turns but the appliance does not function, the belt may be broken. Have the belt
replaced by a qualified technician.
5.
WARNING! If the supply cord of this appliance is damaged, it must be replaced only
by a qualified service technician.
Cleaning the Chipper/Shredder
1. Turn the Hopper Locking Knob counterclockwise and remove the Hopper.
2. Clean the cutting Blades and discharge area and remove wood sticks or objects that may
clog the Blades.
3. Check the Blades for damage and replace if needed.
4. Return the Hopper to its upright position and tighten in place with the Locking Knob after
cleaning the interior.
5. Use a warm damp cloth and a soft brush to
clean the exterior of the Chipper/Shredder.
Do not spray water or use detergents on
the Chipper/Shredder.
6. Check that the ventilation slots are clean.
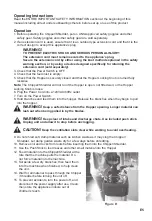
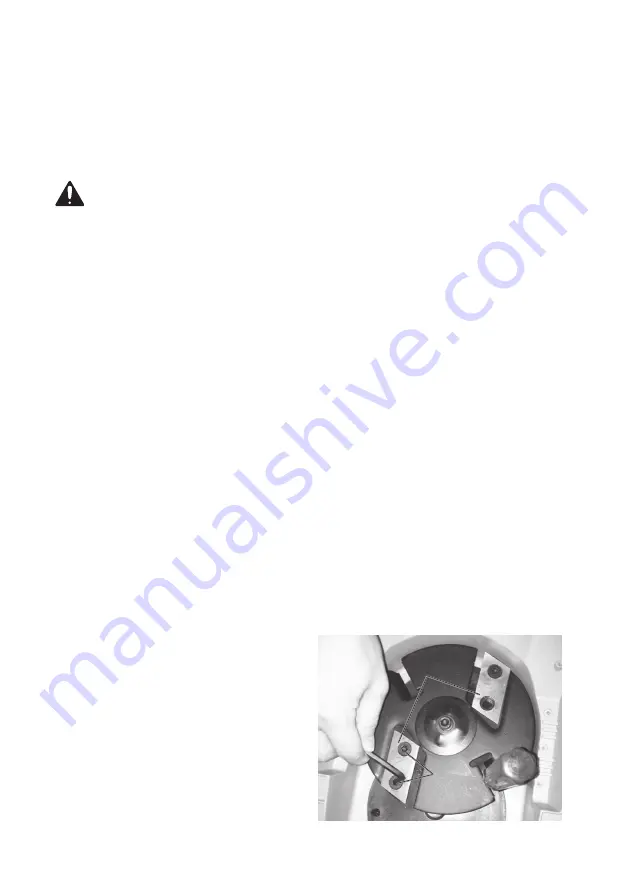
Replacing the Blades
The reversible Blades are attached to the
Cutter Head with two screws.
E6
Figure E
Blades
Screws
Содержание GUO023
Страница 11: ...E9...