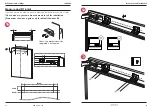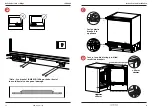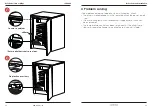
20
21
www.howdens.com
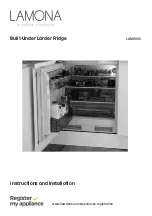
Built-Under Larder Fridge
LAM6000
Instructions and Installation
Reversing the door opening
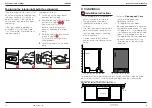
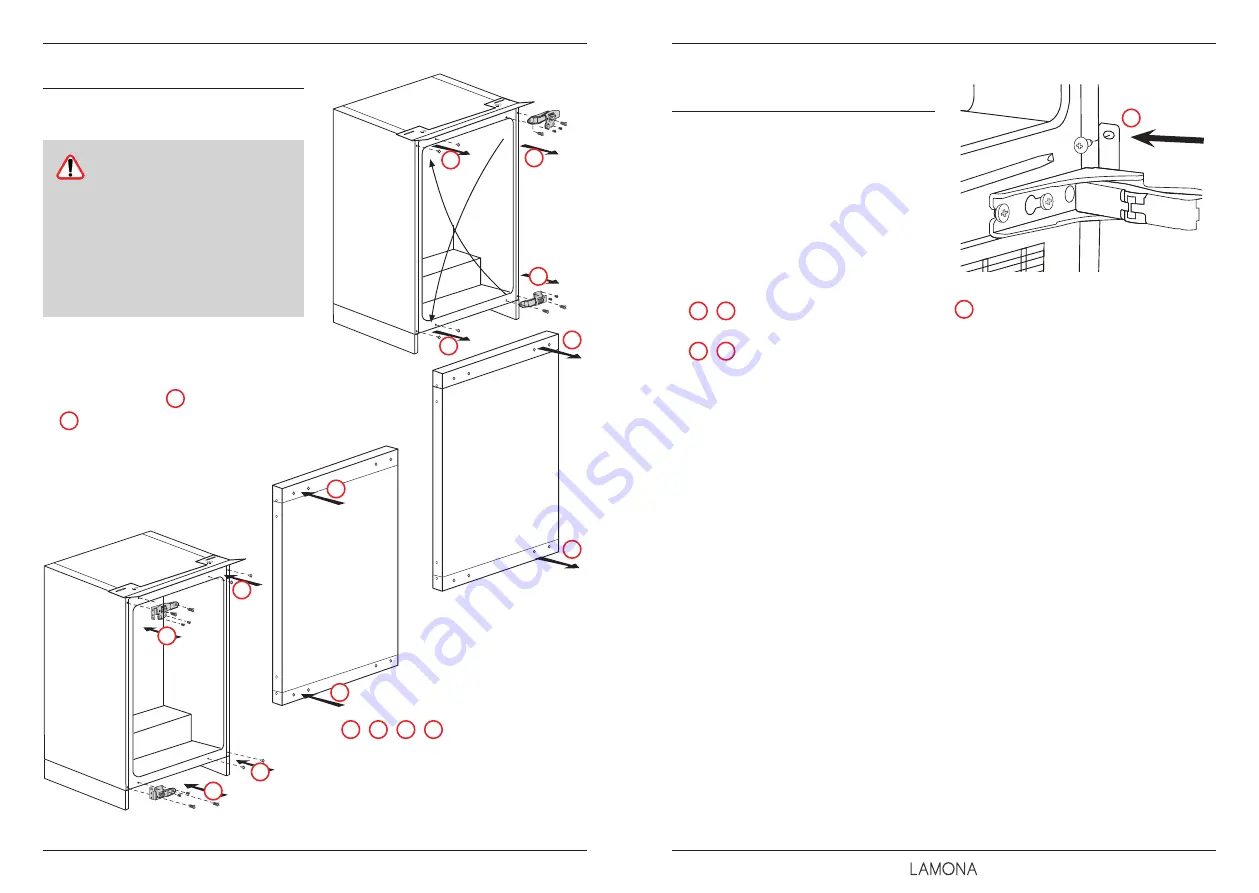
Follow the step by step instructions
and the diagram below.
Switch off at the socket
outlet and pull out the
mains plug.
Remove all
food, loose items and
fittings from inside the
appliance and door
shelves.
• Carefully remove the lower then
the upper Torx screws that hold
the door to the hinges, then
remove door,
1
.
•
2
Open hinges fully then
carefully remove the self tap
countersunk screws holding
the hinges to the cabinet.
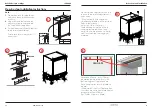
•
7
,
8
Re-fit hinges to opposite
side, tighten the screws firmly.
•
9
,
10
Re-fit door, loosely fixing
the top screws first, and then fit
the lower screws.
• When all screws are fitted; fully
tighten and check door for
alignment.
11
Also at this stage remove the
2 x small side-fixing brackets and
re-locate to opposite side.
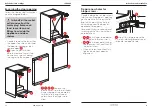
Prepare new holes for
hinge screws -
Carefully place the self tap screws
into the new fixing points, applying
gentle pressure until they start to
bite (at this point it may help to
have someone at the back of
appliance to support).
For ease of fixing we recommend
screwing all the way in and then
ease back out.
•
3
,
4
,
5
,
6
Remove the
plastic covers from the left hand
hinge fixing points and carefully
re-insert into the right hand
holes where the hinges were
fitted.
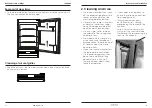
REVERSING THE DOOR OPENING
Follow the step by step instructions and the diagram
below. Numbers in brackets refer to the diagrams.
•
Switch off at the socket outlet and pull out the
mains plug.
all food, loose items and fittings from
•
Remove
inside the appliance and door shelves.
(1, 2.) Carefully remove the lower then the upper Torx screws
that hold the door to the hinges, then remove door.
then carefully remove the self tap
(1, 2.) Open hinges fully
countersunk screws holding the hinges to the cabinet.
Remove the plastic covers from the L/H hinge
and carefully re-insert into the R/H holes where
were fitted.
(3, 4. 5, 6.)
fixing points
the hinges
Prepare new holes for hinge screws -
Carefully place the self tap screws into the new fixing points,
applying gentle pressure until they start to bite (at this point it
may help to have someone at the back of appliance to support)
fixing we recommend screwing all the way in
-For ease of
-and then ease back out.-
(7,8) Re-fit hinges to opposite side, tighten the screws firmly.
(9,10) Re-fit door, loosely fixing the top screws first, and then
fit the lower screws.
When all screws are fitted; fully tighten and check door for
alignment.
1
2
1
2
4
3
9
10
5
6
8
7
9
8
*Also at this stage remove the 2 x
small side-fixing brackets and
re-locate to opposite side.
REVERSING THE DOOR OPENING
Follow the step by step instructions and the diagram
below. Numbers in brackets refer to the diagrams.
•
Switch off at the socket outlet and pull out the
mains plug.
all food, loose items and fittings from
•
Remove
inside the appliance and door shelves.
(1, 2.) Carefully remove the lower then the upper Torx screws
that hold the door to the hinges, then remove door.
then carefully remove the self tap
(1, 2.) Open hinges fully
countersunk screws holding the hinges to the cabinet.
Remove the plastic covers from the L/H hinge
and carefully re-insert into the R/H holes where
were fitted.
(3, 4. 5, 6.)
fixing points
the hinges
Prepare new holes for hinge screws -
Carefully place the self tap screws into the new fixing points,
applying gentle pressure until they start to bite (at this point it
may help to have someone at the back of appliance to support)
fixing we recommend screwing all the way in
-For ease of
-and then ease back out.-
(7,8) Re-fit hinges to opposite side, tighten the screws firmly.
(9,10) Re-fit door, loosely fixing the top screws first, and then
fit the lower screws.
When all screws are fitted; fully tighten and check door for
alignment.
9
8
*Also at this stage remove the 2 x
small side-fixing brackets and
re-locate to opposite side.
1
3
2
4
REVERSING THE DOOR OPENING
Follow the step by step instructions and the diagram
below. Numbers in brackets refer to the diagrams.
•
Switch off at the socket outlet and pull out the
mains plug.
all food, loose items and fittings from
•
Remove
inside the appliance and door shelves.
(1, 2.) Carefully remove the lower then the upper Torx screws
that hold the door to the hinges, then remove door.
then carefully remove the self tap
(1, 2.) Open hinges fully
countersunk screws holding the hinges to the cabinet.
Remove the plastic covers from the L/H hinge
and carefully re-insert into the R/H holes where
were fitted.
(3, 4. 5, 6.)
fixing points
the hinges
Prepare new holes for hinge screws -
Carefully place the self tap screws into the new fixing points,
applying gentle pressure until they start to bite (at this point it
may help to have someone at the back of appliance to support)
fixing we recommend screwing all the way in
-For ease of
-and then ease back out.-
(7,8) Re-fit hinges to opposite side, tighten the screws firmly.
(9,10) Re-fit door, loosely fixing the top screws first, and then
fit the lower screws.
When all screws are fitted; fully tighten and check door for
alignment.
9
8
*Also at this stage remove the 2 x
small side-fixing brackets and
re-locate to opposite side.
2
1
REVERSING THE DOOR OPENING
Follow the step by step instructions and the diagram
below. Numbers in brackets refer to the diagrams.
•
Switch off at the socket outlet and pull out the
mains plug.
all food, loose items and fittings from
•
Remove
inside the appliance and door shelves.
(1, 2.) Carefully remove the lower then the upper Torx screws
that hold the door to the hinges, then remove door.
then carefully remove the self tap
(1, 2.) Open hinges fully
countersunk screws holding the hinges to the cabinet.
Remove the plastic covers from the L/H hinge
and carefully re-insert into the R/H holes where
were fitted.
(3, 4. 5, 6.)
fixing points
the hinges
Prepare new holes for hinge screws -
Carefully place the self tap screws into the new fixing points,
applying gentle pressure until they start to bite (at this point it
may help to have someone at the back of appliance to support)
fixing we recommend screwing all the way in
-For ease of
-and then ease back out.-
(7,8) Re-fit hinges to opposite side, tighten the screws firmly.
(9,10) Re-fit door, loosely fixing the top screws first, and then
fit the lower screws.
When all screws are fitted; fully tighten and check door for
alignment.
9
8
*Also at this stage remove the 2 x
small side-fixing brackets and
re-locate to opposite side.
5
6
7
8
REVERSING THE DOOR OPENING
Follow the step by step instructions and the diagram
below. Numbers in brackets refer to the diagrams.
•
Switch off at the socket outlet and pull out the
mains plug.
all food, loose items and fittings from
•
Remove
inside the appliance and door shelves.
(1, 2.) Carefully remove the lower then the upper Torx screws
that hold the door to the hinges, then remove door.
then carefully remove the self tap
(1, 2.) Open hinges fully
countersunk screws holding the hinges to the cabinet.
Remove the plastic covers from the L/H hinge
and carefully re-insert into the R/H holes where
were fitted.
(3, 4. 5, 6.)
fixing points
the hinges
Prepare new holes for hinge screws -
Carefully place the self tap screws into the new fixing points,
applying gentle pressure until they start to bite (at this point it
may help to have someone at the back of appliance to support)
fixing we recommend screwing all the way in
-For ease of
-and then ease back out.-
(7,8) Re-fit hinges to opposite side, tighten the screws firmly.
(9,10) Re-fit door, loosely fixing the top screws first, and then
fit the lower screws.
When all screws are fitted; fully tighten and check door for
alignment.
9
8
*Also at this stage remove the 2 x
small side-fixing brackets and
re-locate to opposite side.
9
10
11

