Operation Manual
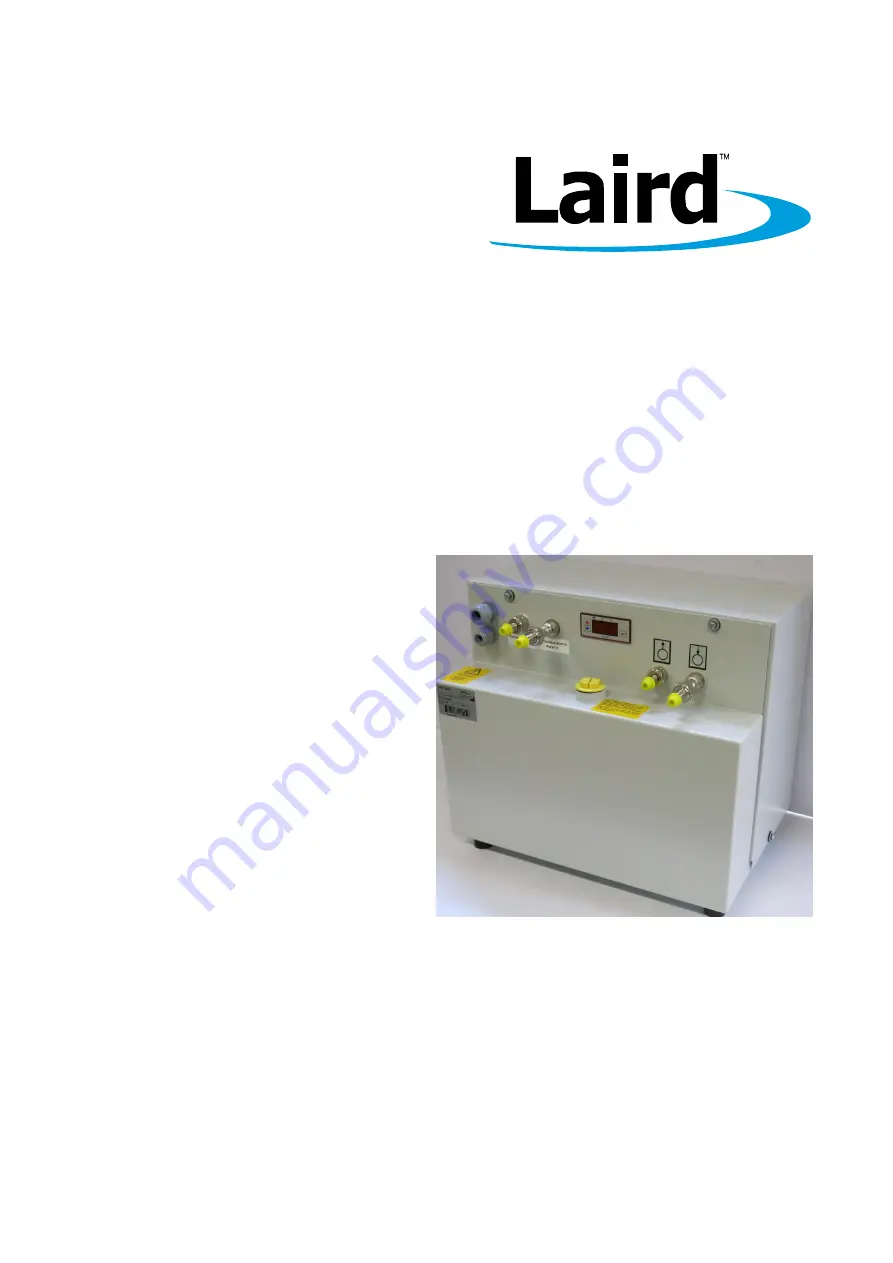
Water-Water Cooler WW 3001
Version 1.0
Страница 1: ...ss mainly focus on the distribution of electronic components Line cards we deal with include Microchip ALPS ROHM Xilinx Pulse ON Everlight and Freescale Main products comprise IC Modules Potentiometer...
Страница 2: ...Operation Manual Water Water Cooler WW 3001 Version 1 0...
Страница 3: ...on or posting of its contents is not permitted unless formally granted Violations entail claims for compensation All copyrights including rights due to patent grant or registration of a utility model...
Страница 4: ...3 3 2 Hints Regarding the Electrical Equipment 11 3 3 3 Environmental Issues 11 3 3 4 Exclusion Criteria 11 3 3 5 Protective Gear Fehler Textmarke nicht definiert 3 4 Safety Equipment 12 3 4 1 Safety...
Страница 5: ...3 Daily Start up 24 6 4 Setting to work after Storage 24 7 Controlling the Unit 25 7 1 Safety Indications for Controlling the Unit 25 7 2 Switching on the Unit 25 7 3 Switching off the Unit 25 7 4 Set...
Страница 6: ...out of Operation 34 11 2 Re packaging of the unit 35 11 3 Storing the Unit 35 11 4 Disposal 35 11 5 Disposal of Operating Materials 35 11 6 Return of the unit to LAIRD 35 12 Wear Parts and Spare Parts...
Страница 7: ...f one of the following situations Use of the unit in an unintended way Inaccurate installation putting into service operation repair or maintenance of the product by people that are not fully authoriz...
Страница 8: ...e use the contact information given below Always communicate the following Your name and address Name of contact at your address Product data as on identification plate Type of unit serial number and...
Страница 9: ...s GmbH Type of product Water water cooler Type of unit WW 3001 Article number 1104 00 Table 1 Unit specifications 2 2 Identification Plate The identification plate is attached to the front side of the...
Страница 10: ...nce to noticeable danger for humans or possible damage to property Inobservance may lead to reversible injuries or to damage to property 3 2 Safety Symbols In this Operation Manual concrete safety ins...
Страница 11: ...used improperly is operated under unsuitable conditions 3 3 1 Prevent Hazards Hazards can be prevented by safety conscious and anticipatory behaviour of staff Everybody working with the unit should k...
Страница 12: ...rom mains This is only the case when the mains plug is pulled Any changes regarding the control elements of the unit can have an influence on the safe operation All intended changes must be authorized...
Страница 13: ...can prevent or minimize bodily harm and or unit failure in case of disaster 3 4 1 Safety and Signalling Equipment included in the Unit The unit is equipped with safety devices at critical spots see F...
Страница 14: ...over is fixed by four M5 screws The electrical terminal area is accessable after removing the back cover For opening closing of the fasteners an AF8 wrench is required Fig 4 Guards 1 Unit body 2 Acces...
Страница 15: ...0 Apr 2014 Version 1 0 Water Water Cooler WW 3001 1104 00 1 Hint on electrical hazardous area at the back of the unit body 3 5 In Case of Accidents Should you or an other person be injured when workin...
Страница 16: ...t allowed as otherwise the safe operation can not be assured When using the unit in a way not compliant with the intended use hazardous situations may occur Operation of the unit is not allowed under...
Страница 17: ...4 3 1 Functional principle In the cooling circuit the coolant is driven by the pump to the device that is to be cooled and back via the return flow The heat is transferred to the water supply intake t...
Страница 18: ...Performance data Cooling capacity 3 0 kW at 5 0 l min water at 22 C Throughput 5 4 lpm 4 0 bars Mains voltage 230 VAC 50 60 Hz Current draw 1 8 A Operating noise 47 dB 50 Hz 1 m distance Table 5 Perf...
Страница 19: ...stalled without sharp bends 4 5 2 Environmental Conditions CAUTION Risk of damage due to unsuitable environmental conditions Damage to the unit and corrosion damage may result and are not covered by m...
Страница 20: ...aged without repair and would need to be replaced Transport the unit in upright position Do not tilt the unit or expose it to impacts 5 2 Transportation of the Unit The unit is delivered packaged and...
Страница 21: ...ly made Please follow the rules in chapter Safety Regulations on page 9 6 2 Setting to Work 6 2 1 Placement Fig 7 Minimum clearance for air entrance and air exit 1 Move the unit to its installation lo...
Страница 22: ...he cooling hoses with an internal diameter of 9 mm are connected to the unit by means of hose nipples Water outlet and water inlet are indicated with respective symbols Fig 8 Labelling of water inlet...
Страница 23: ...L Liter 0 0 0 1 0 6 1 1 1 6 2 1 2 6 3 1 3 6 4 1 Table 9 Amount of antifreeze depending on ambient temperature based on 8 5 l water 6 2 3 Electrical Connections DANGER Danger to life through electrical...
Страница 24: ...gs and make the connection to the terminal Then do the same with the wires for the implementation of the safety circuit 3 Remount the back panel After installation of the mains cable connect the unit...
Страница 25: ...with the operational parameters as specified on page 17 5 Remount cap on coolant container 6 Switch off the unit The unit is ready for operation 6 3 Daily Start up Switch on the unit about 1 minute p...
Страница 26: ...ontainer is sufficient Check the filling level of the coolant container regularly Also pay attention to the hints given in the chapter Safety indications from page 9 on 7 2 Switching on the Unit The u...