background image

14

2. Setup

CO2 Laser Machine © 2018 Laguna Tools 8/27/2018

2.

 S

et

up

EN

Installing the Laser Tube

Note: Although only the MX machine is shown, this section is similar for all Laguna

laser machines.

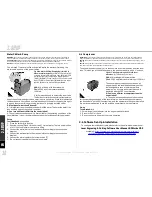
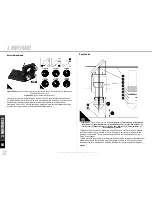
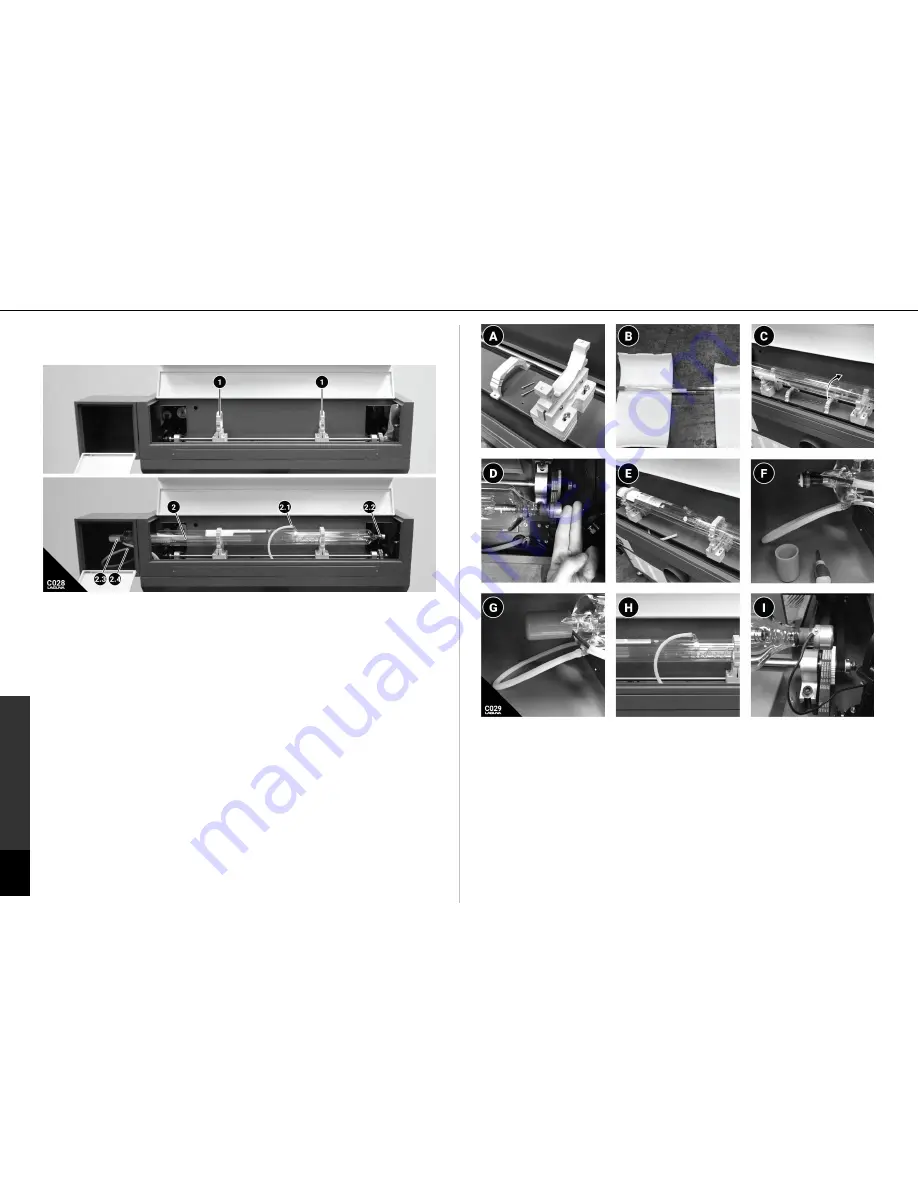
Figure C028: Laser Tube Installation. (1) 

Laser Tube mount. 

(2) 

Laser Tube. 

(2.1) 

Water

Outlet. 

(2.2) 

Anode Terminal. 

(2.3) 

Cathode Terminal. 

(2.4) 

 Water Inlet. 

The laser tube must be shipped in a separate insulated package to prevent damage

upon shipment. In our quality and testing facility, the tube is mounted and the laser

machine mirrors are aligned accordingly. The laser tube is then removed and put

back in the original packaging. 

Because of this, it should not be necessary to re-

align the mirrors. 

To reinstall the laser tube, follow the procedure exactly. Avoid any

adjustments to mirrors or laser tube mounts during the installation.

Tools Needed: 

Allan Wrenches. Phillips head screwdriver (short)

DANGER 

Make absolutely sure that the machine is not connected to the power

source.

A. Remove the top portion of each (1) laser tube mount with an allen wrench. Do

not make any adjustments to the other components of the laser tube mounts.

B. Carefully remove the (2) laser tube from the packaging.

C. Carefully place the (2) laser tube in the laser tube mounts. Once in place, rotate

the laser tube so that the (2.1) water outlet tube is pointed straight up. This will

eliminate any air bubbles form staying stagnate in the laser tube.

D. Position the laser tube by translating the position of the laser tube to a distance

of 1.5-2" form the first mirror assembly. A width of 2 fingers is adequate.

E. Reinstalled the top mounts of the (1) laser tube mounts. Only tighten down

enough to secure the tube - DO NOT over-tighten. DO NOT adjust the height or

position of the tube mounts at this time.

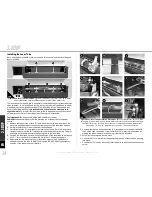
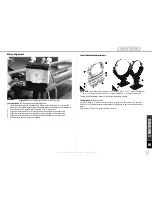
Figure C031: Laser Tube Installation Procedures. (A) 

Laser tube Mount. (B) Laser tube

packaging. (C) Laser tube in place, rotate water outlet vertical. (D) Laser tube two finger

spacing from mirror. (E) Laser tube mounted. (F) Cathode Connection & Water Inlet

Connection. (G) Cap.  (H) Water Outlet Connection. (I) Anode Connection

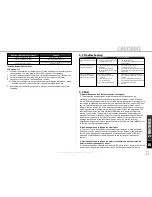
F. Unscrew the red cap and connect the (2.3) cathode wire to the laser tube with

the Phillips head connection screw. Install the (2.4) water inlet connection by

wetting the tube with water and pushing it completely into place.

G. Screw the red safety cap back in place.

H. Connect the (2.1) water outlet tube by wetting the end of the tube and pushing

into place.

I. Connect the (2.2) anode wire to the laser tube with the phillips head connection

screw.

Содержание Laser MX

Страница 1: ...Engraving Cutting Machine 8 27 2018 EN 2072 Alton Parkway Irvine CA 92606 U S A Service 1 949 474 1200 or email customerservice lagunatools com CO2 Laser Machine 2018 Laguna Tools 8 27 2018 MCNCLTLCO2MU2012 40W MCNCLTLCO2EC2436 80W MCNCLTLCO2EC3652 150W ...

Страница 2: ...4 Introduction 4 1 Reference 5 1 1 CO2 Laser Specifications 5 1 2 Dimensions 7 1 3 Control Display Elements 8 1 4 Accessories Options 9 Fume Extraction Machine 9 Rotary Fourth Axis Turner 9 Honeycomb Table 9 2 Setup 10 2 1 Preparing For Setup 10 2 2 Connection Diagrams 11 2 3 Unboxing Inventory 12 2 4 Machine Set Up 13 Removing Zip Ties and Shipping Devices 13 Leveling the Machine 13 Installing Pa...

Страница 3: ...y get caught in moving parts Nonslip footwear is recommended Wear protective hair covering to contain long hair 12 Never modify this machine in any way 13 Always use proper personal protective equipment when using this machine 14 Disconnect tools before servicing and when changing accessories and consumable parts 15 Use recommended accessories Consult the owner s manual for recommended accessories...

Страница 4: ...ng the product for purposes other than those described as intended use unless with consent by Laguna Tools modification to the product or use with an accessory that was not designed for the product It is the responsibility of the user to understand basic woodworking machinery settings and procedures and to properly maintain the equipment in accordance with the standards provided in this manual Shi...

Страница 5: ...ion for harmful chemicals and debris making this machine a standout for high volume cutting use In addition convenient WiFi controls automatic focusing precision linear guide rails and more features come together to create a user friendly CO2 laser cutter capable of both incredible power and fine detail LASER EX 120W MCNCLTLCO2EC3652 150W The Laguna SmartShop Laser EX is a powerful CO2 laser cutte...

Страница 6: ...nge limit 19 7 500 mm 34 865 mm 53 1 1350 mm Y Axis Range limit 11 280 mm 23 22 590 mm 37 4 950 mm Z Axis Range limit 6 3 160 mm 12 6 320 mm 8 66 220 mm Focal Lens Diameter 20mm 20mm 20mm 1 1 5 Fume Extraction Dust Port Outer Diameter 3 95 100mm 2x 5 95 150mm 5 95 150mm CFM Requirement 400CFM 400CFM Fume 600CFM Debris lower 600CFM Specification Laser TX Laser MX Laser EX 1 1 6 Materials Cabinet Sh...

Страница 7: ...limits of the laser machine see below Both 2 Honeycomb Table and 3 Material Ribs can be removed for additional Z axis range 3 Honeycomb Table The honeycomb table is ideal because it is not damaged ruined by the laser beam and will remain flat This table can be removed to allow for additional Z axis range 4 Material Ribs The metal ribs are used as effectively as the honeycomb table for larger mater...

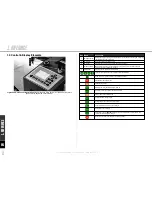
Страница 8: ...ntrolling manual movements of the laser head and selecting functions within the interface 5 File Number Displays the file number of the work file Jogs the laser head or moves the curser of Ruida Interface Show entries in interface Selects the Z Axis navigation Stop Work or Escape a menu Validate the change Displays the Set the relative origin prompt Samples the file specified or default frame size...

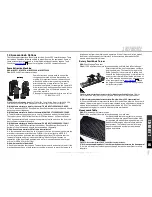
Страница 9: ...r This ensure that the fumes are isolated and stay inside the machine A dust collector focuses on separation of the dust large particles and air This is usually done with a large 1 micron or HEPA 0 2 micron filter Q How do i use the in line model A Each laser machine that Laguna Tools sells comes with an auxiliary blower If the machine does not have a fume extractor the blower is used to move the ...

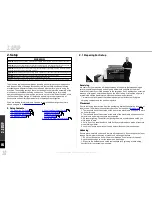
Страница 10: ...tup Contents 2 1 Preparing For Setup 2 2 Connection Diagrams 2 3 Unboxing Inventory 2 4 Machine Set Up 2 5 Auxiliary Equipment Set Up Exhaust Ventilation Water Chiller Pump Air Compressor 2 6 Software Set Up Installation 2 1 Preparing For Setup Receiving It is likely that your machine will be delivered by a third party Before unboxing be sure to inspect the packaging and shipping documents supplie...

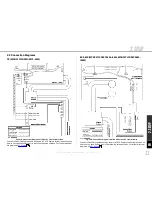
Страница 11: ...er instructions on how to set up each axillary unit in the following setup sections For further electrical diagrams see A1 Wiring EX MX MCNCLTLCO2EC2436 80W MCNCLTLCO2EC3652 150W Fig C019 Connections Diagram for MX EX Series CO2 Laser Machine Connect all Auxiliary components as shown in C019 Explore further instructions on how to set up each axillary unit in the following setup sections For furthe...

Страница 12: ...rm for work pieces 2 Water Chiller Chills and pumps water through the glass laser tube to effectively cool the machine 2 1 Water Tubing x 2 NOT SHOWN Connect Chiller to Laser Machine through inlet and outlet ports on rear of laser machine 2 2 Power Cable NOT SHOWN Power connection for Water Chiller 2 3 Connection Cable NOT SHOWN Connection Cable From Laser Machine to Water Chiller AKA Alarm Cable ...

Страница 13: ...o avoid damaging the belts Tools Needed Scissors Leveling the Machine Leveling the machine is important to ensure the flatness of the work area and the alignment of the laser mirrors Make certain to position the laser machine on a flat solid surface and level the machine by adjusting each caster Perform this step prior to installing the laser tube to reduce the risk of breaking the laser tube Inst...

Страница 14: ...be from the packaging C Carefully place the 2 laser tube in the laser tube mounts Once in place rotate the laser tube so that the 2 1 water outlet tube is pointed straight up This will eliminate any air bubbles form staying stagnate in the laser tube D Position the laser tube by translating the position of the laser tube to a distance of 1 5 2 form the first mirror assembly A width of 2 fingers is...

Страница 15: ...band clamps 2 ducting coils or other duct work the blower unit and a flat head screwdriver to fasten the clamps Fig C010 Exhaust Blowing unit for laser machines 1 Positive Pressure output air comes out here 2 Negative pressure input air is sucked in here 3 Mounting Bolt Holes 4 TEFC AC Induction Motor SKU N A included with laser machine Fits All CO2 and Fiber Laser machines 100Watt The purpose of ...

Страница 16: ...There is no indication of a fill limit so measure it out prior to filling 3 Connect the water inlet to the machine outlet according to the connection diagram 4 Connect the water outlet to the machine inlet according to the connection diagram 5 Connect the alarm cable to the laser machine 7 6 Do not connect to power until set up is complete Air Compressor WARNING Do not connect to a power supply un...

Страница 17: ...neral oil Special care must be taken not to scratch or damage sensitive coatings applied to the optics a microfiber cloth cotton swab and glass cleaning solution is adequate Cleaning the exhaust pathway and debris around the vector grid work surface is critical to prevent fire Prior to every use empty the collection bin and vacuum out any debris accumulated around or on the work area On a weekly b...

Страница 18: ...he focal lens not the edge Tools Needed Laser Marking Tape Brain 1 Disconnect the laser machine from power source 2 Remove the bottom nozzle and tube contains the focal lens of the laser head assembly by unlocking the height adjust and pulling it completely out 3 Position the gantry and laser head assembly in the 000 position as shown in C035 Note that this is the closest path possible for the bea...

Страница 19: ...aser tube 4 Align the laser tube to mirror 2 by adjusting the height of the laser tube 5 Align the laser tube to mirror 3 by adjusting the height of the laser tube 6 Check alignment and adjust as needed Laser Tube Mount Adjustments Figure C030 Laser Tube Mount Diagram Left EX MX Right TX 1 1 Laser tube Bracket bolts 1 2 Height Adjustment lock 1 3 Mounting Bolts 1 4 Height Adjustment To adjust the ...

Страница 20: ...d counter clockwise adjustments Focal Lens Figure C037 Focal Lens Assembly F Focal Length L Focal Spacing 1 Unfocused Laser Beam 2 Laser Head Mirror 3 Head Removal Set 4 Lens Removal Set 5 Focal Lens 6 Rubber Gasket 7 Locking Nut 8 Nozzle 9 Focusing Beam 1 Focused Beam Surface The laser will enter the head assembly and concentrate via the focal lens Making sure that the laser has a correct F Focal...

Страница 21: ...al spacing to 7mm from work surface 3 Use lens with 50 8mm focal length 4 Clean focal lens and ensure that the Air Assist System is working 5 No soln 3 4 FAQ Q What materials can the CO2 Laser machine cut engrave A The processing capabilities of laser machines are distinguished by the wavelength of the laser beam and the power output of the laser tube CO2 Lasers can cut and engrave most materials ...

Страница 22: ...putted as inch s The max power is 100 The max speed is 500mm s The default interval is 0 1mm THIS CHART MAY NOT BE ACCURATE Because every laser machine is unique it is difficult to produce a finite cut chart for reference This chart should be used as a baseline for the operator to adjust the RDWorks parameters to perform a proper cut or engraving on the work material It is highly advised that the ...

Страница 23: ...tool to a power supply receptacle outlet etc make sure that the voltage supplied is the same that is specified on the nameplate of the tool IF IN DOUBT DO NOT PLUG IN THE MACHINE Using this tool with a voltage different than that stated on the nameplate can damage the electrical components of this machine and any such damage will not be covered by a warranty CIRCUIT BREAKER Also make sure that the...

Страница 24: ...EN A3 Wiring EN A3 Wiring 24 CO2 Laser Machine 2018 Laguna Tools 8 27 2018 ...

Страница 25: ...A3 Wiring 25 CO2 Laser Machine 2018 Laguna Tools 8 27 2018 EN A3 Wiring ...

Страница 26: ...5 Honeycomb Table 5 9 Honeycomb Table Work Surface 17 I in addition to fume extraction 5 Integrated HEPA Filtration 5 Interlock Switch 21 L Laser Head Assembly 5 Laser Power 5 Laser Type 5 Length of Waranty 4 Linear Rails 5 Lubrication 17 M Maintenance 18 Maintenance Work 18 Mirror Alignment 17 Mirror Allignment 19 N Net Weight 5 O On Off Key 8 Optical Lens 5 Overall Size 5 P Paper 22 PDF 4 Placem...

Страница 27: ... included equipment without notice or obligation No part of this publication may be reproduced transmitted or translated into any language in any form by any means without our written permission Errors and omissions may be current CO2 Laser Machine 2018 Laguna Tools Inc LAGUNA and the LAGUNA Logo are the registered trademarks of Laguna Tools Inc All rights reserved 8 27 2018 ...

Страница 28: ...2072 Alton Parkway Irvine CA 92606 U S A For Customer Service 1 949 474 1200 or email customerservice lagunatools com CO2 Laser Machine 2018 Laguna Tools 8 27 2018 Lagunatools com supermaxtools com ...

Отзывы: