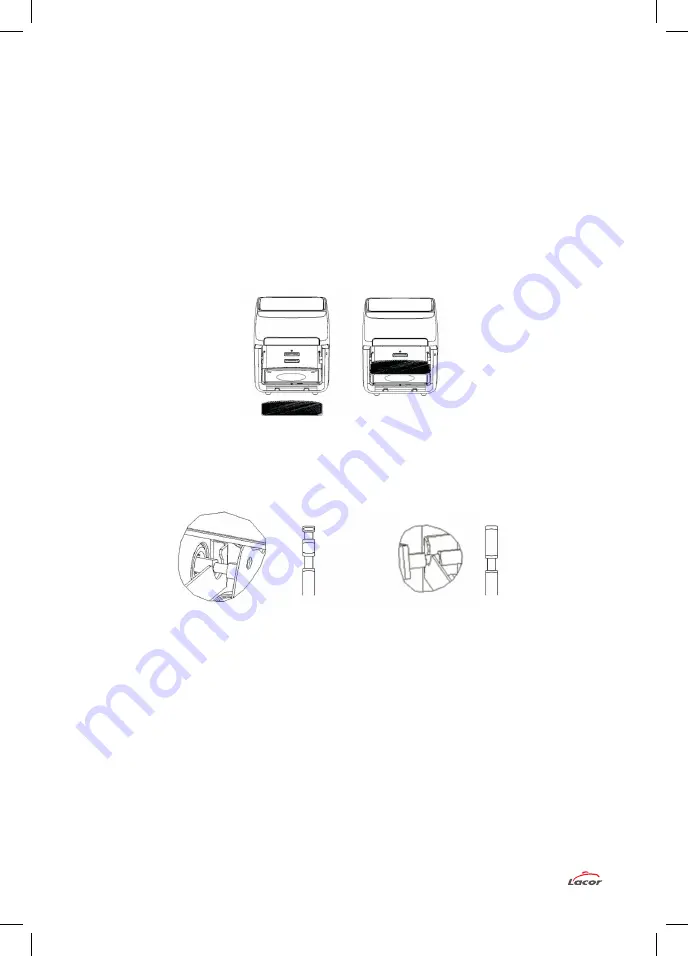
6.- Make the food with one of the following accessories depending on the food you'll be cooking.
Rack (7): Use the rack for cooking vegetables, pizza, desserts or to re-heat or
dehydrate
food.
Rack + Tray (8): Use the tray over the rack to cook meat or fish.
Round Basket (9): Use the round basket to cook vegetables or meat that needs to be
stirred or flipped while cooking.
Skewer (10): Use the skewer to cook a whole chicken.
7.- After the fryer reaches the cooking temperature it will beep five times and ADD will be shown
on the display
8.- At that time open the door (4) and put the accessory in the oven.
NOTE:
IPut the tray in the bottom when using the rack, round basket or skewer.
9.- Put the rack in through one of the three guides inside the fryer.
Slide the round basket or skewer through the guide until it touches the back.
For the accessories to rotate correctly make sure to position the shaft correctly on the fryer
guide. Make sure to engage the accessory into the left wall correctly, as shown in the picture.
10.- Close the oven door as soon as the food has been put inside the fryer. Push the rotate button
(h) when the accessory being used is the skewer or round basket. If you do that the
accessory will rotate while cooking.
NOTE:
Keep the oven door open as little time as possible to avoid heat loss.
11.- Push the inside light button (g) while cooking to turn the light inside the fryer on so you can
see the food inside. Push the button again to turn the light off.
12.- When the cooking time is over, open the fryer door and let the heat out. Remember that the
cooking accessories will be extremely hot. Use gloves with thermal protection to take the tray
or rack out of the fryer.
Use the round basket/skewer handle (11) to pull those accessories out.
Left side
Right part


