LaCie 2big Quadra Enterprise Class
• D
esign
by
n
eil
P
oulton
RAID
User Manual
page 22
3.4.2. Windows Users
The process of formatting a drive on a computer running Windows
XP, Windows Vista, or Windows 7 consists of two steps: (1) installing
a signature on the drive, and (2) formatting the drive. These steps
will erase anything that is on the disk.
CAUTION:
Following these steps will erase everything from the 2big, in-
cluding encrypted data. If you have information that you want to protect or
continue to use, back up this information before performing these steps.
IMPORTANT NOTE:
Formatting will not erase the encryption con-
figuration. If you wish to format a 2big that has been encrypted, you
will first need to unlock the device using the LaCie Desktop Man-
ager, then follow the steps below.
TECHNICAL NOTE:
Windows XP 32-bit: These operating systems will not recognize vol-
umes greater than 2TB in size.
Windows XP x64, Windows Vista (32- and 64-bit versions), and Win-
dows 7 (32- and 64-bit versions): These operating systems will recog-
nize volumes greater than 2TB in size, but the disks must be converted
to the GPT file system before partitions greater than 2TB can be cre-
ated.
1. Connect the drive to the power source and to the computer via
the interface port.
2. Right-click
My Computer
and select
Manage
.
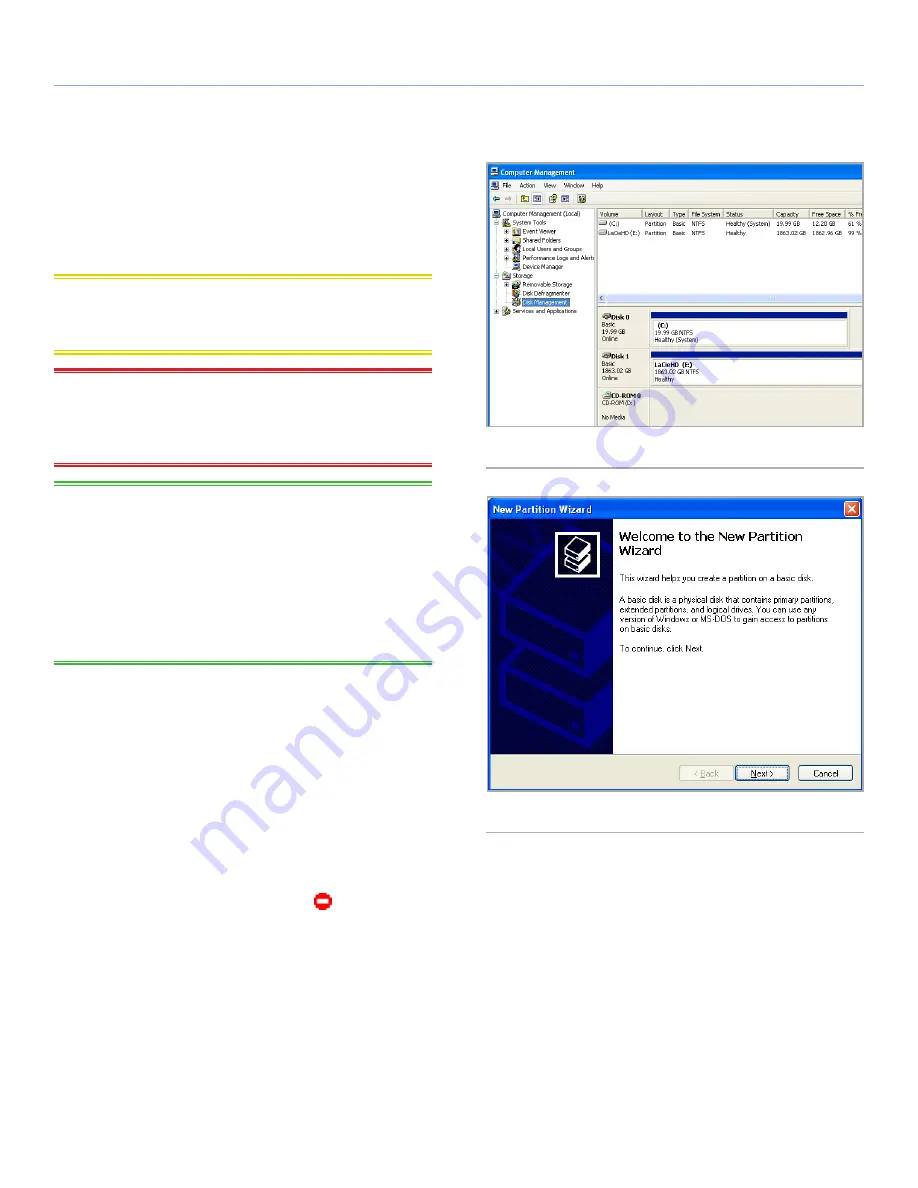
3. From the “Computer Management” window, select
Disk Man-
agement
(located below the Storage group). See
Fig. 14
(screens may differ slightly depending on the system).
4. If the “Initialize and Convert Disk Wizard” window appears,
click
Cancel
.
5. Windows will list the Hard Disks that are installed on the system.
Locate the drive that is represented by the
icon. Right-click
the icon and select
Initialize
.
6. Windows XP x64, Windows Vista, and Windows 7: Right-click
the disk and click
Convert to GPT
.
7. In the box to the right that says Unallocated, right-click and
select
New Partition…
8. On the first page of the “New Partition Wizard,” click
Next
. See
Fig. 15
(screens may differ slightly depending on the system).
continued on next page...
Fig. 14
Fig. 15


