Part No.: 8126200-795Issue 1.1Printed on April,2016
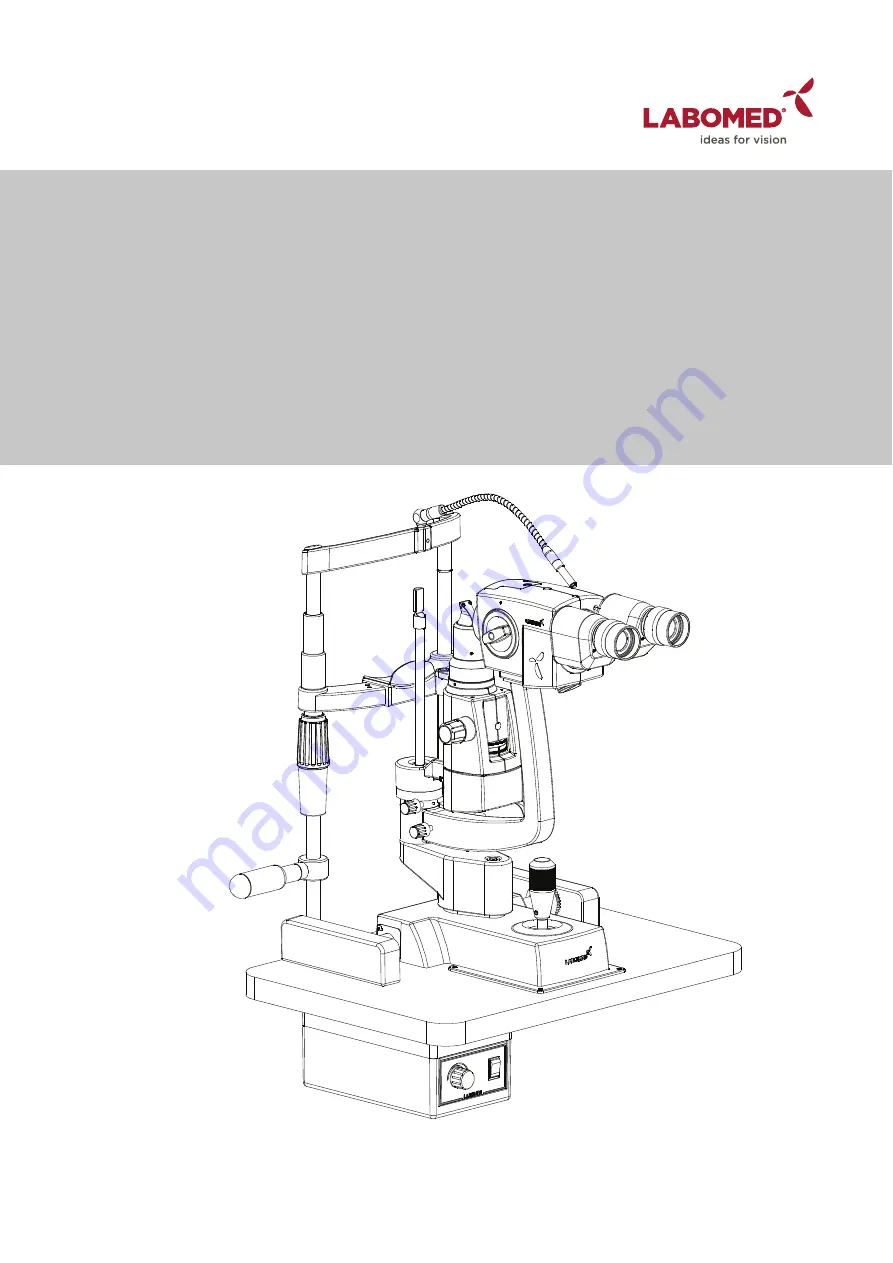
eVO 300
Slit Lamp
User Manual
Страница 1: ...Part No 8126200 795 Issue 1 1 Printed on April 2016 eVO 300 Slit Lamp User Manual...
Страница 2: ...erves the right to make change in the product described in this manual without notice and without incorporating those changes in any products already sold ISO 9001 13485 Certified LABOMED products are...
Страница 3: ...Filter Dial Slit Rotation Cleaning Maintenance External Cleaning Forehead Chin rest Preparation Cleaning the Glide Plate Changing the Halogen Bulb Changing the LED Fuse Replacement Replacement of Chin...
Страница 4: ...C SHOCK THIS EQUIPMENT MUST ONLY BE CONNECTED TO A SUPPLY MAIN WITH PROTECTIVE EARTH OR DAMAGE TO THIS INSTRUMENT AND OR INJURY TO THE OPERATOR OR PATIENT MAY OCCUR WARNING ENSURE THAT THE VOLTAGE APP...
Страница 5: ...MAY OCCUR SEE THE CARE AND MAINTENANCE SECTION FOR DETAILED CLEANING INSTRUCTIONS CAUTION MEDICAL ELECTRONIC EQUIPMENT NEEDS SPECIAL PRECAUTIONS WITH RESPECT TO ELECTROMAGNETIC CHARGE EMC AND NEEDS T...
Страница 6: ...ive Earth Connection ON OFF Manufacture Catalog Number Serial Number Waste of Electrical and Electronic Equipment Compliance to medical Device Directive 93 42 EEC Accompanying Document must be consult...
Страница 7: ...ns and eye care technicians should operate this instrument Please retain this manual for future reference and to share with other users Additional copies can be obtained from your authorized LABOMED d...
Страница 8: ...ock Knob 18 Instrument Base Lock Knob 19 Guide Rail Cover 20 Geared Rollers 21 Inbuilt tube for CCD Camera Attachment 22 Chin Rest Assembly 23 Power Supply Assembly 24 Table Top 25 Patient Handles 26...
Страница 9: ...indicated in the user guide for the stand 5 Open the box with the chin rest assembly and remove it Refer to Figure 2 6 Using the 3mm Hex Wrench connect the Ground Wire from the Power Supply to the Chi...
Страница 10: ...slide the Guide Rail Covers around the tracks Refer to Figure 7 11 Attach the Base Lamp Wire to the back of the Power Supply Assembly Refer to Figure 5 12 Using the 4mm Hex Wrench adjust the Patient...
Страница 11: ...IT IS NOT DIFFICULT TO OPERATE THE DISCONNECTION DEVICE PLUG 1 After the unit is in its secure location apply the correct input voltage to the instrument using the Power Cord from the Accessory Tray N...
Страница 12: ...ating it clockwise into the Lens Adapter Shown as C Refer Figure 14 4 Plug in the video cable into the Analog video Connector Shown as E Refer Figure 15 5 Plug in the Power Connector into the Camera P...
Страница 13: ...andle on the post of the Chin Rest Assembly until the patient s canthus is in line with the canthus mark on the chin rest post Refer to figure 13 7 Microscope elevation is adjusted by rotating the joy...
Страница 14: ...rotating the Slit Length Dial The dial has five stops for adjustments They are 0 6 5 8 9 13 5 mm diameter and continuous 1 5 to 12 0mm They index into place Refer to Figure 18 FILTERS The Filter Dial...
Страница 15: ...with a mild soap and water solution USER ENVIRONMENT REQUIREMENT Maintain Operational Environment as specified in Specification section of this manual Do not use this Instrument in corrosive environme...
Страница 16: ...LED THAT HAS RECENT LY BEEN IN USE AS IT MAY BE VERY HOT WAIT UNTIL IT IS COOLED WARNING NEVER TOUCH A LED WITH BARE HANDS AS FINGERPRINTS WILL SHORTEN THE LED LIFE 1 Remove input power to the instru...
Страница 17: ...the Door to the Fuse Holder by pulling it down Refer to figure 25 NOTE The Fuses will pop up when the door is open making removal easier 4 Install new fuses into the Fuse Holder that is indicated in...
Страница 18: ...dim Incorrect wattage for bulb being used Replace with the proper Bulb with bulb housing Double slit visible in microscope Microscope not focused on focusing rod before use Install focusing rod and c...
Страница 19: ...Relative Humidity 30 to 75 80 Atmospheric Pressure 80 kPa 23 6 in Hg to 106 kPa 31 3 in Hg 10 Transportation Storage Temperature 20 C 4 F to 70 C 158 F 106 kPa kPa Relative Humidity 10 to 80 non cond...
Страница 20: ...m vertical Up Down 30mm Chin rest Range 80mm DISPOSAL This product does not generate any environmentally hazardous residues At the end of its product life follow your local laws and ordinances regardi...
Страница 21: ...Issue 1 1 Printed on April 2016 The eVO 300 is intended for use in the electromagnetic environment specified below The customer or user of the eVO 300 should ensure that it is used in such an environm...
Страница 22: ...60Hz Magnetic Field IEC 61000 4 8 3A m 3A m 8126200 795 eVO 300 Issue 1 1 Printed on April 2016 The eVO 300 is intended for use in the electromagnetic environment specified below The customer or user...
Страница 23: ...atts W according to the transmitter manufacturer and d is the recom mended separation distance in meters m Field strengths from fixed Rf transmitters as determined by an electromagnetic site survey sh...
Страница 24: ...at a maximum output power not listed above the recommended separation distance d in meters m can be estimated using the equation applicable to the frequency of the transmitter where P is the maximum...
Страница 25: ...ATENT WARRANTY If notified promptly on writing of any action brought against the purchaser based on a claim that the instrument infringes a U S Patent Labo America Inc will defend such action at its e...
Страница 26: ...Revision History Rev No Date of Release Change App By DCR S Bal 4 4 2016 DCR 16 2016 Added User Enviro nment requirement in Cleaning maintenance section 1 1...
Страница 27: ...one 510 445 1257 Fax 510 991 9862 Email sales laboamerica com www laboamerica com Labomed Europe Essebaan 50 NL 2908 LK Capelle a d IJssel The Netherlands Tel 31 0 10 4584222 Fax 31 0 10 4508251 E mai...