


6
*
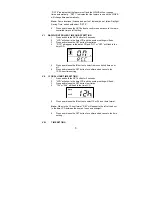
When the signal is successfully received by the Weather Station, the icon will be
switched on. (If not successful, the icon will not be shown in LCD) So the user can
easily see whether the last reception was successful (icon on) or not (icon off). On the
other hand, the short blinking of the icon shows that a reception is being done now.
•
If the signal reception is not successful on the first frequency (915MHz) for 45 seconds, the
frequency is changed to 920MHz and the learning is tried another 45 seconds. If still not
successful the reception is tried for 45 seconds on 910MHz. This will also be done for re-
synchronization.
PROGRAM MODE
Programming Note:
If 30 seconds is allowed to pass, or the CH button is pressed
during the programming mode, the unit will confirm/set the last information entered—
the display will stop flashing and return to normal time-date readings. If you don’t leave
the program mode during the programming of sections III through XII, you can
advance to step 4 of the next program setting. If you do leave the program setting (or
want to program a specific setting) follow each instructional step to program that
setting.
I.
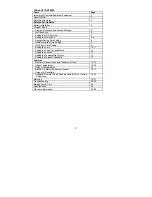
PROGRAMMING SEQUENCE AND DEFAULT SETTINGS
The programming sequence and default (factory) settings are as follows:
LCD
Contrast
5
Time
Zone -5h
(Eastern)
Daylight Saving Time
1 (on)
Radio-controlled time reception
ON
12/24-hour
time
12
Time
12:00
Year
2006
Day and Month
1.1.
Snooze (this function not used)
10
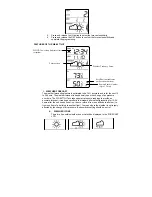
Temperature Format
°
F
Forecast
Sensitivity
2
Please note that while there is a snooze adjustment in the programming this is an
unused function as there is no alarm on the indoor weather station.
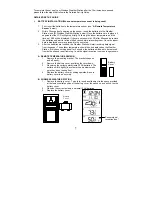
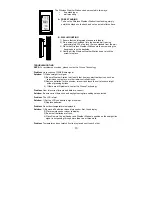
II. FUNCTION
KEYS
The function keys are located on the front of the unit directly below the LCD.
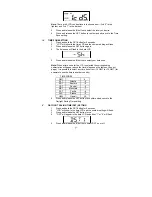
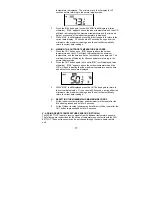
III.
SETTING THE LCD CONTRAST
1.
Press and hold the
SET
button for 5 seconds.
2.
“LCD” will show in the time LCD and the number setting will flash.