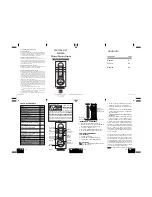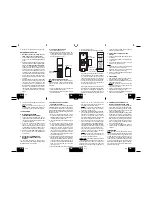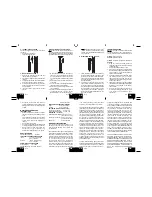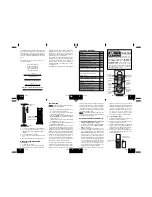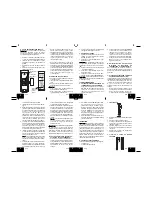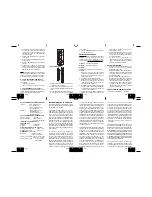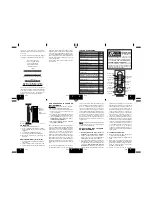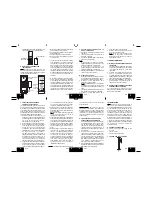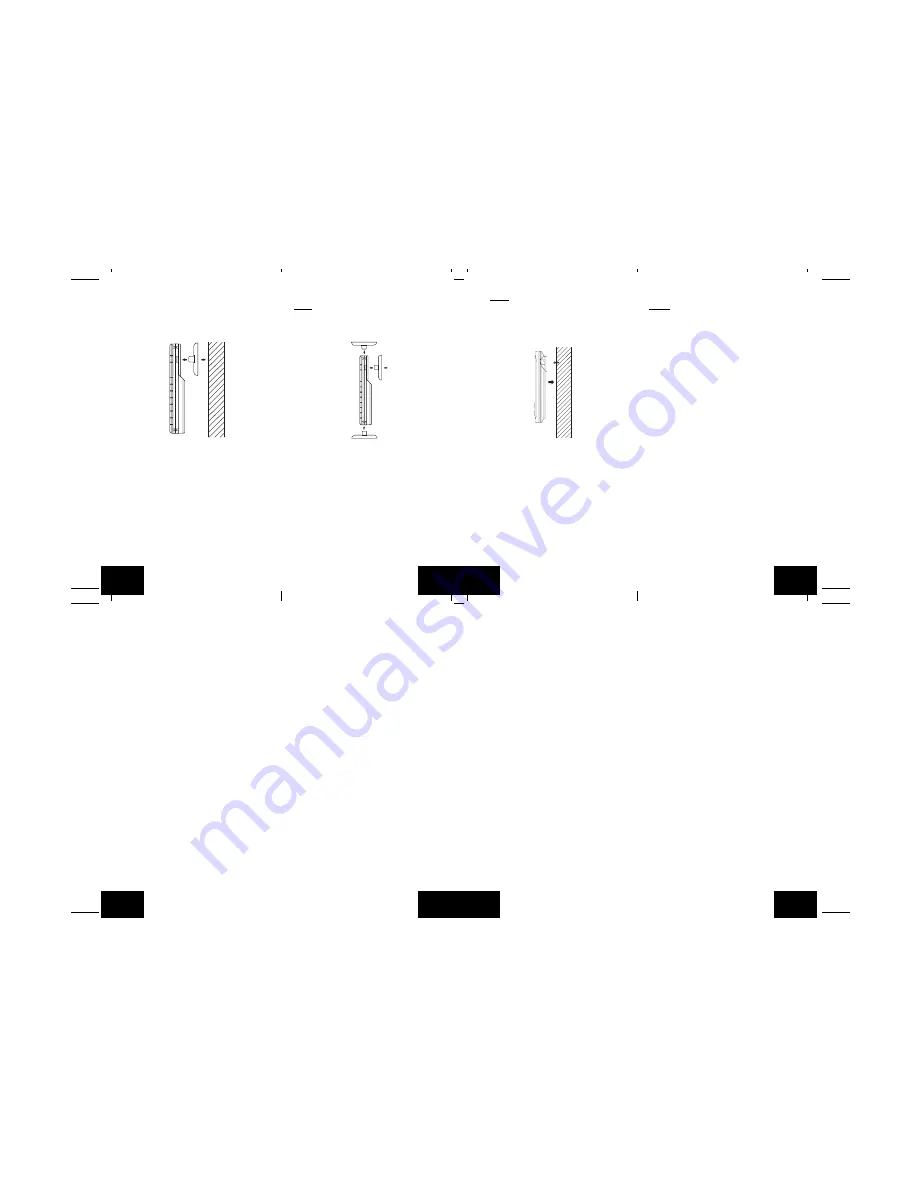
A. THERMO-HYGRO SENSOR
The thermo-hygro sensor can be mounted in
two ways:
•
with the use of screws, or
•
using the adhesive tape.
A. MOUNTING WITH SCREWS
1. Remove the mounting bracket from the
remote thermo-hygro sensor.
2. Place the mounting bracket over the desired
location.
3. Through the three screw holes of the bracket,
mark the mounting surface with a pencil.
4. Screw mounting bracket onto the mounting
surface. Ensure that the screws are flush
with the bracket.
5. Insert the thermo-hygro sensor into the
bracket.
B. MOUNTING WITH ADHESIVE TAPE
Note: The adhesive tape is not intended to be
used as a permanent mounting solution. Only
use the adhesive tape while you are positioning
the Weather Station and thermo-hygro sensor.
1. With a nonabrasive solution, clean and dry
the back of the mounting bracket and the
mounting surface to ensure a secure hold.
The mounting surface should be smooth and
flat.
2. Remove the protective strip from one side
of the tape.
3. Adhere the tape to the designated area on
the back of the mounting bracket.
4. Remove the protective strip from the other
side of the tape.
5. Position the remote thermo-hygro sensor in
the desired location, ensuring that the
Weather Station can receive the signal.
Note: Mounting with adhesive tape is not
recommended as a permanent mounting
solution. Only use the adhesive tape during
set-up process
B. WIRELESS WEATHER STATION
1. The Wireless Weather Station comes with
the table stand attached to the back of the
Receiver. If you wish to use the table-stand,
simply place the Wireless Weather Station
in an appropriate location, and pull out on
the attached stand.
2. To wall mount, push the table stand flat
against the Wireless Weather Station (if it
isn’t already flat). Fix a screw (not included)
into the desired wall, and place the Wireless
Weather Station onto the screw using the
hanging hole on the backside. Gently pull
the Wireless Weather Station down to lock
the screw into place.
TROUBLESHOOTING
NOTE: For problems not solved, please contact
La Crosse Technology via e-mail or phone, or
visit our website, www.lacrossetechnology.com
Problem: The LCD is faint
Solution: Replace batteries
Problem: No outdoor temperature is displayed.
Solution:
1. Bring any units from outside, inside and
place the units 3 to 5 feet apart with nothing
in-between them.
2. Remove the batteries from all units.
3. Press one of the buttons on the Wireless
Weather Station display at least 20 times to
clear all memory. Verify that the display is
blank before proceeding.
4. Using good quality alkaline batteries, place
the batter ies back into the outdoor
temperature sensor; making sure they are
installed according to the diagrams in the
battery compartment.
5. Taking care not to press any buttons, reinstall
the batteries in the Wireless Weather Station
according to the diagram in the battery
compartment.
6. Do not press any buttons for at least 15
minutes after installing the batteries. (This
is to let the units establish a good
connection.)
7. During the course of the 15 minutes an
outdoor temperature should appear on the
display. You can now put your sensor(s) back
outside.
MAINTENANCE AND CARE
INSTRUCTIONS
•
Extreme temperatures, vibration, and shock
should be avoided to prevent damage to the
units.
•
Clean displays and units with a soft, damp
cloth. Do not use solvents or scouring
agents; they may mark the displays and
casings.
•
Do not submerge in water.
•
Do not subject the units to unnecessary heat
or cold by placing them in the oven or freezer.
•
Opening the casings invalidates the
warranty. Do not try to repair the unit.
Contact La Crosse Technology for repairs.
SPECIFICATIONS
Transmitting Frequency
915 MHz
TEMPERATURE MEASURING RANGES
Indoor
14.1˚F to 139.8˚F with
0.2˚F resolution.
Outdoor
-39.8˚F to 139.8˚F with
0.2˚F resolution.
HUMIDITY MEASURING RANGE
Outdoor (%RH)
1% to 99%
Transmitting range
Maximum 330 feet
(100m) open space
TEMPERATURE CHECKING INTERVAL
Indoor
Every 15 seconds
Outdoor
Every 4 seconds
BATTERIES-(Alkaline recommended)
Thermo-Hygro Sensor
2 x AA, 1.5V
Wireless Weather Station
2 x AAA, 1.5V
DIMENSION: (H x W x D)
Wireless Weather Station 5.90" x 2.36" x 0.81"
(150 x 60 x 20.7mm)
Thermo-Hygro Sensor 5.05" x 1.5" x 0.83"
(128.3 x 38.2 x 21.2mm)
Battery life
Up to 24 Months
WARRANTY INFORMATION
La Crosse Technology, Ltd provides a 1-year
limited warranty on this product against
manufactur ing defects in mater ials and
workmanship.
This limited warranty begins on the original date
of purchase, is valid only on products purchased
and used in North America and only to the
original purchaser of this product. To receive
warranty service, the purchaser must contact
La Crosse Technology, Ltd for problem
deter mination and ser vice procedures.
Warranty service can only be performed by a
La Crosse Technology, Ltd authorized service
center. The original dated bill of sale must be
presented upon request as proof of purchase
to La Crosse Technology, Ltd or La Crosse
Technology, Ltd’s authorized service center.
La Crosse Technology, Ltd will repair or replace
this product, at our option and at no charge as
stipulated herein, with new or reconditioned
parts or products if found to be defective during
the limited warranty period specified above. All
replaced par ts and products become the
property of La Crosse Technology, Ltd and must
be returned to La Crosse Technology, Ltd.
Replacement parts and products assume the
remaining original warranty, or ninety (90) days,
whichever is longer. La Crosse Technology, Ltd
will pay all expenses for labor and materials for
all repairs covered by this warranty. If necessary
repairs are not covered by this warranty, or if a
product is examined which is not in need or
repair, you will be charged for the repairs or
examination. The owner must pay any shipping
charges incurred in getting your La Crosse
Technology, Ltd product to a La Crosse
Technology, Ltd authorized service center. La
Crosse Technology, Ltd will pay ground return
shipping charges to the owner of the product to
a USA address only.
Your La Crosse Technology, Ltd warranty covers
all defects in material and workmanship with the
following specified exceptions: (1) damage
caused by accident, unreasonable use or
neglect (including the lack of reasonable and
necessary maintenance); (2) damage occurring
during shipment (claims must be presented to
the carrier); (3) damage to, or deterioration of,
any accessory or decorative surface; (4)
damage resulting from failure to follow
instructions contained in your owner’s manual;
(5) damage resulting from the performance of
repairs or alterations by someone other than an
author ized La Crosse Technology, Ltd
authorized service center; (6) units used for
other than home use (7) applications and uses
that this product was not intended or (8) the
products inability to receive a signal due to any
source of interference.. This warranty covers
only actual defects within the product itself, and
does not cover the cost of installation or removal
from a fixed installation, normal set-up or
adjustments, claims based on misrepresentation
by the seller or performance variations resulting
from installation-related circumstances.
LA CROSSE TECHNOLOGY, LTD WILL NOT
ASSUME LIABILITY FOR INCIDENTAL,
CONSEQUENTIAL, PUNITIVE, OR OTHER
SIMILAR DAMAGES ASSOCIATED WITH THE
OPERATION OR MALFUNCTION OF THIS
PRODUCT. THIS PRODUCT IS NOT TO BE
USED FOR MEDICAL PURPOSES OR FOR
PUBLIC INFORMATION. THIS PRODUCT IS
NOT A TOY. KEEP OUT OF CHILDREN’S
REACH.
GB
P.14
GB
P.15
GB
P.16
GB
P.17
GB
P.18
GB
P.19
GB
P.20
GB
P.21

