background image


POSITIONING THE WEATHER STATION: 

Stand the Weather Station on a table top, counter or desk, or mount is on a wall. Ensure that the Weather 
Station continuously receives the 915MHz signal from the Sensor before mounting it in the desired 
location.  


CAUTION

: If the Weather Station is placed in a constant strong light environment, move the battery 

switch to Alkaline mode to prevent overcharging. 
 

WARNING:

 Do NOT recharge the included solar-rechargeable batteries outside of this product 

because it will damage the batteries and other charging devices.


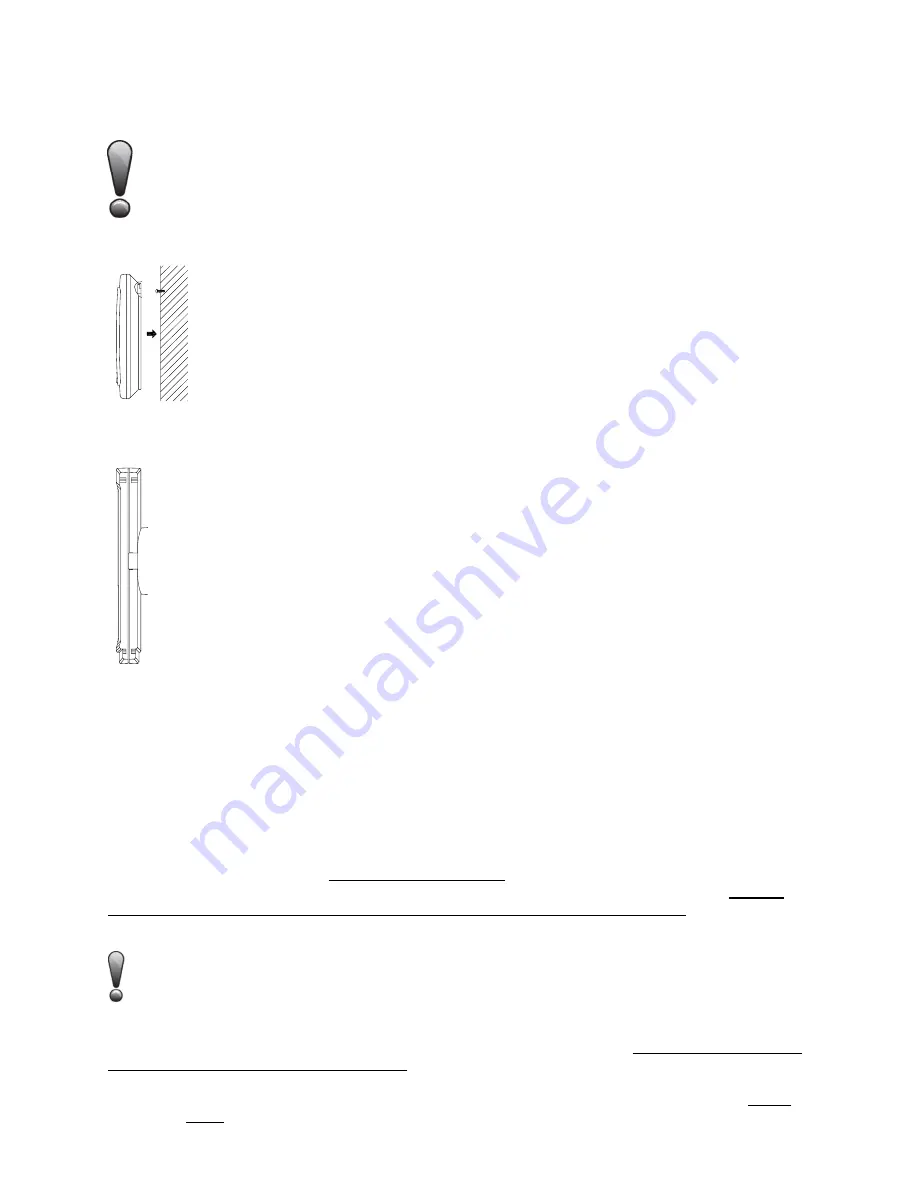
WALL MOUNTING


1.  Install a mounting screw (not included) into a wall

—leaving approximately 3/16 of an 

inch (5mm) extended from the wall. 
2.  Place the Weather Station onto the screw, using the hanging hole on the backside. 
Gently pull the Weather Station down to lock the screw into place.  
    

NOTE: 

Always ensure that the Weather Station locks onto the screw before releasing. 


POSITIONING THE SOLAR TRANSMITTER (SENSOR): 


It is important to place the Sensor in a bright environment for the solar panel to collect enough 
light to recharge the internal power cell. It is best mounted on an East wall to receive cool 
morning sun to charge. Under an overhang will provide protection from the overhead sun, which 
can cause temperature inaccuracies. 
 
The Sensor can be placed onto any flat surface or wall mounted using the bracket which doubles 
as a stand or wall mount base. 
 

WALL MOUNTING:  

1. Secure the bracket onto desired wall using screws and plastic anchors. 
2. Clip the solar Sensor onto the bracket. 


NOTE:


The mounting surface can affect the transmission range. If, for instance, the Sensor is attached to 

a piece of metal, it may then either reduce or increase the transmitting range. For this reason, we 
recommend not to place the unit on any metal surfaces or in any position where a large metal or highly 
polished surface is in the immediate vicinity (garage doors, double-glazing, etc.). Before securing the 
Sensor in place, please ensure that the Weather Station continuously receives the 915MHz signal from 
the Sensor from the desired location. 
 

TO REPLACE BATTERIES IN THE WEATHER STATION 

The Weather Station uses either the included 2 x solar-rechargeable batteries (charged by solar panel) 

or


2 x AA standard alkaline batteries (non-rechargeable; not included). 
 
The Weather Station comes with special solar-rechargeable batteries that should provide many years of 
service. If the batteries lose their ability to hold a charge, please dispose of them responsibly. Do NOT 
attempt to recharge the included solar-rechargeable batteries outside of the WS-6010U.Use standard 
alkaline batteries or contact customer support for more information. 
 

WARNING! "Do NOT recharge the included solar rechargeable batteries in any device other 
than the product they came with.  Recharging the alkaline rechargeable batteries in battery 
chargers or other third party devices will damage the batteries and charging device." 


*Once the solar-rechargeable batteries are removed from the Weather Station, slide the battery switch to 
the left position before replacing the batteries. 
  

REGARDLESS OF THE TYPE OF BATTERIES TO BE INSTALLED, THE BATTERY SWITCH MUST 
BE IN THE LEFT POSITION WHEN THE BATTERIES ARE INSERTED.  

Содержание WS-6010U-IT

Страница 1: ... Sensor LCD toggles temperature and humidity readings Transmits outdoor humidity temperature to indoor receiver using 915 MHz signals 200 FT wireless transmission range open air Built in rechargeable alkaline power cells store solar power for continuous operation No batteries necessary internal power cells cannot be replaced contact customer service for a replacement sensor Able to charge in low l...

Страница 2: ...t apart for 15 minutes so the signal can lock in repeatedly Do not press buttons at this time NOTE The solar panel needs light from a 60W light bulb or brighter during the activation process Do not cover solar panel with hands or other objects TX62UTH IT transmitter RESET key NOTE Do not use sharp objects to press the RESET key Use a small dull pointed object or a straightened paper clip and gentl...

Страница 3: ... bright environment next to a 60W light bulb or similar condition and press the RESET key to return to NORMAL MODE battery voltage is higher than 2 5V SOLAR MODE ON THE WEATHER STATION This weather station has green technology and a power savings mode that reduces power consumption by monitoring and reacting to available lighting conditions The surrounding environment brightness is checked every 5...

Страница 4: ...Press and release the SET key to exit the setting mode and switch back to the normal display mode SOLAR MODE ON THE WEATHER STATION If the solar mode setting is ON The surrounding environment brightness is checked every 5 seconds LCD will automatically turn OFF if the environment is too dark LCD will automatically turn ON if the environment is bright enough No information will be displayed when th...

Страница 5: ...The distance of the Weather Station or the Sensor should be at least 6 feet 2 meters away from any interfering sources such as computer monitors or TV sets 2 Avoid placing the Weather Station onto or in the immediate proximity of metal window frames 3 Using other electrical products such as headphones or speakers operating on the same signal frequency 915MHz may prevent correct signal transmission...

Страница 6: ...r Sensor onto the bracket NOTE The mounting surface can affect the transmission range If for instance the Sensor is attached to a piece of metal it may then either reduce or increase the transmitting range For this reason we recommend not to place the unit on any metal surfaces or in any position where a large metal or highly polished surface is in the immediate vicinity garage doors double glazin...

Страница 7: ...display is blank FACE DOWN Place the display face down on a clean cloth to prevent the solar panels from providing power UNPOWERED FOR 15 MINUTES It is important for the display to remain without power for at least 15 minutes NOTE Failure to allow a display to rest for 15 minutes can result in failure to connect with the outdoor sensor or missing segments on the display SENSOR FIRST GENTLY PUSH th...

Страница 8: ...La Crosse Technology Ltd will repair or replace this product at our option and at no charge as stipulated herein with new or reconditioned parts or products if found to be defective during the limited warranty period specified above All replaced parts and products become the property of La Crosse Technology Ltd and must be returned to La Crosse Technology Ltd Replacement parts and products assume ...

Страница 9: ...tact La Crosse Technology 2817 Losey Blvd S La Crosse WI 54601 The complete instruction manual is available at www lacrossetechnology com 6010 Le manuel d instruction complet est disponible sur www lacrossetechnology com 6010 El manual de instrucciones completo está disponible en www lacrossetechnology com 6010 Contact Support 1 608 782 1610 Product Registration www lacrossetechnology com support ...

Отзывы: