16
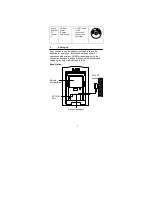
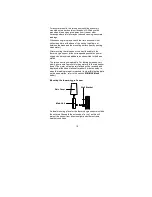
To wall mount, use the 2 screws to affix the wall bracket to the
desired wall, plug in the thermo-hygro sensor to the bracket
and secure both parts by the use of the supplied screw and
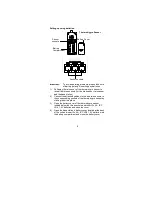
ensure that the cables from the wind and rain sensors are
correctly plugged in otherwise data transmission errors could
occur.
NOTE: For best 433 MHz reception mount the thermo-
hygro sensor on an outside wall near the location of the
base station.
10.
Resetting & factory settings
As previously mentioned, in the event of a power reset to the
sensor (for example a change of batteries), the base station
has to synchronize to the sensor again otherwise no weather
data will be received. To do this, simply press and hold the
PLUS (+) key for 2 seconds and a short beep will sound to
synchronize the base station to the sensor. When the units
are synchronized, the data will be received again and the
base station will return to normal operation mode.
Do not remove batteries or unplug the AC adaptor of the base
station otherwise all 175 sets of recorded weather history data
for transferring to the PC will be lost (for full details of PC use,
please see PC user manual in the enclosed Heavy Weather
CD-ROM).
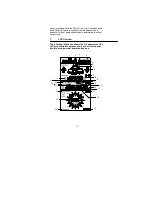
However if you wish to make a full reset of the base station
and return to the original factory settings, simultaneously
press and hold the PRESSURE and WIND keys for about 5
seconds. The base station will beep once and the entire LCD
will light up for 5 seconds and go back to the original factory
settings. This process will clear all previous user defined
values and all weather history recordings.
Factory default settings:
The following table shows the factory default values of the
weather station:
Matter:
Default Setting:
Time
12:00 am
Date
01.01.2001

