background image

04

Connecting to the App

LA CROSSE VIEW

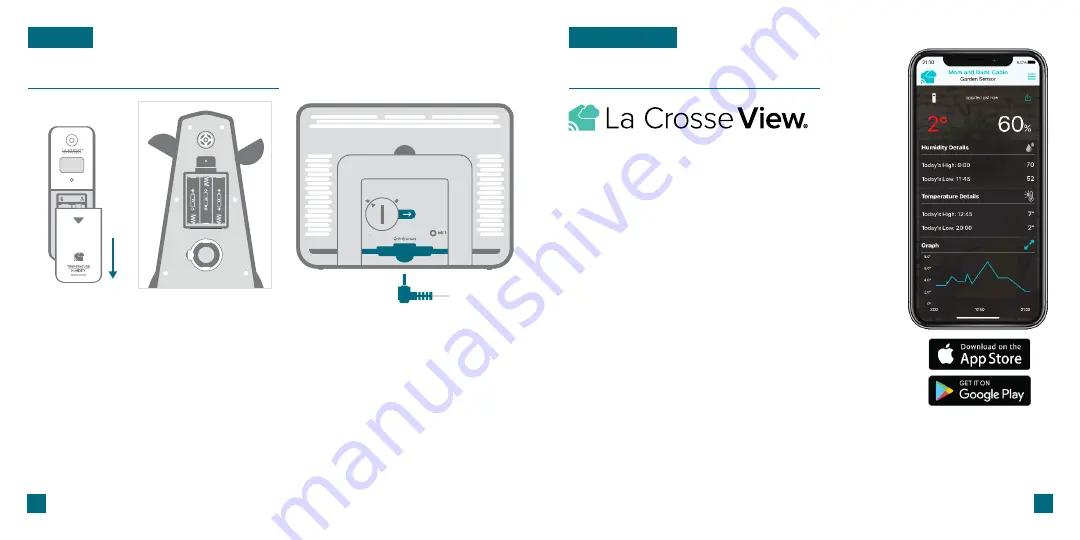
Download the La Crosse View App

Visit the App Store or Google Play Store to download the free 
La Crosse View app onto your mobile device.

Launch the App

Connecting Your Station to the App

Open the La Crosse View app. Follow the on-screen setup 
instructions to create an account, add new devices, and connect 
your station to your Wi-Fi network.

Stay connected to your home anytime, anywhere with the

La Crosse View app.

Monitor your home environment and set custom alerts to notify 
you when conditions change.
Connecting your station is optional and the display will function 
as a standalone unit without the Wi-Fi connection. However, we 
recommend connecting during the initial setup, as it will save you 
time and allows access to some advanced features right away.

Stay Connected to Your Home


Anytime, 

Anywhere.

Now that you’ve created your La Crosse View account, it’s time to add your station into your 
account and connect it to your home router using the La Crosse View app. 

NOTE:

 For the steps listed on the next page, you’ll need your Wi-Fi network name (SSID)

and password. Make sure your mobile device is connected to the same Wi-Fi network.

Initial Setup

BASICS

Power Jack

Power Up

Note:

 It may take up to 10 minutes for the sensor data to appear on your station’s screen.

Thermo-Hygro Sensor:

 Install 2 fresh “AA” batteries according to polarity and replace battery cover. 

The blue LED light will flash when transmitting.

Cyclone Sensor:

 Install 3 fresh “AA” batteries according to polarity and replace battery cover.

Weather Station:

 Insert the 5V Power Adapter into an outlet, and then plug it into the Power Jack

on the bottom of the station. Next, remove the Insulation Tab from the Station’s Battery Compartment. 
About 30 seconds after powering the station on, it will automatically enter the Settings Menu.
See page


08

 for more details.

Back of Station

 (V42-AU)

Bottom of Cyclone Sensor

(LTV-WSDR1So)

Thermo-Hygro Sensor

(LTV-TH5i)

05

Содержание V42-AU

Страница 1: ...SET UP GUIDE MODEL NUMBER V42 AU Wi Fi PROFESSIONAL WEATHER STATION...

Страница 2: ...tion Warranty Patents Connecting to the App Connecting Your Station Adding Your Sensors to the App Manually Add Sensors to the App Data Stream Technology Viewing Rain Data Rainfall Records Customizabl...

Страница 3: ...rosse View account it s time to add your station into your account and connect it to your home router using the La Crosse View app NOTE For the steps listed on the next page you ll need your Wi Fi net...

Страница 4: ...ext the app will prompt you to use your phone to scan the device ID barcode located on the back of the station Please note adding a device to your account and connecting it to Wi Fi are two different...

Страница 5: ...ngs Menu 1 Use the buttons on the top of the station to adjust the values 2 Press the SET button to confirm your selection and move to the next setting 3 You may exit the Settings Menu at any time by...

Страница 6: ...comprehensive list of Data Stream options Stream Options Examples UV Index Sunrise Sunset Times Chance of Thunderstorms Air Quality Personal Message Adjusting the LCD Display Brightness Press and rele...

Страница 7: ...T Spring Sept 1st to Nov 30th Summer Dec 1st to Feb 28th Fall Mar 1st to May 31st Winter June 1st to Aug 31st This station displays 12 phases based on the lunar calendar New Moon Small Waxing Crescent...

Страница 8: ...ing Wind Direction over the past hour WIND 15 24 Hour Record Example 1 Month Record Example 1 Year Record Example Wind Speed Records When viewing the monthly record press and release the PLUS button t...

Страница 9: ...on rainfall totals The scale values automatically adjust when over 25 4 mm 1 inch of rain is measured Days Since Last Rain After 24 hours of no rainfall the station will start counting days without ra...

Страница 10: ...row at the bottom of the meter indicates current comfort level 1 to 25 RH Very Dry 26 to 39 RH Dry 40 to 75 RH Comfortable 76 to 83 RH Wet 84 to 99 RH Very Wet Viewing Temperature Humidity Data TEMPER...

Страница 11: ...t value Records Viewing Order 1 Outdoor High Temperature 2 Outdoor Low Temperature 3 Outdoor High Humidity 4 Outdoor Low Humidity 5 Indoor High Temperature 6 Indoor Low Temperature 7 Indoor High Humid...

Страница 12: ...es decks and mailboxes are common mounting options due to their convenience Many users prefer these types of locations as the data they provides is accurate from their ground level However because the...

Страница 13: ...make adjustments to ensure the Mast and Sensor are level Hand Screw Freestanding Pole Setup 1 Maximum Outside Pole Diameter Tripod Setup Example 1 Maximum Outside Pole Diameter 25 Cleaning the Rain S...

Страница 14: ...t outlet shall be installed near the equipment and shall be easily accessible Dimensions 21 09 cm L x 2 88 cm W x 16 09 cm H 8 30 in L x 1 13 in W x 6 33 in H LCD Brightness 4 Intensity Levels OFF Pro...

Страница 15: ...e and rupture and may cause personal injury Always purchase the correct size and grade of battery most suitable for the intended use Always replace the whole set of batteries at one time taking care n...

Страница 16: ...ebook Instagram Youtube and Twitter Stay in Touch Ask questions watch set up videos and provide feedback on our social media outlets SUPPORT Apple and the Apple logo are trademarks of Apple Inc regist...

Страница 17: ......

Отзывы: