5
12 OR 24 HOUR TIME FORMAT:
The Time may be displayed in 12-hour or 24-hour format. Default is 12-hour time.
Note
: When in 12-hour format AM or PM will show in front of the hour.
1. 1
2H
will flash.
2. Press and release the
+ or -
button to select 24-hour time.
3. Confirm with the °F/°C button and move to
Set Time
.
SET TIME:
To set the time manually:
1. The
hour
digit will flash.
2. Press and release the
+ or -
button to select the hour.
3. Press and release the °F/°C button
to set the
minutes
.
4. The
minute
’s
digit will flash.
5. Press and release the
+ or -
button to select the minutes.
6. Confirm with the °F/°C button
and move to
Set
Calendar
.
SET CALENDAR:
The date default of the Digital Atomic Clock is 1. 1. 2010.
To set the calendar:
1. The
year
will flash.
2. Press and release the
+ or -
button
to set the year (between year 2010-2039).
3. Press the °F/°C button
again to confirm and to enter the
month
setting.
4. The
month
will flash.
5. Press and release the
+ or -
button
to set the month.
6. Press the °F/°C button
again to confirm and enter
date
setting.
7. The
date
will flash.
8. Press and release the
+ or -
button to set the date.
9. Confirm all calendar settings with the °F/°C button
to confirm and
exit
the program menu.
Note:
The day of the week will set automatically once the year, month and date are set.
FAHRENHEIT/CELSIUS:
1. Press and release the °F/°C
button once to switch from Fahrenheit to Celsius.
ALARM SET:
Alarm Hour
: Hold the ALARM button to enter alarm time setting mode. The Alarm Hour will flash. Use the
+ or -
button
to set the Hour. Press and release the ALARM button to confirm and move to the minutes.
Alarm Minute
: The Alarm Minutes will flash. Use the
+ or -
button to set the Minutes. Press and release the ALARM
button to exit.
Note
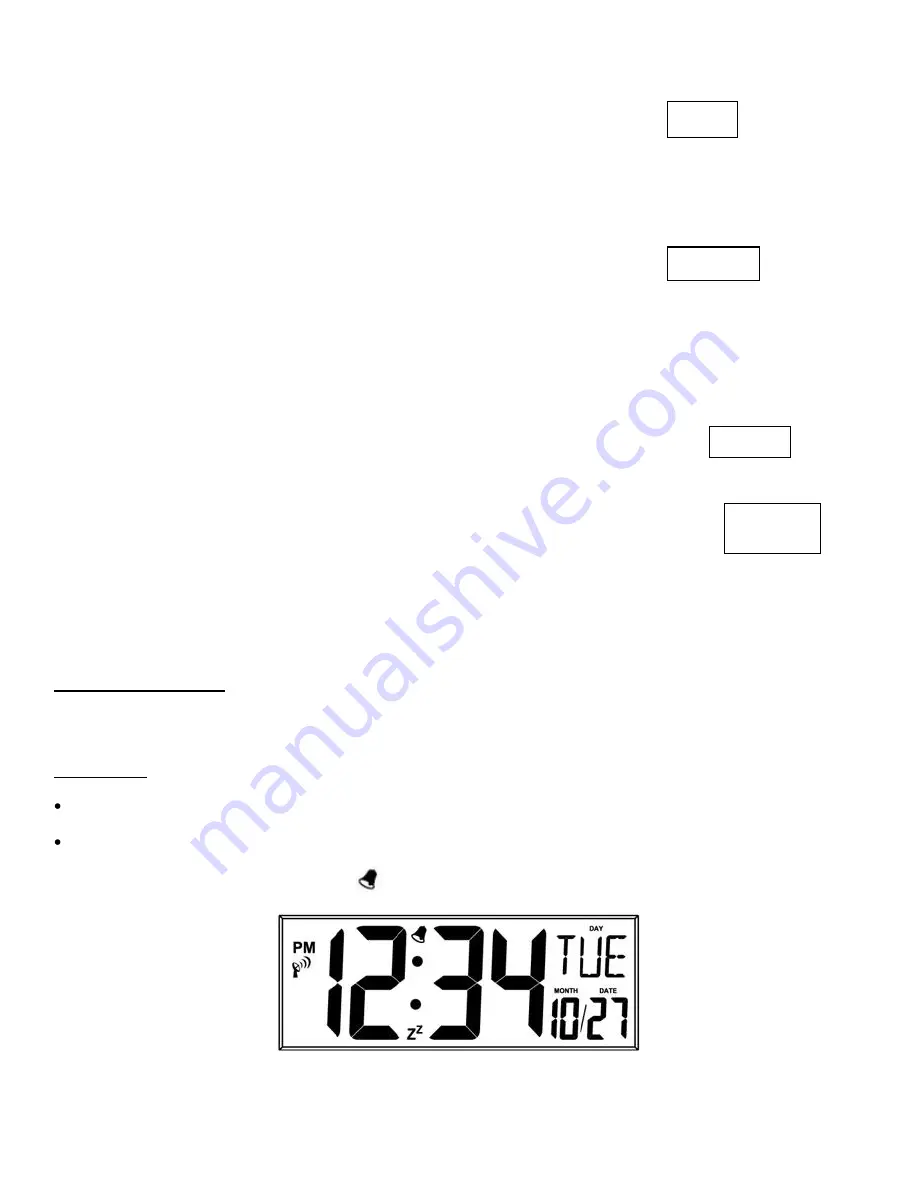
: When the alarm sounds the alarm icon
will flash.
12Hr
2010
Month Date
1 / 1
12:34


