G E T T H E M O S T A C C U R AT E R E A D I N G S P O S S I B L E
STEP 3:
MOUNTING BASICS
At this time, all of your sensor information should be displayed on your station.
Here are a few quick tips for mounting your sensors:
Note:
For detailed mounting instructions, please review the full manual.
Keep out of direct sunlight & ensure the sensor is well-ventilated.
Be sure to mount your sensor vertically to all moisture to drain out properly.
We recommend mounting under a deck or eave facing north.
*Only When Connected
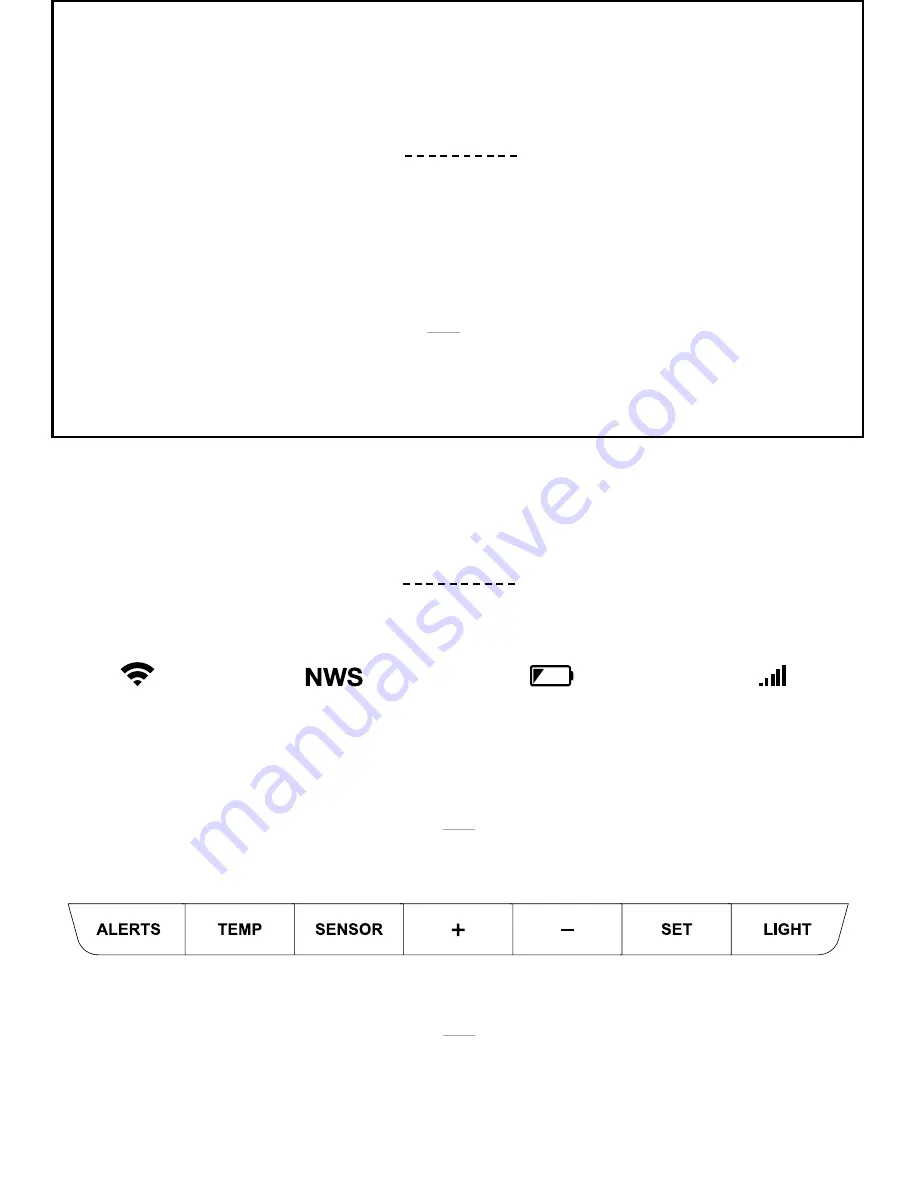
STATION OVERVIEW
IMPORTANT ICONS & HELPFUL TIPS
NOTE:
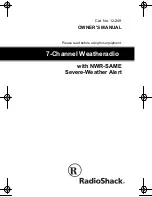
Basic button functions are printed on the back of the station.
This icon measures
your Wi-Fi connection
strength
When this appears,
you’re now receiving
enhanced NWS info
Individual station/sensor
indicators let you know
which batteries to replace
The bars let you know
the station & sensor
are connected
L C D I C O N S
B U T T O N S
( L O C AT E D O N T O P O F S TAT I O N )
NWS FORECAST*
LOW BATTERY
SENSOR CONNECTION
Wi-Fi INDICATOR*
Press and hold the
+
&
-
buttons
together to look for the Wi-Fi Signal.
Press and hold
ALERTS
&
LIGHT
buttons together to start over
W I - F I S E A R C H
F A C T O R Y R E S E T
5


