Connecting the imaging scanner
After installing the USB Com Driver
, plug the USB cable into the
USB port on your desktop or Laptop. The USB port must be a
standard USB port capable of supplying a 500ma USB Device.
Windows will find the new device and install the driver. This
process takes a few minutes the first time. You will see a mes-
sage in the system tray when the process is complete.
The 4910 projects an aiming beam that should be centered over
the bar code, but it can be positioned in any direction for a good
read.
Hold the scanner over the bar code, push the trigger button, and
center the aiming beam on the bar code.
The aiming beam is smaller when the scanner is closer to the
code and larger when it is farther from the code. Hold the scan-
ner close to smaller bar codes, and farther away from large bar
codes to get a proper read. Generally 4 to 6 inches from the bar-
code should be the correct distance.
If the bar code is highly reflective (e.g., laminated), you may need
to tilt the scanner at an angle so the bar code can be scanned.
Reading and imaging techniques
For applications using USB-Com emulation,
Install the Driver First!
Before plugging the scanner in, physically detach all currently
installed scanners from target machine
. Then install the WHQL
certified device driver.
The driver is available on our website:
http://www.l-tron.com/downloads
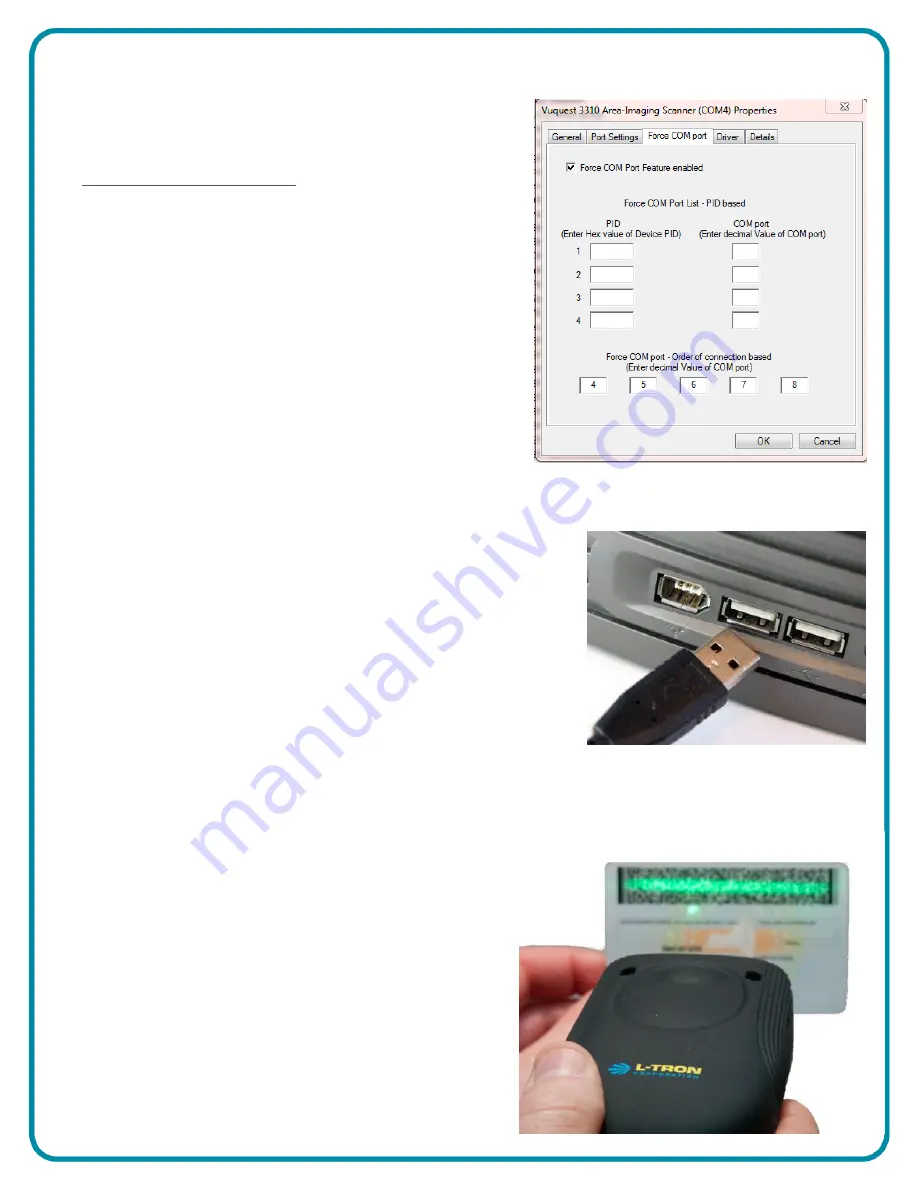
The driver is a CDC ACM WHQL-certified USB Serial Driver that
exposes USB scanners as a virtual COM port to the Windows
operating system and applications. The driver supports
forced
Virtual Com Ports, which are available under the properties tab
in device manager.
Review the "Getting Started" guide included in the zip file before
installing.


