47
Buzzer
– to activate the internal Buzzer or not when the HDD is failed. Press
ENTER
to check/uncheck this item. The default setting is “
ˇ
” - checked.
Log
– to log to event logs or not. Press
ENTER
to check/uncheck this item. The
default setting is “
ˇ
” - checked.
– to send the event e-mail to remote station or not. The e-mail will be sent to the
predefined receivers when the HDD is failed. Press
ENTER
to check/uncheck this item.
The default setting is “
–
” - unchecked.
6.6.3 Removable Hard Drive
Some DVRs come with an optional removable hard drive unit. To remove the hard drive,
first ensure the machine is POWERED OFF. On the front of the machine, you will notice a
flap. Open the flap and inside, you will see a plastic enclosure with a flap on the front. Pull
the flap to take out the hard drive unit. The top of the unit can slide out. Please slide out the
top to install hard drive.
To replace the hard drive in the removable hard drive unit, disconnect the power and data cable
and reconnect them to the new hard drive. Screw the hard drive into the hard drive bracket to
secure the hard drive and replace the top cover. Next, reinstall the hard drive enclosure into
the DVR. To ensure proper closure, keep the hard drive enclosure flap up until the enclosure is
fully inside the DVR, then close the flap.
When replacing with another hard drive, please ensure the new hard drive has been formatted
for this DVR. If the hard drive has not been formatted yet, the DVR will not find the hard
drive. Please see 6.6 HDD Setup for more information.
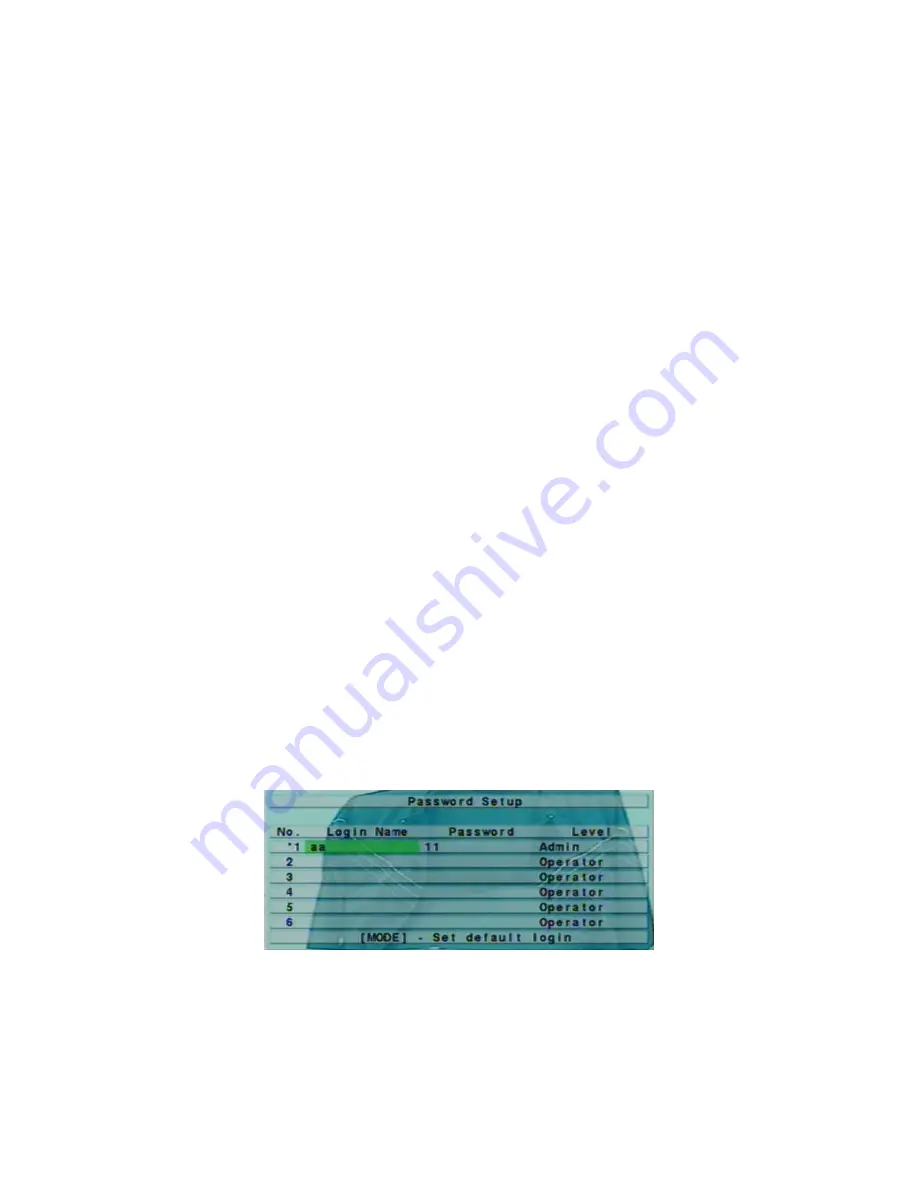
6.7 Password Setup
In Setup Menu display, press
▲▼
to change the highlighted option to
Password
, and then
press
ENTER
to call up Password Setup as shown.
The Password Setup allows the administrator to add new users, delete existing ones, and/or
modify the user’s name, password, and/or level.


