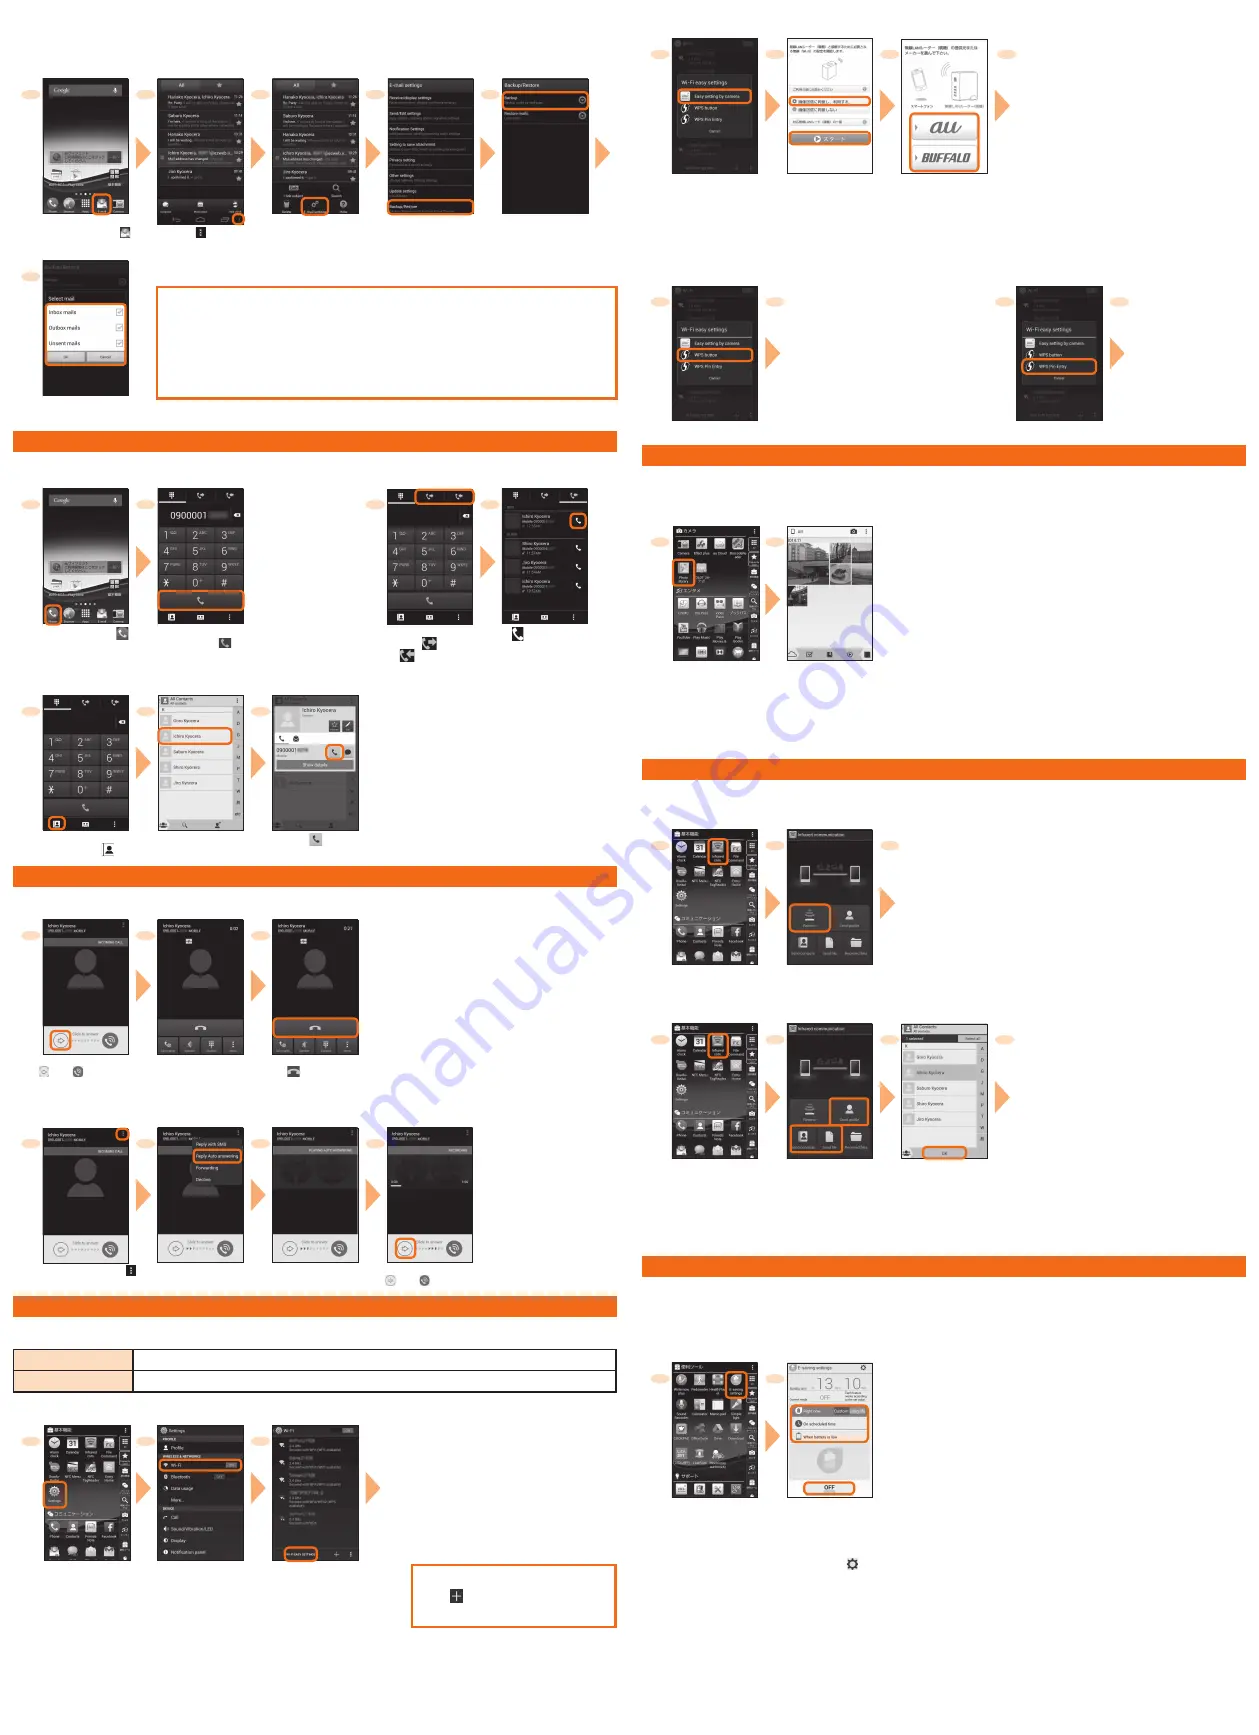
■
Backing up E-mail
You can back up E-mail.
Backed up data is saved on a microSD
TM
memory card (/storage/sdcard1/private/au/email/BU/) when a microSD
TM
memory card is
attached. If a microSD
TM
memory card is not attached, data is saved on the internal storage (/storage/emulated/0/private/au/email/BU).
1
2
3
4
5
Home screen
→
[
(E-mail)]
[
]
[E-mail settings]
[Backup/Restore]
[Backup]
→
Confirm the
notes and [OK]
6
PC-mail settings
You can use mail addresses except for E-mail (@ezweb.ne.jp).
You need to set up a PC-mail account to use PC-mail. For the first time use, make settings as
follows.
Applications list
→
[PC mail]
→
Enter mail address and password
→
[Next]
→
Set
account
→
[Next]
→
Enter account name etc.
→
[Next]
Select a mail type to back
up
→
[OK]
Making a call
■
Direct input calling
■
Making a call from incoming/outgoing
history
1
2
1
2
Home screen
→
[
]
(Phone)
Enter a phone
number
→
[
]
(Call)
Phone number input
screen
→
"
" (Outgoing
call)/"
" (Incoming call)
[
] of a party to
call
■
Calling from a contact
1
2
3
Phone number entry
screen
→
[
]
Tap a party to call
[
]
Receiving a call
■
Calling
1
2
3
Receiving screen
→
Slide
"
" to "
" at the right
Start calling.
To end the call,
[
] (End call)
■
Answering with answering memo
Answer by the answering memo message and record a message of the party when you cannot answer calls.
1
2
3
4
Receiving screen
→
[
]
[Reply Auto
answering]
The caller hears the
guidance.
To answer the call, slide
"
" to "
" at the right
Setting Wi-Fi
®
Use your home Wireless LAN (Wi-Fi
®
) or public wireless LAN to connect to the Internet.
Main settings are as follows.
Easy setting by camera
Use for registration of an access point compatible with "Easy setting by camera".
WPS system
Use for registration of access point compatible with Wi-Fi Protected Setup
TM
with WPS mark.
* If you turn on wireless LAN (Wi-Fi
®
) function, battery consumption increases. You are recommended to turn wireless LAN (Wi-Fi
®
) function to OFF
when not using wireless LAN (Wi-Fi
®
) function.
1
2
3
Applications list
→
[Settings]
[Wi-Fi]
Available Wi-Fi
networks are detected
automatically and
their SSIDs appear in
the Wi-Fi networks.
[WI-FI EASY SETTINGS]
When access point is not detected,
tap "
" to add access point
manually.
■
Using Wi-Fi connection tool by the camera
4
5
6
7
Follow the onscreen
instructions to register
an access point.
[Easy setting by camera]
[
画像送信に同
意し、利用する
(Accept for sending
image and use)]
→
[
スタート
(Start)]
Select provider,
manufacturer of the
wireless LAN router
■
Using WPS system access point
WPS button
WPS PIN entry
4
5
Keep pressing WPS
button of access point
to set to WPS mode.
An access point is
automatically detected
and registration starts.
4
5
Enter displayed PIN
code for access point,
then registration starts.
[WPS button]
[WPS Pin Entry]
Viewing/playing data
By transferring data from the previously used au phone to a microSD™ memory card, you can view/play
*
still image/movie data using
"Photo library" in the product.
* Copyrighted data on the previously used au phone cannot be transferred to the product. However, some
着うたフル
®
,
ビデオクリップ
,
着うたフル
プラス
®
may be able to be transferred and played on the product with the same phone number by backing up with LISMO Port Ver 4.2 or later.
1
2
Applications list
→
"Photo library"
When you activate for
the first time, explanation
screen appears.
Follow the onscreen
explanations, [Next]
→
[Next]
→
[Exit].
Tap data to be displayed
Data is played.
Infrared communication
You can send/receive profiles or various data between the product and another device using infrared communication.
■
Receiving data
1
2
3
Point the infrared
data port of the
product to the
infrared data port
of the other device.
When authentication
code entry screen
appears, enter
authentication code
(four-digit number)
→
[OK].
Applications list
→
[Infrared com.]
[Receive]
■
Sending data
1
2
3
4
Point the infrared
data port of the
product to the
infrared data port
of the other device.
Applications list
→
[Infrared com.]
[Send profile]/[Send
contacts]/[Send file]*
If you tap "Send profile", data
transfer starts.
* For File Commander, select
data to start data transfer.
Select a data item
to send
→
[OK]
When authentication
code entry screen
appears, enter
authentication code
(four-digit number)
→
[OK].
Saving battery power
Use "E-saving settings" to set screen timeout and screen brightness, to enable/disable auto rotation of screen, Wi-Fi
®
, Bluetooth
®
, GPS
satellites, Reader/Writer, P2P, CPU clock restriction function, TonTo-ON function, Auto data control function, Pedometer and All data
communication so that you can save the battery power.
Right now: Select "Custom" or "Long life" and enable power saving mode.
On scheduled time: Specify times of a day to enable power saving mode.
When battery is low: Specify the battery level to enable power saving mode.
1
2
Applications list
→
[E-saving settings]
"Right now"/"On scheduled
time"/"When battery is low"
→
[OFF]
When "Custom" is
selected, settings can be
made from
.


