


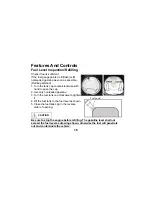
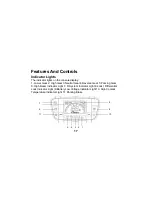
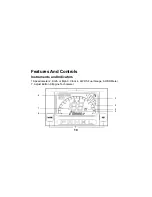


Features And Controls
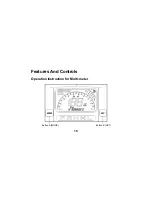
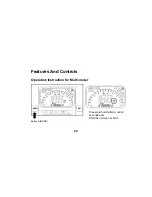
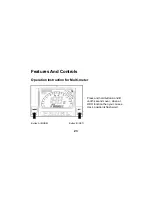
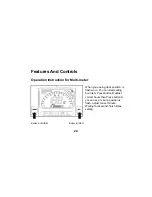
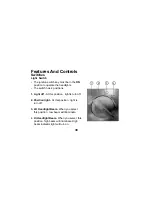
Operation Instruction for Multi-meter
When you seeing clock position is
flash word . You can start setting
hour item. Press button B adjust
correct hours then Press button A
you can see minute position is
flash. adjust correct minute.
Waiting for 2second .finish times
setting.
24
Button A (MODE)
Button B (SET)
Содержание UXV 450i
Страница 1: ...KWANG YANG MOTOR CO LTD OFF ROAD UXV 450i...
Страница 6: ...TABLE OF CONTENTS T Throttle Pedal 34 Tool Kit 68 W 2WD 4WD Switch 31 Warning Labels Locaton 11 15...
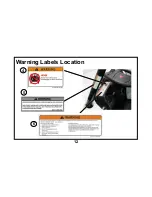
Страница 17: ...Warning Labels Location 11 2 3 1...
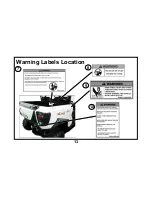
Страница 18: ...Warning Labels Location 12 6 4 5...
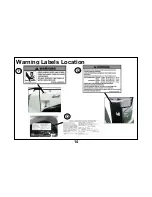
Страница 19: ...13 Warning Labels Location 7 8 9 10...
Страница 20: ...14 Warning Labels Location 11 12 13...
Страница 21: ...Warning Labels Location 15 14...
Страница 26: ...Features And Controls Operation Instruction for Multi meter 19 Button A MODE Button B SET...
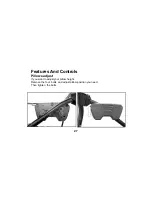
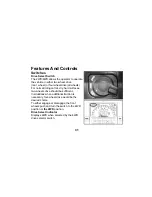
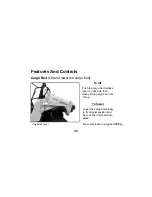
Страница 46: ...39 Features And Controls Hood To Open Pull up the hood from the front end Then remove the hood 1...
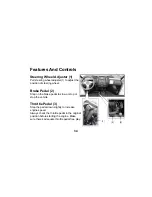
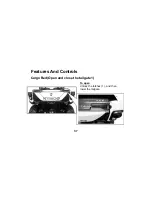
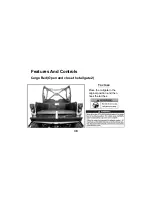
Страница 48: ...Features And Controls Front Compartment To Open Release the latches and open the front compartment 41 Latches...
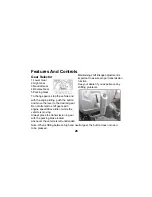
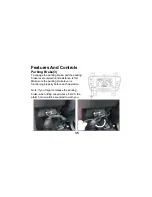
Страница 67: ...Maintenance And Lubrication Air Cleaner Remove the seat Loosen the air cleaner latches 60 Seat Latches 1...
Страница 81: ...74...
Страница 82: ...75...
Страница 83: ...76...
Страница 84: ...Maintenance Record...
Страница 85: ...Maintenance Record...
Страница 86: ...Maintenance Record...
Страница 87: ...Maintenance Record...