6
Belt:
Place the belt over the subplatter and over the motor pulley. Check by manual rotation that
the belt runs smoothly in the middle of the motor pulley groove.
Platter:
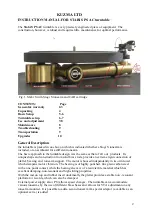
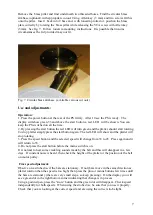
Remove the platter ( Fig. 4 ) from its protective bag. Place the platter carefully on top of the
subplatter. Check again the position of the motor pulley in relation to the bottom surface of
the platter. Remove plastic mat protection. When button START is pressed on PS, platter
should reach 33 rpm in 4 seconds.
Power Supply PS AC:
General description:
The AC motor controller unit generates a dual sine wave output to control rotation and speed
of two AC synchronous motors. The signal is generated by a sophisticated computer based
program. This allows for smooth generation of the sine wave with very fine choice of speed.
Each speed can be selected, finely adjusted independently and then stored in the memory.
The PS is factory preset. Connect the motor cable to the motor output.
It may take few hours for a new turntable to settle at the correct speed. When the PS is
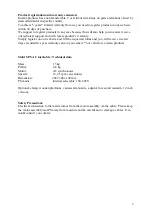
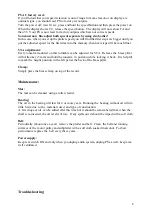
unplugged, the preset speeds will be stored. Fig. 5.
PS (power supply ) connection:
Position the PS in such a way, that it will be convenient for operation of the turntable. You
should, however, allow space above for ventilation, of at least 10-20 mm.
The cable which connects the motor controller unit and motor tower has a five pin DIN plugs
on both ends, which should be inserted and locked into the connectors at the rear of the PS
and motor tower.
Connect the mains cable into the mains and then switch on the PS at the rear panel, which is
left permanently on. A red light and green display will light up on the front panel.
Turntable setup:
Ensure that the turntable is levelled horizontally. Tidy up the power cables that runs away
from the signal wires as much as possible.
Tonearm mounting:
Stogi tonearms:
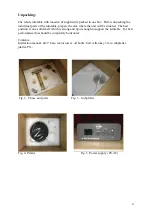
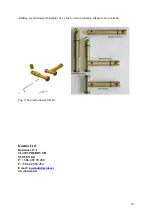
Follow instructions provided with the tonearm. The brass pillar should be removed from the
T base by unlocking it with Allen key ( 3 mm) at the front end of the longer T base .
Notice that the inside hole of the brass pillar is eccentric. This hole should be turned
towards the platter bearing.
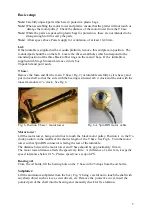
First put the tonearm into the brass pillar. The rotational position and height of the tonearm
has yet to be determined so fix the tonearm pillar only gently with Allen key (3 mm) by
fixing two side screws. Return the brass pillar to the T base and note position of the
tonearm. Make desired changes ( VTA, position) before fixing the tonearm firmly into the
brass pillar. The VTA can be adjusted by raising or lowering the brass pillar in the T base,
after releasing the screw with Allen key ( 3 mm).
Other tonearms:


