background image

BEDIENUNGSANWEISUNG 

mit Montageanweisungen

Instructions for use and installation instructions
Instructions d’utilisation et avis de montage
Gebruiksaanwijzing en montagehandleiding
Istruzioni di uso e di montaggio
Instrucciones de uso y de montaje

Instruções de uso e de montagem
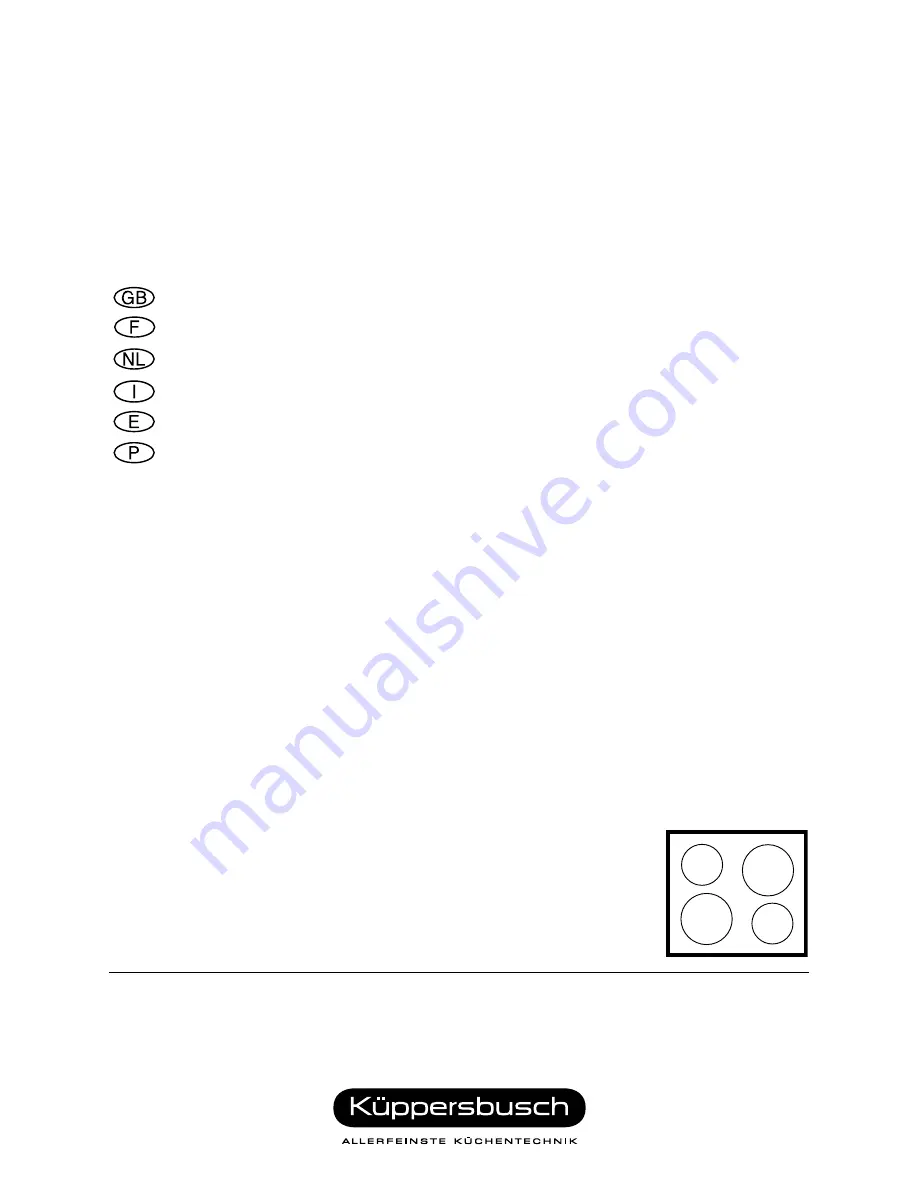
EKE 60.0

22

41

88 K

3

1

Содержание EKE 60.0

Страница 1: ...ctions for use and installation instructions Instructions d utilisation et avis de montage Gebruiksaanwijzing en montagehandleiding Istruzioni di uso e di montaggio Instrucciones de uso y de montaje I...

Страница 2: ...ed For this reason you should not simply put your old appliance on the rubbish tip but ask your local authority how it might be recycled Conditions of guarantee The conditions of guarantee applicable...

Страница 3: ...12 EKE 60 0 Your appliance at a glance 1 Cooking zones 2 Cooking setting display of the cooking zones 3 Sensor keys for cooking zones 4 Minus sensor 5 Plus sensor 6 Sensor lock 7 Sensor key ON OFF...

Страница 4: ...ately be scraped off the cooking area with a scraper Avoid repeated burning of stains and boiling over Chalk deposits may damage the cooking area If there are any pets in the apartment which could com...

Страница 5: ...ing level as soon as the set parboiling boost time has elapsed Activate the required cooking zone by means of its cooking zone sensor key Select the cooking level 9 with the minus sensor The automatic...

Страница 6: ...ing functions can still be used when the lock is activated emergency switch off ON OFF sensor de activating the lock Activating the lock Press the lock sensor for approx 2 seconds The display on the b...

Страница 7: ...anted certificates and labels of approval Notes for fitting Make sure that the worktop is perfectly horizontal The front rear and lateral clea rances around the hob unit must be maintained in accordan...

Страница 8: ...se springs from above Attachment of worktops made of stone Insert the angle nuts and introduce the glass ceramic hob from above Then fasten the hob with screws and attachment brackets from below see i...

Страница 9: ...removed from the installation area beneath the appliance See the illustration on page 16 for the position of the cable cut out To connect the appliance unscrew the switchbox cover on the underside of...

Отзывы: