2. Installation of the wheels: place 4 wheels to the holes located at the base of the air
cooler. Insert the wheels tightly to the air cooler’s body.
3. Set the unit on a stable and horizontal base, keeping it away from radiating heat sourc
-
es and naked flame.
4. Filling water: turn the water tank lock to horizontal position, taking out the water tank,
put in the ice boxes and add clean tap water to the tank. Be sure that the water level in
the tank does not exceed the level “MAX” which is located at the back of the tank.
5.Push the water tank to its housing and turn the tank lock to the vertical position.
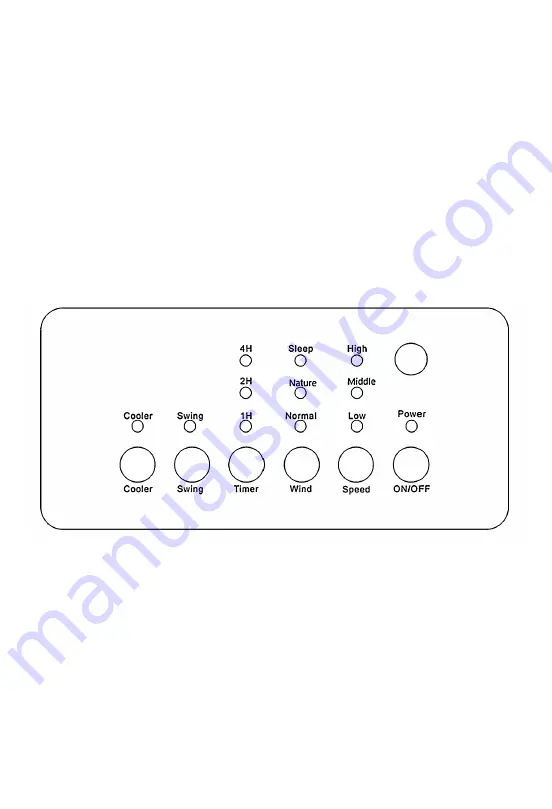
OPERATING THE AIR COOLER
Insert the plug into the electrical outlet. The power indicator will make a beep sound
and the air cooler switches to the standby position. The functions of the unit can be con
-
trolled using the control panel or the remote control.
1. ON/OFF:
Press the “ON/OFF” button on the control panel or press the ON/OFF button
of the remote control to turn the unit ON. The unit will start at low speed and normal
wind. To switch back to the standby position, simply press the ON/OFF button on the
control panel or on the remote control.
2. Speed
: wind speed can be adjusted to 3 levels (low-mid-high) by pressing the “Speed”
button. Each time the “Speed” button is pressed, an indicator will light to indicate the
speed level.
3. Wind:
press the “Wind” button to choose the wind type. Each time this button is
pressed, an indicator will light on the screen to indicate the type of wind. There are 3
types of winds to choose: Normal, nature or sleep.
4. Timer:
press the “Timer” button to set the fan running time between 1-7 hours, which


