KRAMER: SIMPLE CREATIVE TECHNOLOGY
Capturing the EDID
10
4. Connect the 12V DC power adapter to the power terminal block (see
) on the
WP-121
and connect the adapter to the mains electricity.
5. Press the EDID capture button (see
).
The EDID status LED flashes slowly several times. The new EDID is
captured when the LED stops flashing and lights solid.
6. Unplug the power adapter from the mains and disconnect it from the
WP-121
.
7. Replace the faceplate and secure the four screws removed in Step 1.
6.2 Setting a Preconfigured EDID
To set a preconfigured EDID:
1. Using a Philips screwdriver, remove the four screws holding the front panel to
the rear PCB assembly.
2. Using a small screwdriver, turn the rotary switch (see
) to the
required position as defined in
3. Connect the 12V DC power adapter to the power terminal block (see
) on the
WP-121
and connect the adapter to the mains electricity.
4. Press the EDID CAPTURE button (see
).
The EDID status LED flashes rapidly several times. The new EDID is
captured when the LED stops flashing and lights solid.
5. Unplug the power adapter from the mains and disconnect it from the
WP-121
.
6. Replace the faceplate and secure the four screws removed in Step 1.
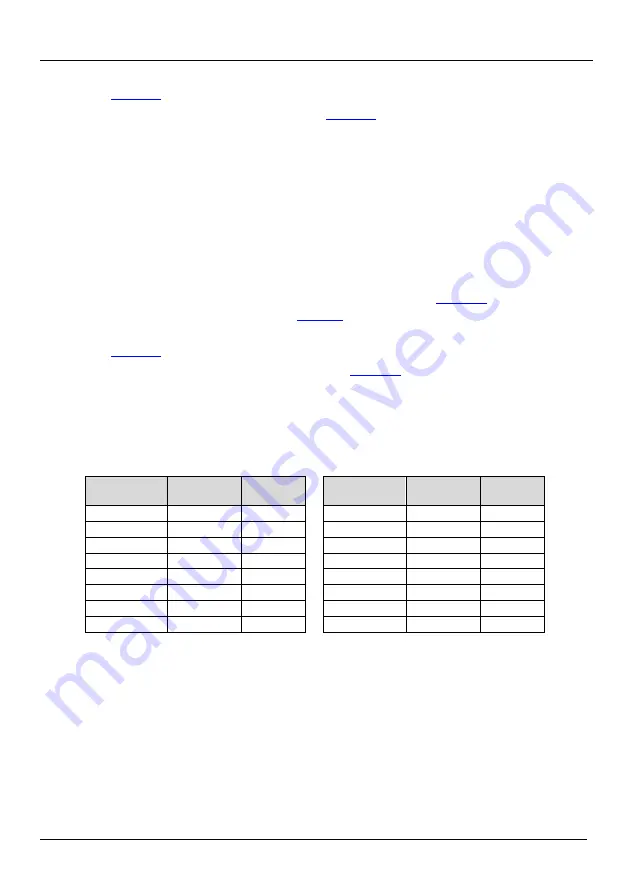
Table 6: Rotary Switch EDID Resolution Settings
Rotary Switch
Position
Resolution
Refresh
Rate
Rotary Switch
Position
Resolution
Refresh
Rate
0 (Default)
1024x768
60Hz
8
1440x900
60Hz
1
800x600
60Hz
9
1440x1050
60Hz
2
1024x768
60Hz
A
1600x1200
60Hz
3
1152x864
75Hz
B
1680x1050
60Hz
4
1280x720
60Hz
C
1920x1080
60Hz
5
1280x800
60Hz
D
1920x1200
60Hz
6
1024x1024
60Hz
E
For future use
7
1360x768
60Hz
F
For future use


