Kramer Electronics Ltd.
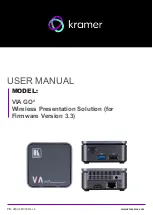
VIA GO²
– For Installer: Connecting VIA GO²
9
For Installer: Connecting VIA GO²
Always switch off the power to each device before connecting it to your
VIA GO²
. After
connecting your
VIA GO²
, connect its power and then switch on the power to each device.
Connecting Device
If you wish to use a Kramer active optical pluggable HDMI cable with your
VIA GO²
, contact
your local Kramer office to assist in purchasing the correct cable.
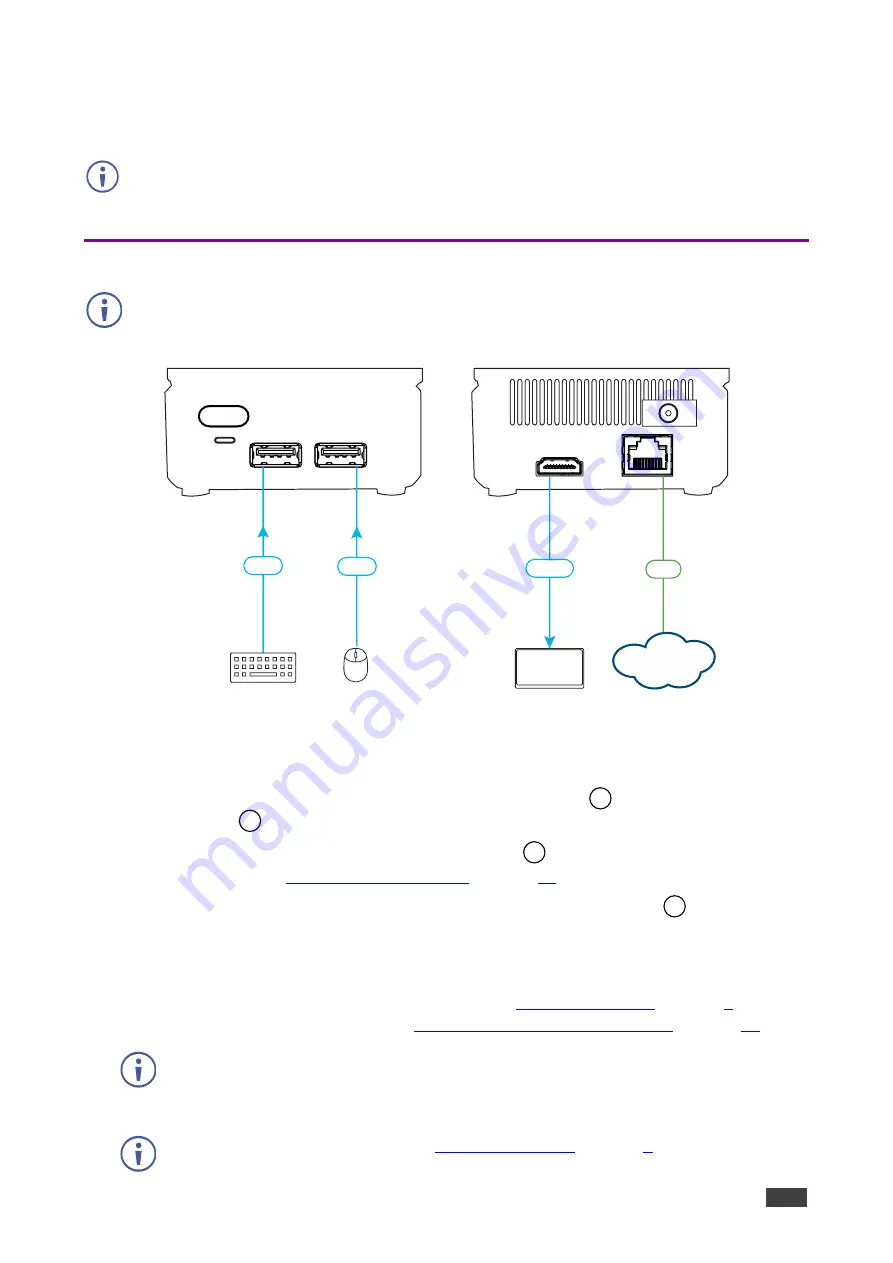
Figure 5: Connecting
VIA GO
²
To connect VIA GO² as illustrated in the example in (Figure 5):
1. Connect a keyboard and mouse to the USB 3.0 Connector
and the USB 2.0
Connector
.
2. Connect an HDMI display to the HDMI Connector
to be used as the main display for
).
3. Connect the LAN (Local Area Network) cable to the RJ-45 connector
-OR-
Connect to your network using a commercial wireless router.
4. Connect wirelessly with a supported device (see
) after
installing the Kramer VIA app (see
For User: Running Kramer VIA App
To enable participation in a presentation session (send and receive content), connect
VIA GO²
and all participant devices (PCs/ MACs/ smartphones/tablets) to the same
network (LAN or WLAN).
For a list of supported devices, see
Eth
Keyboard
Keyboard
Mouse
USB
USB
Display
HDMI
LAN
3
4
6
6


