12
5. In order to store the remaining program repeat above steps 2~ 3 until the memory is
full.
6. When programming is complete, press the PLAY/PAUSE (14, 49) button to begin
playback of the selected folders/files.
Clear Program (Resume Normal Playback)
Press the
STOP (15, 35) button in the program mode, open the CD tray (21), or change
to another mode to erase the programmed tracks.
iPod
®
OPERATION
This unit is equipped with a dock system to allow you to connect your
iPod
®
and enjoy
the music on it via the speakers. The dock system is able to fit most types of currently
available
iPods
®
, by using one of the 5 different sized dock adaptors supplied. Please
note that as new
iPod
®
models become available, new dock adaptors may be required.
This unit can also charge the
iPod
®
battery when connected via the dock.
To fit a dock adapter
Select the appropriate dock adaptor for your
iPod
®
. Make sure you
use the correct one, as this will ensure that the
iPod
®
is held securely
in place.
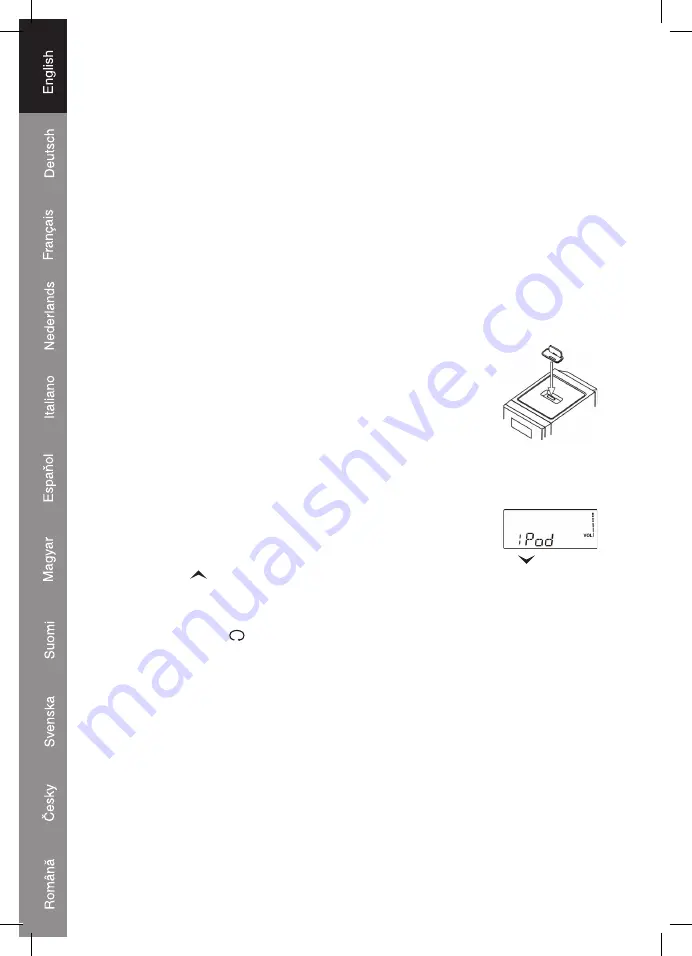
1. Gently press the
iPod
®
dock adapter into the dock at the top of the
unit.
2. Carefully place your
iPod
®
into the dock. (The
iPod
®
can not be in a
case or “Skin”)
To remove/replace a dock adapter
First remove your
iPod
®
, and then grip the dock adapter and pull gently upwards.
Operating iPod
®
with the main unit
1. Press the
iPod
®
buttons. The display indicates
iPod
®
.
2. Select your desired music, photos or videos, and play the connected
iPod
®
as usual.
3. You can select the next or previous track by pressing
/
/ TUNING
or
/
/ TUNING
repeatedly. Press
PLAY/PAUSE (14, 49) to play or pause.
4. The numerical buttons 2,4,5,6 and 8 on the remote control can be used to operate the
menu and other functions of the
iPod
®
. Press MENU/6 to show the menu screen of the
iPod
®
, then use
/2 or
/8 to highlight the item you want to operate, press ENTER/5
to confirm. Press
/4 once to repeat one track, press twice to repeat all. (Available in
iPod
®
play only)
5. Press VOLUME (18, 36, 51) to adjust to the desired sound level.
Note:
- If want to watch photos and videos from the
iPod
®
, please connect the VIDEO and
AUDIO sockets on the rear of the unit as described in the “Setting up and Connecting”
section of this user guide.
- In
iPod
®
mode, you also can select the next or previous tracks by pressing FOLDER–
(54) or (44) on the remote control.
Содержание HAV-MCS30
Страница 188: ...188...


