5
Modem/Phoneline Connection
6
Serial cable Connection
7
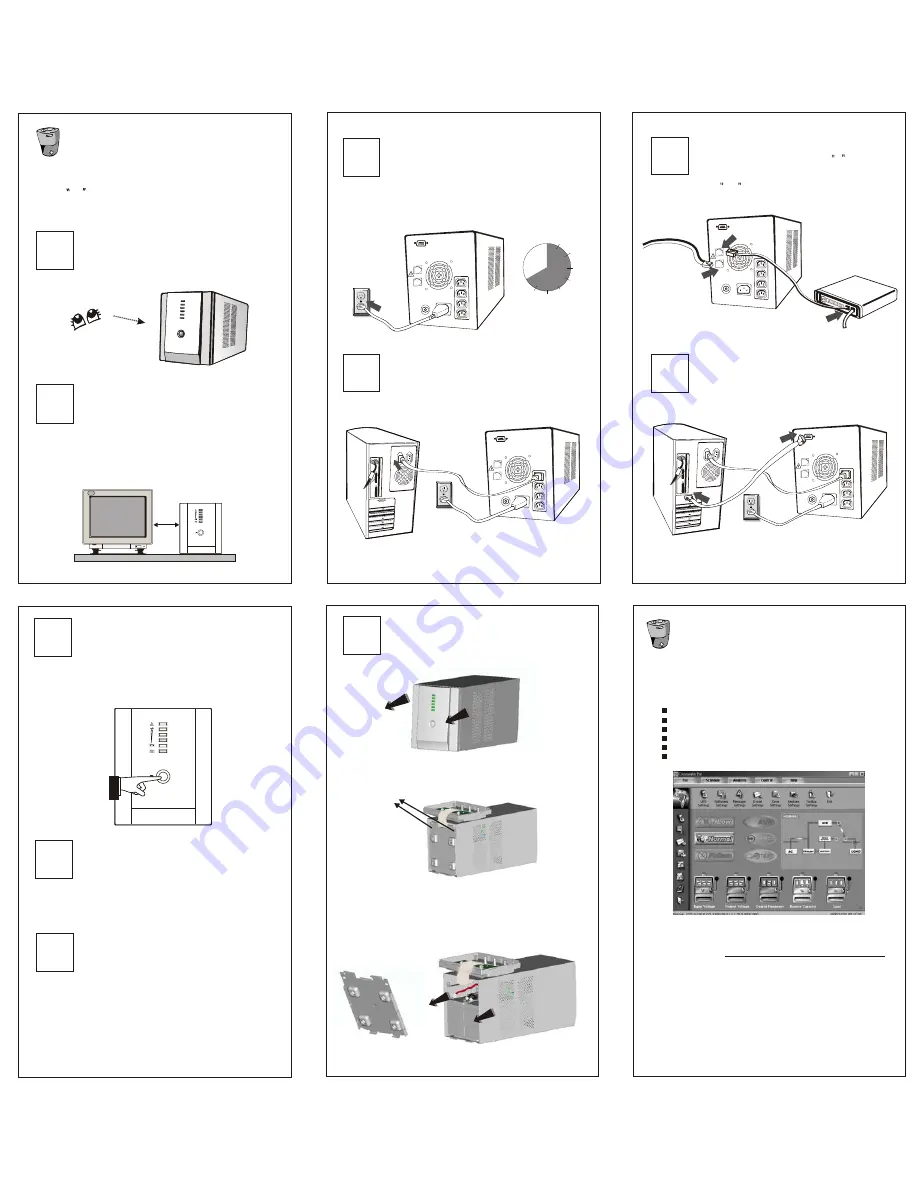
Turn On/Off
8
DC Start Function
Installation and Operation
1
Inspection
2
Placement
4
Computer Connection
3
Charging
Installing the UPS is as easy as following the steps
shown. Be aware of the Power Switch must be kept
in the ON position, otherwise, the UPS will be
disabled and your equipment will not be protected
during a power failure.
Remove the UPS from its package and inspect it
for damage that may have occurred during
shipping. If any damage is discovered, re-pack
the unit and return it to the place of purchase.
This Series will be turned on automatically
at first plug-in. At this moment, press power
switch lightly to turn off the UPS. To turn on
the UPS again, just simply press power switch
again. Please DO NOT punch it for extended
life of the power switch.
DC Start Function enables UPS to be started up
when AC utility power is not available and battery
is fully charged. Just simply press the power
switch to turn on the UPS.
9
Green Power Function
This Series are equipped with Green Power
Function. If no load connects to the UPS, it will
automatically shut down in 5 minutes for energy
saving while power failure. The UPS will restart
while AC recovery.
Install the UPS unit in any protected environment
that provides adequate airflow around the unit, and
is free from excessive dust, corrosive fumes and
conductive contaminants. Do not operate your
UPS in an environment where the ambient
temperature or humidity is high. On the other hand,
place the UPS unit away from the monitor at least
20cm to avoid interference.
This unit is shipped from the factory with its
internal battery fully charged, however, some
charge may be lost during shipping and the
battery should be recharged prior to use. Plug
the unit into an appropriate power supply and
allow the UPS to charge fully by leaving it
plugged in for at least 8 hours.
Connect one computer-related device into each of
the power receptacles supplied on the back of the
UPS.
Plug incoming internet line into the In socket at
the back of the UPS. Use on more Internet line
cable and plug one end of the Internet line cable
to the Out socket at the back of the UPS. Plug
the other end of the modem input socket as
shown below.
To allow for unattended system shutdown for your
operating system, connect the serial cable as per
diagram below.
10
Battery Replacement
Follow Chart 1 to Chart 3 to replace the battery.
Disconnecting all sources of supply before battery
replacement.
Remove the panel
20 cm
Remove the battery cover
Chart 1
Chart 2
Chart 3
After removing the battery cover, gently extract the battery by
disconnecting the two wires connecting it to the UPS. Be sure
replaced the same type of batteries and dispose of old battery
properly at an appropriate recycling facility.
8 hours
Incoming
Internet line
Free Software Download
-- Commander Pro --
Commander Pro is a unique uninterruptible power supply
(UPS) control software that offers you unprecedented
convenience for the control of any UPS.
Features:
Saves files before shutdown occurs
Scheduled system shutdown
Graphic display of UPS status
Warning notification via E-mail
User-friendly interface
Multi-language versions
Download Commander Pro from the internet is a simple
process:
1. Go to Website http://www.ups-software-download.com
2. Click Commander Pro Icon to enter software download
area.
3. Choose operating system you need for your PC and double
click to download software automatically.
4. Type in Serial No: 511C1-01220-0100-478DF2A to install
the software.


