background image

TT-1710

6/17

5

5

GC79429-43

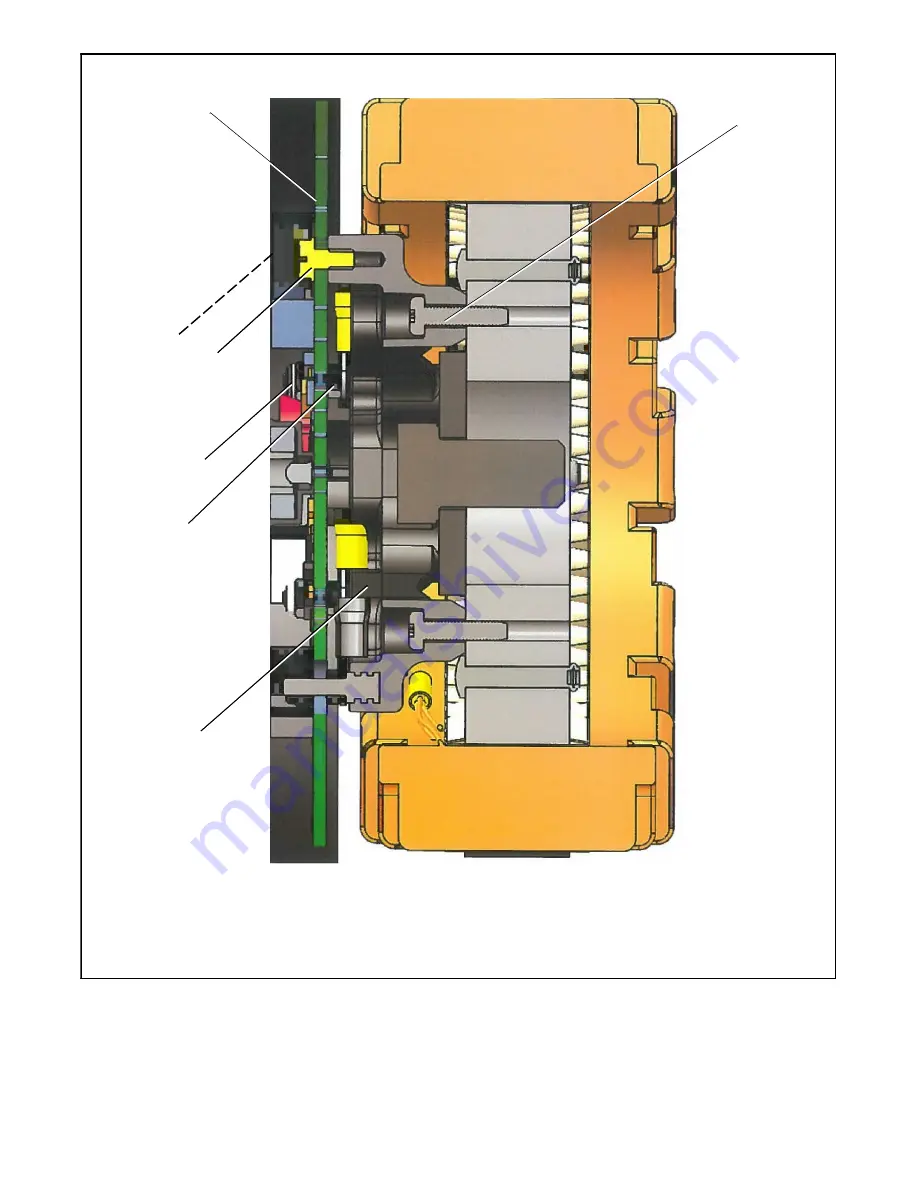
1. Spacer (GM98936)

2. Thread--forming Torx head screw (M7500CE-05020-85 qty. 6)

3. Terminal (X-283-58 qty. 5), not shown

4. Stainless steel hex nut (M934-04-SS qty. 5)

5. Activator board (GM98939-1)

6. Thread-forming screw (X-6071-8)

7. Stainless steel nylock nut (M985-04-SS qty. 5)

3

6

4

1

2

Listed in order of assembly

:

Side View

7

Figure 11

Kit Components Shown in Order of Assembly

Содержание TT-1710

Страница 1: ...ct the negative lead last when reconnecting the battery Follow these precautions to prevent starting of the generator set by an automatic transfer switch remote start stop switch or engine start command from a remote computer Decision Makerr 3 and 550 Controllers Disabling the generator set Accidental starting can cause severe injury or death Before working on the generator set or equipment connec...

Страница 2: ...igure 2 Removing the FRX Activator Board 3 3 Access the back of the FRX activator board and disconnect the exciter armature leads AC1 AC2 and AC3 and rotor assembly leads F1 and F2 by removing the 5 elastic stop nuts Note the lead terminals and their positioning on the FRX activator board silkscreen See Figure 3 and Figure 4 GC70113B 1 Exciter armature lead AC2 2 Exciter armature lead AC1 3 FRX ac...

Страница 3: ...cal connection mounting hole to the mounting hole above the keyway See Figure 8 1 1 Thread forming Torx head screws M7500CE 05020 85 qty 6 Side View Figure 6 Spacer GM98936 Installation 4 2 Route the exciter armature and rotor leads AC1 AC2 AC3 F1 and F2 around the outer diameter of the spacer to the inside to eliminate slack See Figure 7 and Figure 8 Note Lead connection locations are identified ...

Страница 4: ...gure 9 Activator Board 4 6 Replace and tighten the 4 screws attaching the LED optic board holder to the end bracket and torque to 6 2 Nm 4 6 ft lbs See Figure 10 SB 742 1 LED optic board holder 2 Screws qty 4 1 2 Figure 10 Replacing LED Optic Board Holder 4 7 Install the alternator rodent guard to the end bracket if equipped 4 8 Replace the junction box panels 4 9 Replace the enclosure panels if e...

Страница 5: ...5 qty 6 3 Terminal X 283 58 qty 5 not shown 4 Stainless steel hex nut M934 04 SS qty 5 5 Activator board GM98939 1 6 Thread forming screw X 6071 8 7 Stainless steel nylock nut M985 04 SS qty 5 3 6 4 1 2 Listed in order of assembly Side View 7 Figure 11 Kit Components Shown in Order of Assembly ...

Страница 6: ...6 TT 1710 6 17 Notes ...

Страница 7: ...TT 1710 6 17 7 Notes ...

Страница 8: ...stems Asia Pacific Headquarters 7 Jurong Pier Road Singapore 619159 Phone 65 6264 6422 Fax 65 6264 6455 Availability is subject to change without notice Kohler Co reserves the right to change the design or specifications without notice and without any obligation or liability whatsoever Contact your local Kohlerr generator set distributor for availability 2016 and 2017 by Kohler Co All rights reser...

Отзывы: