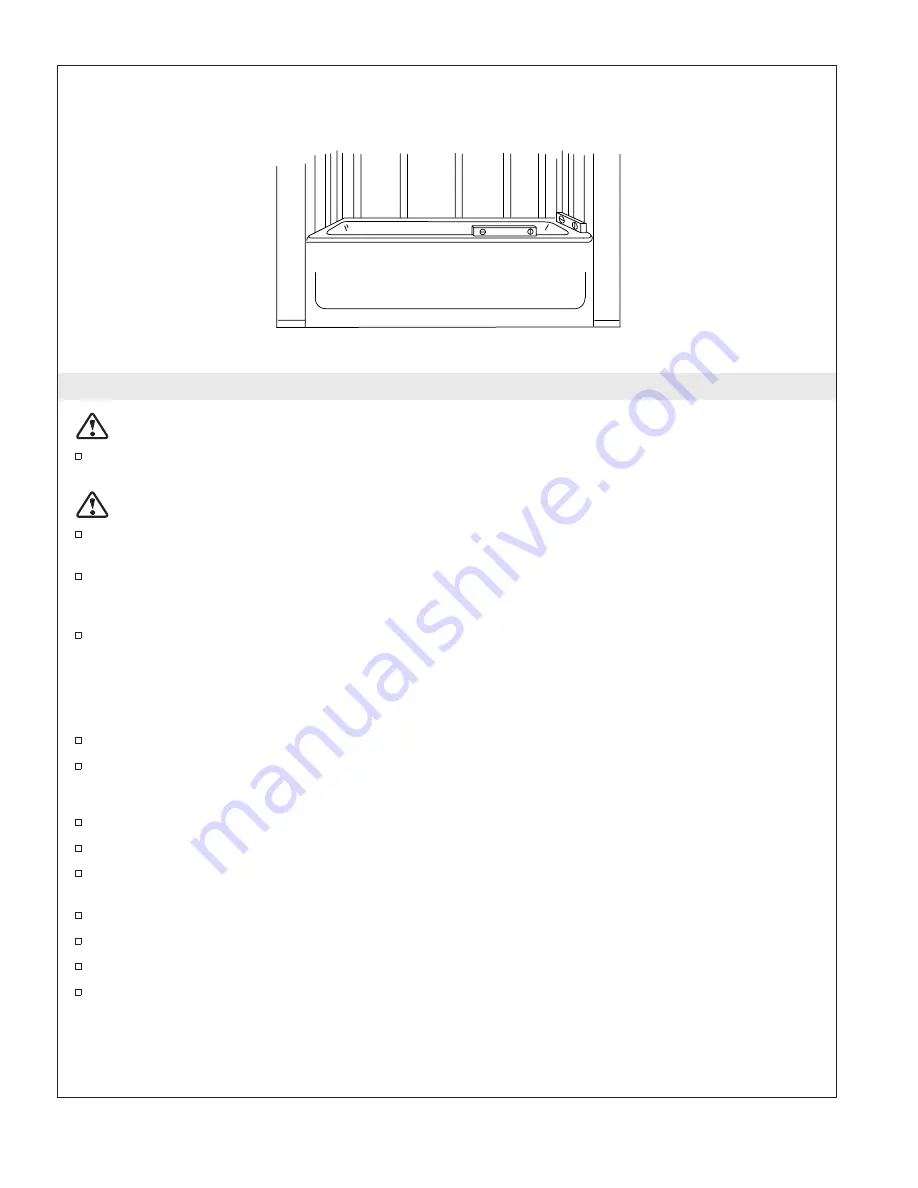
4. Position the Bath
CAUTION: Risk of product damage.
Do not lift or move the bath using the apron or apron braces.
Install the drain and overflow assembly to the bath according to the drain manufacturer’s
instructions. Do not connect the trap at this time.
CAUTION: Risk of product damage.
Verify that the apron braces are attached prior to installation.
Position the bath in the alcove and verify that it is properly positioned in respect to the intended
finished wall.
If the bath is not level, shimming may be required. Remove the bath from the alcove and shim
using metal, hardwood, or other durable material. Reposition the bath and check for level again.
Repeat until the bath is level.
When the bath is level, consider whether or not to use an optional mortar/cement bed.
Installation with Optional Mortar or Cement Bed
NOTE:
Do not use gypsum cement or drywall compound for this application, as they will not provide an
acceptable, durable bond.
Remove the bath from the alcove.
If present, remove any landscaping fabric.
NOTE:
The bath supports must rest directly on the subfloor.
Build a dam to keep the flooring material clear of the drain area.
Spread a 2
″
(5 cm) layer of cement or mortar on the subfloor except where the bath feet will be set.
Remove the dams, and position a piece of plastic drop cloth material on top of the cement or mortar
bed.
Move the bath into position.
Verify that the bath is level and resting on all supports.
Clean the bath to reduce the risk of damaging the surface.
If not already present, place a clean drop cloth or other similar material into the bottom and over
the outside edge of the bath. Be careful not to scratch the surface of the unit.
Sterling
7
1020583-2-D


