


PVR File System Type
There are two types of supported formats: FAT32 and Hi Speed Format. You can press or buttons to
choose the type of formatting. If FAT32 is selected, you will have to format the whole of your USB drive.
If Hi Speed Format is selected, you will then be able to press or buttons to select the size you wish to
use (for example 1GB, 10GB, 20GB... or All). Once a particular size is booked for recording, you will be
able to use the remaining space of your USB drive or Hard Disc for other data storage.
WARNING: Please note no matter which size is booked for recording, all the data in the allocated partition
of the Hard Disc will be lost after formatting. During Hi-Speed formatting of some USB drives, you may
need to select a smaller Time Shift size than the maximum capacity of the drive, as some storage capacity
is used in the PVR set-up process.
Speed
This will show the supported speed of recording, and whether your storage device can support HD DTV
recording. Speeds above 5,500kb/s are usually more successful when recording HD TV material.
Record Limit
This will show the approximate time you will be able to record on to your USB drive or Hard Disc.
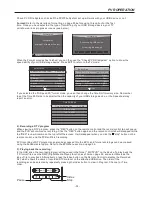
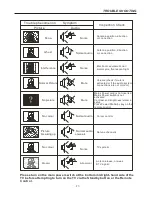
File System Size
PVR File System Type FAT32
MENU
PVR File System Size All
SD 13 Mins
HD 3 Mins
MENU SETTINGS
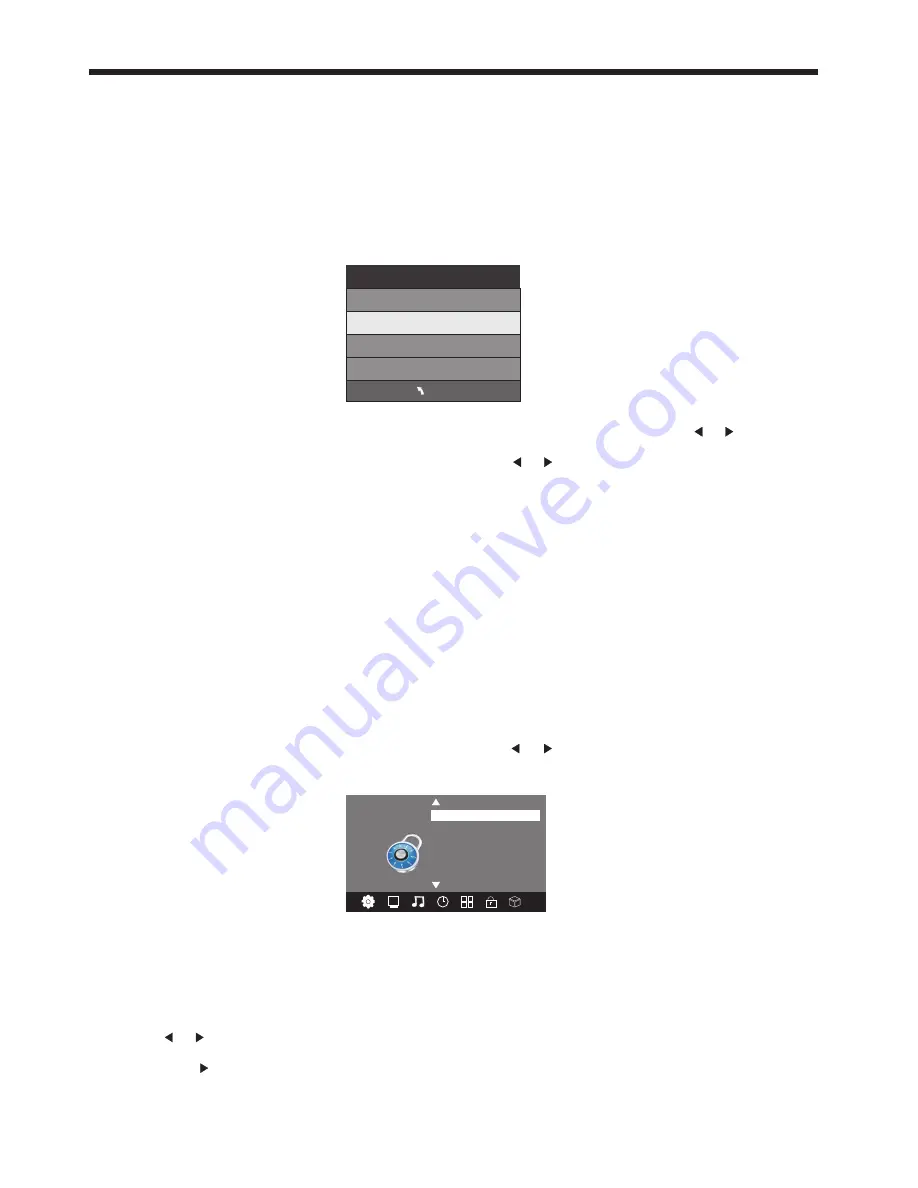
6.LOCK MENU
To enter the LOCK Menu, press MENU button and then press or buttons to select the LOCK Menu.
The default password is 6666.
Please set a new password so it is easy to remember. Follow the on screen steps to set your new
password.
Set Password
Lock System
LOCK
< >
Block Program
Parental Guidance
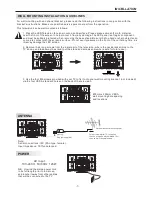
7. USB SOURCE
To enter the USB SOURCE menu, press the Input Source button on the Remote Control, and then select USB.
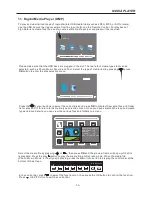
This is where you will be able to view and play various limited low data-rate USB media files such as JPEG,
MP3 and AVI formats.
Once the Parental Guidance mode is turned on, you can set viewing restrictions during DTV TV reception only.
USE the or buttons on the remote control to select the file playback type (eg. Photo, Music, Movie,
Text), then press OK. You can preview a selected file by highlighting it using the cursor arrows and pressing
OK. Press the Play button on the Remote Control to show it in full-screen size. Press the INFO button to
bring up a controls tab at the bottom of the screen, allowing easier control of play, pause, stop and repeat
modes. Press the EXIT button repeatedly to progressively return back to the USB menu.
FACTORY RESET NOTE:
If you wish to reset your TV, please select the Restore Factory Default option, this will clear all settings.
-21-
Check PVR File System
Press the OK Button to start checking the file system of your USB storage or Hard Disk and check the
recording speed capability of the connected device. Once SUCCESS is shown after checking, you will
then be able to begin recording or use the Time Shift function. If FAIL is shown after checking, you will
need to format your USB drive or Hard Disc before being able to record or use the Time Shift feature.
Use of the High Speed format option is recommended.
Format
When you format your USB flash drive or Hard Disc any saved data will be lost. This TV primarily supports
USB 2.0 flashdrives and hard-drives, with its USB socket supporting up to 500mA current drain. USB 3.0
drives (operating in USB 2.0 compatibility mode) may also be usable, but their compatibility will need to be
checked on a case-by-case basis.
Содержание kaled55 series
Страница 1: ......


