


Audio Language
Press OK or to enter. Then you can select the desired primary and secondary audio language
▶
(only adjustable if there is a signal).
Subtitle Language
Press OK or to enter. Then you can select the desired primary and secondary subtitle
▶
languages and turn on/off the hearing impaired function when this mode is on (only adjustable if
there is a signal).
Hearing Impaired
This item is used to set Hearing Impaired function ON or OFF. For hearing impaired users, this
function can assist them to know a certain scene or action through the caption instead of
hearing it.
Note: hearing impaired function works only when you are viewing programs that contain suitable
captions.
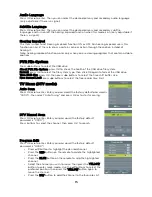
PVR File System
Press /
◀ ▶
buttons to select the USB drive.
Check PVR File System: press OK to check the health of the USB drive file system.
Format: press OK to select the file system type, then click OK again to format the USB drive.
Time Shift Size: press OK, then press /
◀ ▶
buttons to select the time shift buffer size.
Free Record Limit: press /
◀ ▶
buttons to select the free record time limit.
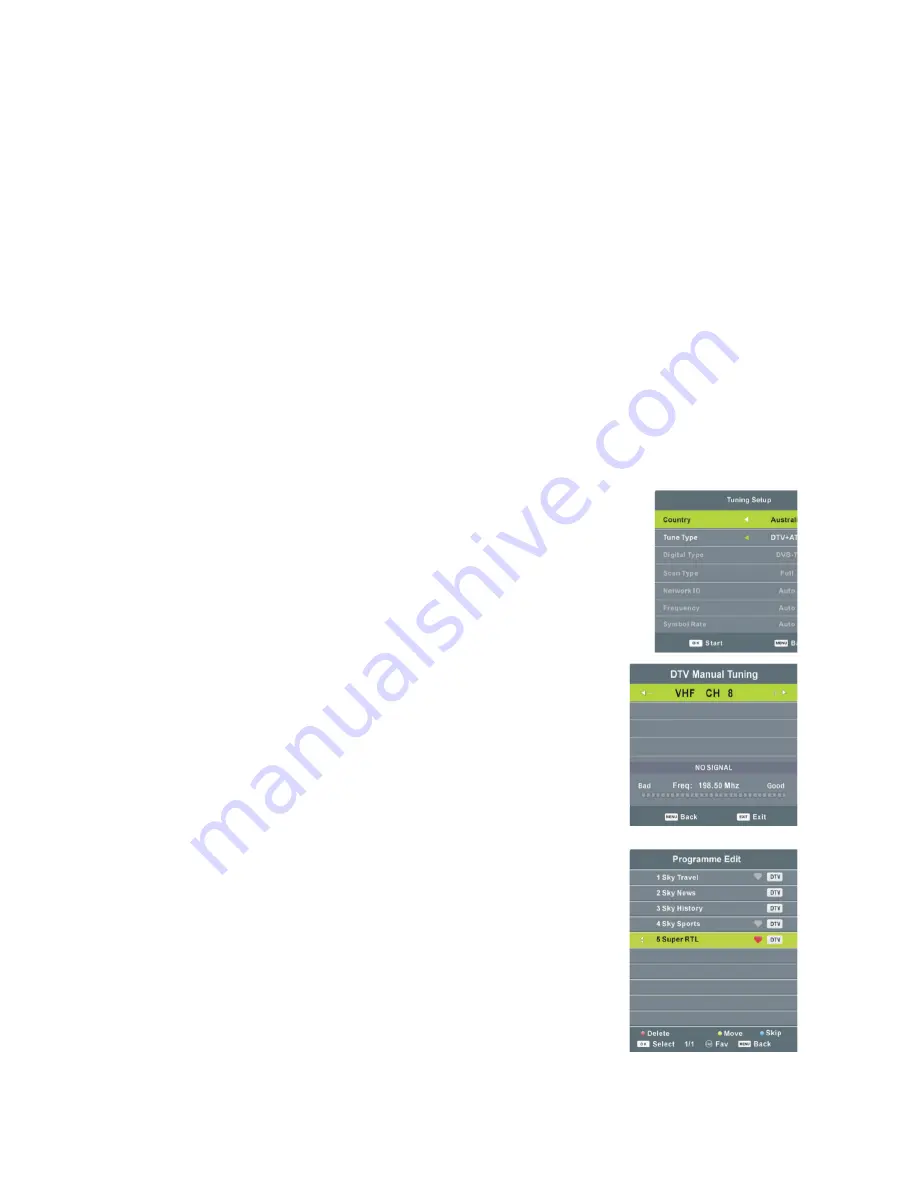
TV Menu (DTV mode)
Auto Scan
Press OK or
▶
to enter. Enter you password (the factory default password is
"0000"), then select 'Auto Tuning" and press OK or to start scanning.
DTV Manual Scan
Press OK or
▶
to enter. Enter your password (the factory default
password is "0000").
Press buttons to select the channel, then press OK to search.
Program Edit
Press OK or
▶
to enter. Enter your password (the factory default
password is "0000").
•
Press /
▲ ▼
buttons to highlight the desired channel.
•
Press the RED button on the remote to delete the highlighted
channel.
•
Press the BLUE button on the remote to skip the highlighted
channel.
•
Select the channel you wish to move, then press the YELLOW
button to enter move mode. Use the /
▲ ▼
buttons to select the
preferred position, then press the YELLOW button again to
move the channel.
•
Press the FAV button to add the channel to the favourites list.
15
Содержание KALED49UHDUA
Страница 1: ......
Страница 11: ...Remote Control 10...


