< >
PVR File System
OSD Language English
OPTION
Audio Languages
Subtitle Languages
Country Australia
Restore Factory Default
Check PVR File System Start
USB Disk
Format
Time Shift Size
Speed
Free Record Limit 6 Hr.
Select Disk C:
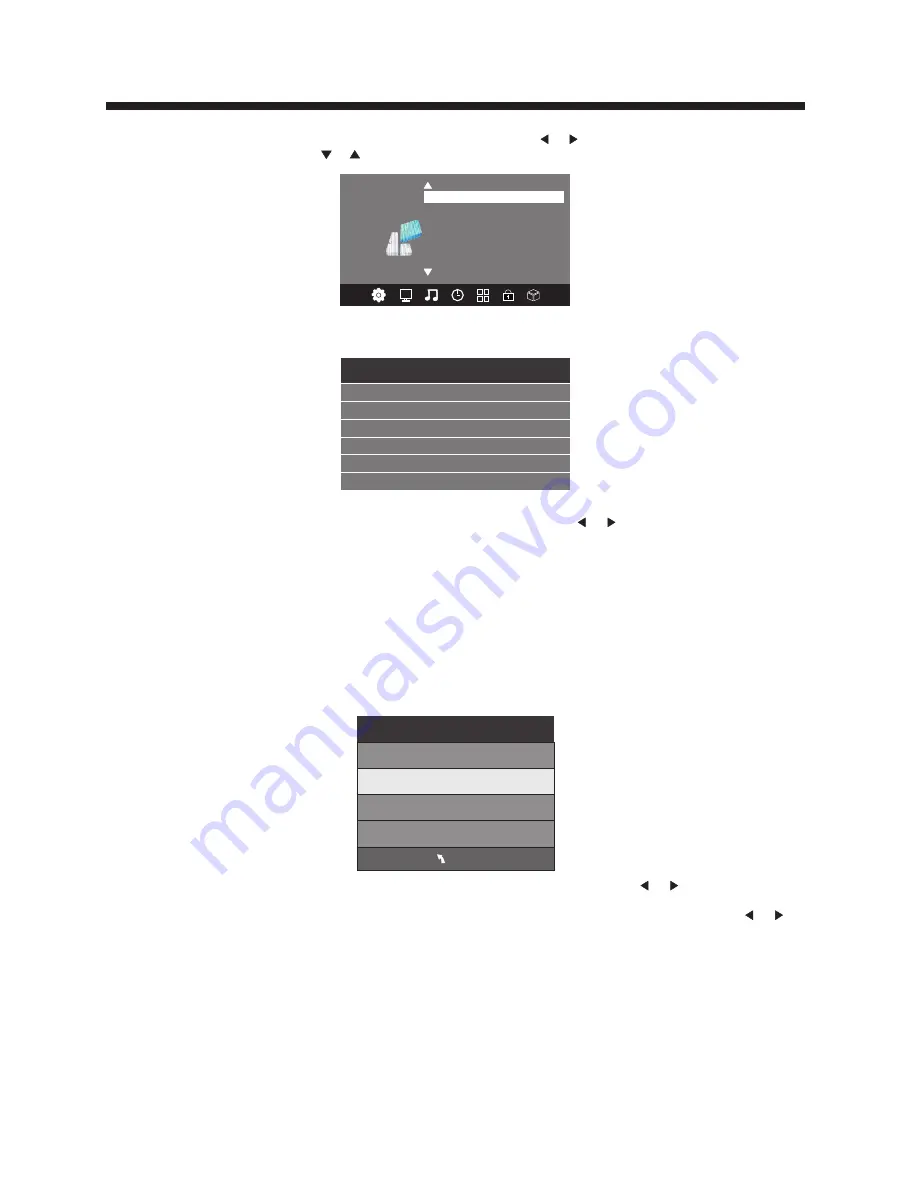
In PVR File System Menu you will be asked to format your USB Disk or Hard Disc for PVR Operation.
Select Disc
To view and select the USB file or the allocated space on your Hard Disc that you would like to record to,
press OK button to enter the Select Disc Sub- Menu and then press or buttons on your remote control
to select the particular partition/file for recording.
Press the Menu Button to return to the Main Menu.
Check PVR File System
Press the OK Button to start checking the file system of your USB storage or Hard Disk. Once Success
is shown after checking, you will then be able to begin recording or or use Time Shift function. If FAIL is
shown after checking, you then need to format your USB or Hard Disc and to be able to record or use
Time Shift.
Format
When you format your USB or Hard Disc partition any saved data will be lost. Please ensure
that you start with a blank partition on your Hard Disc to ensure you don't lose any data.
PVR File System Type
There are two types of format s: FAT32 and Hi Speed Format. You can press or buttons to choose
the type of formatting. If FAT32 is selected, you will have to format whole size of your USB or the
allocated partition for recording. If Hi Speed Format is selected, you will then be able to press or
buttons to select the size you wish to use (for example 1G, 10G, 20G... or All). Once a particular size is
booked for recording, you will be able to use the remaining space of your USB or Hard Disc for other data
storage.
Please note no matter which size is booked for recording, all the data in the allocated partition of the
Hard Disc will be lost after formatting.
Speed
This will show the supported speed of recording.
Record Limit
This will show the approximate time you will be able to record on to your USB or Hard Disc.
File System Size
PVR File System Type FAT32
MENU
PVR File System Size All
SD 13 Mins
HD 3 Mins
-15-
OPERATION
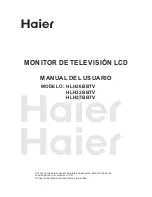
5.OPTION MENU
To enter the Option Menu, press MENU button and then press or buttons to select the Option Menu.
Once in Option Menu, press or buttons to select the settings you wish to adjust. Press MENU button
to return to the Main Menu.
NOTE:
Restore Factory Default will clear all the programs and password.
Содержание KALED24XXXYA
Страница 1: ...KALED24XXXYA USER MANUAL...