background image


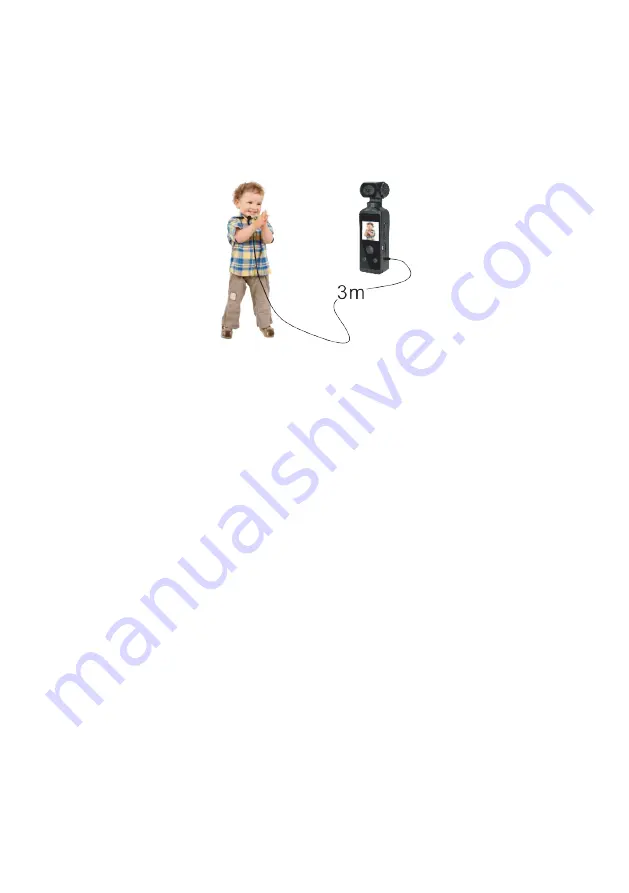
Using an external microphone  

An external microphone (up to a length of 3 metres, not included) can be used to produce 

clearer audio during video recordings.  
Plug the microphone into the Microphone input to connect it to the camera.  
This camera also supports the capability for both the microphone on the device and an 

external microphone to operate simultaneously.  


Media gallery 

Go to the Media Gallery icon on the main menu then press the Shutter button to open the 
Media Gallery. 


Press the Up and Down buttons to view captured photos and videos. 


Press the Shutter button to play/pause videos.   


Press the Power button to get a prompt to delete a photo or video. Press the Shutter 

button to confirm.  


Press the Menu button to return to the main menu.   


Settings 

Go to the Settings icon on the main menu, then press the Shutter button to open the 

Settings menu.  

1.


Press the Up and Down buttons to browse through the settings, then press the 
Shutter button to select the desired setting to change.   

2.


Press the Up and Down buttons to change the setting, then press the Shutter button 

to confirm. Repeat for any other settings you would like to change.    

3.


Press the Menu button to return to the main menu.   


Содержание KAKIPCAMYA

Страница 1: ...KIDS POCKET ACTION CAMERA YELLOW KAKIPCAMYA...

Страница 2: ......

Страница 3: ...era directly to high temperatures and strong sunlight Keep the camera out of reach from children while charging Do not allow water or any other liquid to touch the camera It is recommended to use high...

Страница 4: ...OVERVIEW Lens Speaker Display Up button Micro SD card slot Micro USB port Reset button Microphone input Charging LED Microphone Power button Down button Shutter button Menu button Working LED...

Страница 5: ...start charging The charging LED will illuminate when the camera is charging When fully charged the charging LED will disappear Micro SD card A Micro SD card is required to take photos videos With the...

Страница 6: ...again to turn the camera on Main menu Once the camera is turned on the display will show the main menu The menu includes the following modes Photo Used to take photos Video Used to record videos Medi...

Страница 7: ...u button to return to the main menu Video mode Go to the Video icon on the main menu then press the Shutter button to select the Video mode Press the Shutter button to start stop recording a video Onc...

Страница 8: ...and Down buttons to view captured photos and videos Press the Shutter button to play pause videos Press the Power button to get a prompt to delete a photo or video Press the Shutter button to confirm...

Страница 9: ...e into the USB port on the camera and your computer The computer should then detect the camera as a new connection Once accepted photos and videos can then be transferred Using the camera without a Mi...

Страница 10: ...t free location Screen size 1 3 inch Video resolution FHD 1920 x 1080 HD 1280 x 720 VGA 640 x 480 Photo size 5M 8M 16M 32M File format Video AVI Photo JPG Micro SD card support Up to 64GB Charging tim...

Страница 11: ...NOTES...

Страница 12: ...ion We hope that this user guide has given you the assistance needed for a simple set up For the most up to date guide for your product as well as any additional assistance you may require head online...

Отзывы: