


Photo Playback
Press the mode key to enter into the photo playback mode, with the format
showing JPG on top. Press OK to enter into single photo playback mode. In
single photo playback mode, press UP/DOWN to select the photos to be played
back.
Press the Mode Key to return to square up mode.
Delete, Protect and Volume
In playback mode, press the Menu Key to show “
” up volume, “
” delete and
“
” protection options. Select volume and press the OK key to set volume.
Press UP/DOWN to choose a volume level from 0 to 10, then press OK to
confirm.
Press the DOWN key to move to deletion options, then press OK to move into
either “ remove a single file” or “
delete all” options. Press the OK key to
choose which file you wish to delete.
To protect files, press the DOWN key to the protection options, then press OK
to enter into either “
Protect single file”, “
Unlock single file protection”,
“
Protect all files” or “
Unlock all files” options, then press OK to confirm.
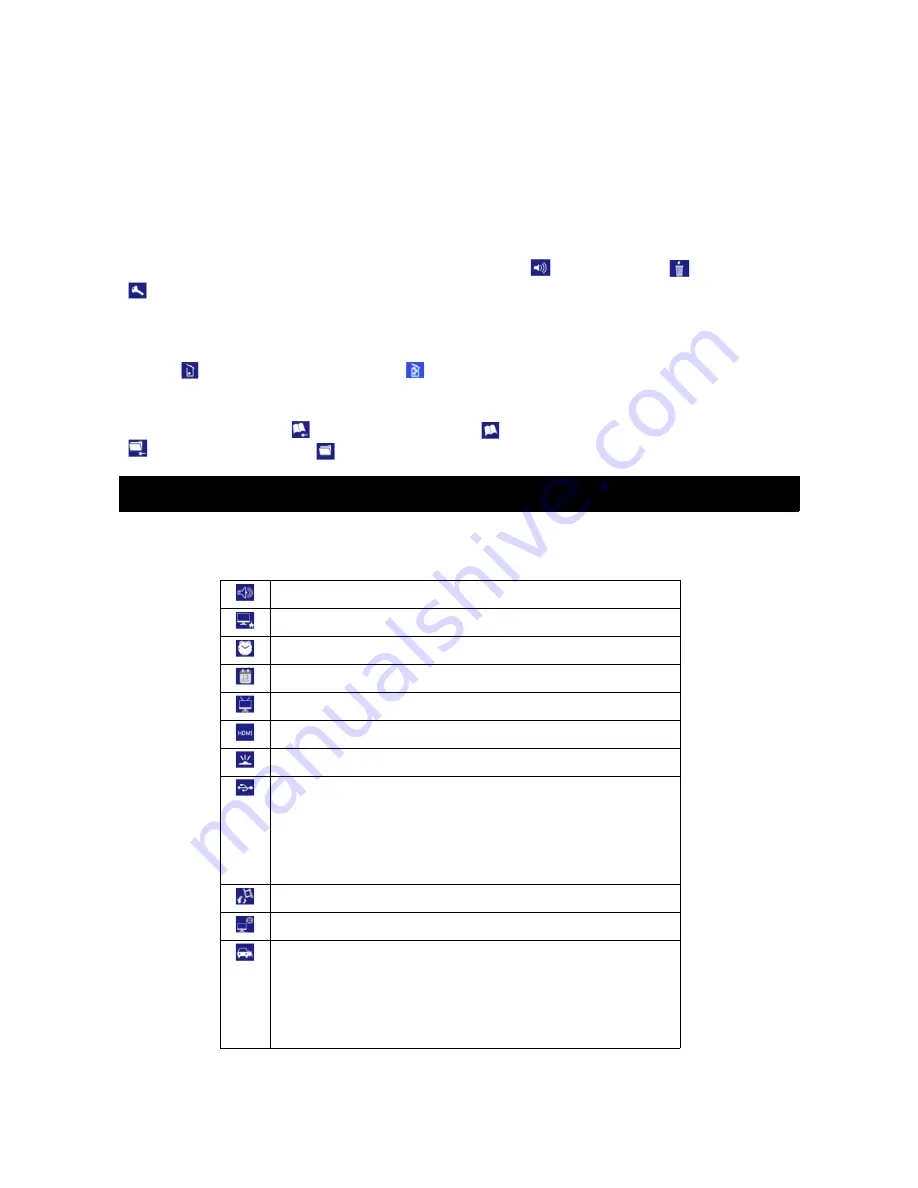
System Setup Options
Press the MENU key under VIDEO or PHOTO SHOOTING mode, then press the
DOWN key, entering into “General Settings”, then “system setup” icon. Press the
OK key to enter into setup options.
Beep : toggle key tones
Power off: power off time setting
Clock: set the current system clock
Date Format: setup/set date and time format
TV Setup: set NTSC/PAL
HDMI setup: set 1080i/720p
Flicker: set 50Hz/60Hz frequency
USB function: set MSDC/PCCAM. (To set up
PCCAM, under video or capture mode, press
the menu button and select “General Settings”
and select PCAM, then press OK. You should
now be able to use the unit as a webcam.)
LCD rotate: rotate the screen display
LCD power save: Off / 1 minute / 3 minutes
Protection Level: set the protection sensitivity
of the G-SENSOR (Off/1/2/3/4) with 4 being
the strongest. When the machine is knocked by
your hand or the shock of a crash it will
automatically lock the current file.
7
Содержание KADVR1CGPS
Страница 1: ......


