background image


20 

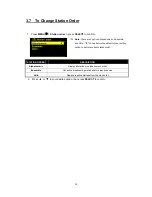
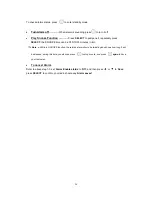
3.7    To Change Station Order 


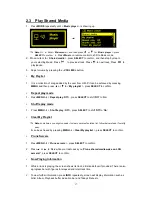
1.  Press 

MENU 

 < 

Station order 

>, press 

SELECT

 to confirm. 


Note

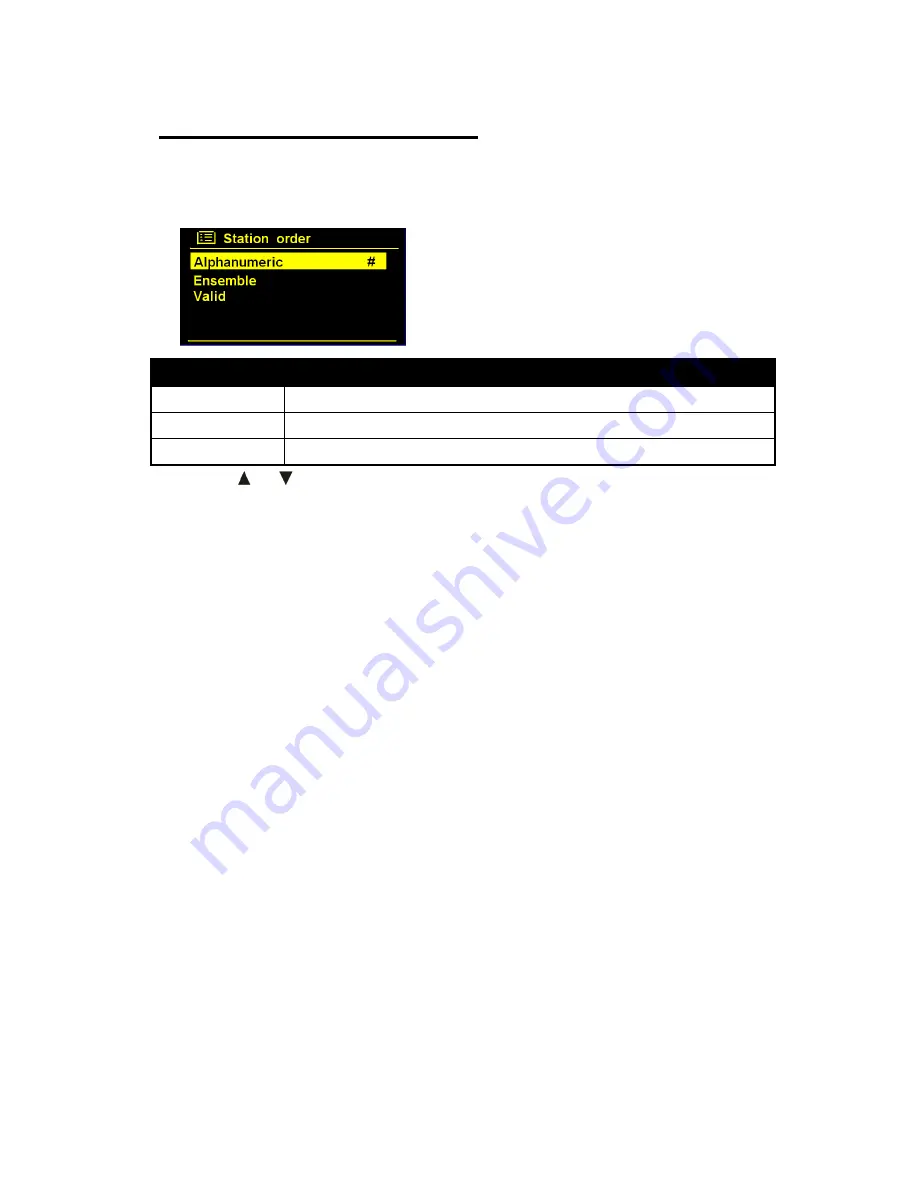
: There are 3 options: Alphanumeric, Ensemble 

and Valid. " 

# " 

shows before the default of your setting 

option to indicate current station order. 


STATION ORDER 

DESCRIPTION 

Alphanumeric 

Display all stations in alphanumeric order. 

Ensemble 

List active broadcasting stations before inactive ones. 

Valid 

Remove inactive stations from the station list. 

2.  Press    or 


to your desired option, then press 

SELECT

 to confirm. 


Содержание KADABXXDLXB

Страница 1: ...KADABXXDLXB USER MANUAL ...

Страница 2: ...s Operate turning controls and switches as instructed in the manual Before turning on the power for the first time make sure the power cord is properly installed For safety reasons do not remove any covers or attempt to gain access to the inside of the product Refer any servicing to qualified personnel Do not attempt to remove any screws or open the casing of the unit there are no user serviceable...

Страница 3: ...Access Code and FAQ Solutions 12 1 8 Station Updates 12 1 9 Add Station to My Favourites 13 1 10 Add Station to My Added Stations 14 1 11 Connecting to Wired Network 15 1 12 Shift to Wireless Network 15 Chapter 2 Music Player Mode 16 2 1 Setting up a Music Server 16 2 2 Sharing Media with Windows Media Player 16 2 3 Play Shared Media 17 Chapter 3 DAB Mode 18 3 1 Shift to DAB Mode 18 3 2 Shift to A...

Страница 4: ... Gerneration Operations 24 7 1 Setting Station Presets 24 7 2 Selecting a Preset Station 24 7 3 Sleep Function 24 7 4 Setting Clock 25 7 5 Setting Alarm 25 Chapter 8 System settings 27 8 1 Equaliser 27 8 2 Network setup 27 8 3 Language 27 8 4 Contrast 28 8 5 Factory Reset 28 8 6 Enter Setup Wizard 28 8 7 Software Update 29 8 8 SW Version and Radio ID 29 Chapter 9 Specifications 30 ...

Страница 5: ...5 Package Content Main unit and remote control ...

Страница 6: ...de use only Press to activate scan function Internet DAB and FM mode use only Press and hold to access to Save Preset press to Recall Preset MODE Press to shift to another mode MENU Press to enter main menu and other options INFO Internet DAB and FM mode use only Press to browse station informations VOLUME Press to adjust volume level SELECT During your radio engaged in setting mode Press or to up...

Страница 7: ...7 Unit Top Overview Unit Back Overview ...

Страница 8: ...ed to know the WEP or WPA code so you can get the Internet Radio to communicate with the network For security reason you may need enter the Radio s MAC address into your wireless access point To find the Radio s MAC address use menu items as follows Main menu System settings Network View settings MAC Address To enter the MAC address into your wireless access point you must read the instructions su...

Страница 9: ...then press or to your preferred hour format press SELECT to confirm 2 Press SELECT to confirm Update from Network and then follow your radio s instruction configure the following parameters Timezone select your local timezone Daylight saving On or Off Wlan region Most of Europe USA Canada Spain etc SSID In some cases radio may find more than one network Press or to your favorite one press SELECT t...

Страница 10: ...haracter Note a Backspace b The method of select or while cursor point to press to select then press to select or in turn c Select will return to previous track d Radio will automatically save the WEP WPA you ve input so you won t need to re enter these codes e After selected the final character of your password press to press SELECT to confirm 1 3 Access Wireless Network 1 After successfully setu...

Страница 11: ...step to the program you desired 1 5 Choose a Station Note if any step is not consistent with this instruction menu press to move backward 1 To access this order press MENU Station list Stations press SELECT to confirm 2 There are five options available for you to choose a station as in the above photo LOCATION enables you to choose from the radio stations provided by any country which you choose f...

Страница 12: ...ed program 1 7 Get Access Code and FAQ Solutions 1 Press MENU Station list Help press SELECT to confirm Note at this step you can also access radio FAQ solutions 2 Move cursor to Get access code press SELECT to confirm 1 8 Station Updates Occasionally radio will tell you that it is receiving an updated station list It does this automatically and periodically ensuring your radio always has the late...

Страница 13: ...atage of the various additional features and services offered by the Frontier internet Radio Portal 5 After above setting is done in order to have your radio access your new settings powering your radio off for several minutes is necessary 6 How to play My favourites Your need two steps a Press MENU Station list My favourites press SELECT to confirm b Press or to your favorite option and then pres...

Страница 14: ...f the various additional features and services offered by the Frontier internet Radio Portal 4 After above setting is done in order to have your radio access your new settings powering your radio power off for several minutes is necessary 5 How to play My added stations Your need two steps a Press MENU Station list My added stations press SELECT to confirm b Press or to your favorite option and th...

Страница 15: ...ress SELECT to confirm While cursor is at Internet Radio press SELECT to confirm Or press MODE repeatedly until Internet Radio is showing up stop pressing Step3 Access Network Continue the above steps few seconds later it will show If it fail to connect to network please follow a Check your Router see it working normally or not b Check your LAN cable make sure it hasn t been damaged c See the port...

Страница 16: ...ost common UPnP server is Windows Media Player 10 or later Alternatively other UPnP platforms and servers may be used To set up WMP for media sharing perform the following steps 1 Ensure that the PC is connected to the network 2 Ensure that the radio is powered on and connected to the same network 3 In WMP add to media library about the audio files and folders you want to share with your radio Lib...

Страница 17: ... play Off press SELECT to shift Off to On Shuffle play mode 1 Press MENU Shuffle play Off press SELECT to shift Off to On Clear My Playlist Note sometimes you might consider to clear your media station list follow below steps it s pretty easy It can be achieved by pressing MENU Clear My playlist press SELECT to confirm Prune Servers 1 Press MENU Prune servers press SELECT to confirm 2 Press or to ...

Страница 18: ... the previous screen at any time by pressing 3 Once the scanning is completed press or to cycle through station list and then press SELECT to access the program you want Note if no DAB signal is found in your area it may be necessary for you to relocate your radio 3 2 Shift to Another DAB Station 1 Press MENU and then press SELECT to enter Station list 2 Press or to cycle through stations list and...

Страница 19: ... SELECT again to exit this order 3 5 Prune Invalid 1 Press MENU Prune invalid press SELECT to confirm 2 Press or to YES press SELECT to confirm 3 6 DRC Dynamic Range Control You can set the level of the compression of stations to eliminate the differences in dynamic range or sound level between radio stations Note a Set DRC to off indicates no compression b set DRC to low indicates little compress...

Страница 20: ...hows before the default of your setting option to indicate current station order STATION ORDER DESCRIPTION Alphanumeric Display all stations in alphanumeric order Ensemble List active broadcasting stations before inactive ones Valid Remove inactive stations from the station list 2 Press or to your desired option then press SELECT to confirm ...

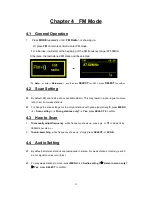
Страница 21: ... a poor signal to noise ratio hiss from weak stations To change the scan settings to stop only at stations with good signal strength press MENU Scan setting Strong stations only Yes press SELECT to confirm 4 3 How to Scan 1 To manually adjust frequency while frequency shows up press or to adjust it by 0 05MHz per step or 2 To auto searching while frequency shows up simply press SELECT or SCAN 4 4 ...

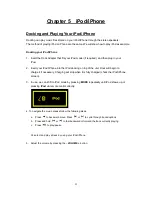
Страница 22: ...docking on top of the unit Dock will begin to charge it if necessary Charging will stop when it is fully charged check the iPod iPhone screen 3 In use we can shift to iPod mode by pressing MODE repeatedly until iPod shows up or pressing iPod via remote control directly 4 To navigate the music please follow the following steps a Press to backward move Press or to cycle through tracks options b Pres...

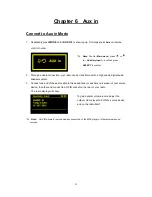
Страница 23: ...an be transformed into a high quality digital audio speaker system 3 Connect one end of the audio cable to the headphone or auxiliary out socket of your source device the other end connect to AUX IN socket on the rear of your radio The radio display will show To gain optimal volume levels adjust the output volume level on both the source device and on the radio itself Note AUX IN allows for quick ...

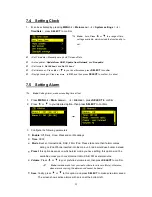
Страница 24: ...o relative mode Internet DAB or FM mode 2 Press your target PRESETS button among P1 P10 on your remote control then it is done Or through your main unit a Press PRESETS your radio will inform you Recall Preset and then press or to your desired option b Press SELECT to confirm 7 3 Sleep Function 1 Press SLEEP on remote control to activate sleep settings make sure alarm isn t approaching It can also...

Страница 25: ...ECT to confirm 2 Press or to your desired option then press SELECT to confirm 3 Configure the following parameters Enable Off Daily Once Weekends or Weekdays Time 00 00 Mode Buzzer Internet radio DAB FM or iPod Please take note that if alarm comes during no iPod iPhone inserted into the main unit radio would use buzzer instead Preset this option depends on which alarm mode you have setting this op...

Страница 26: ...ZE time can be 5 10 15 30 minutes in turn Note a While in SNOOZE function the relative alarm should be twinkling and shows how long it will be elapsed during this time you also can press to stop snooze and press again to have your radio play To cancel Alarm Refer to above step1 3 set Alarm Enable status to Off and then press or to Save press SELECT to confirm your radio should say Alarm saved ...

Страница 27: ...ing and fixing network problems 1 The path is press MENU Main menu System settings Network press SELECT to confirm 2 Press or to your selecting network setting option Want access to another Router Internet wizard Want to set up a WPS encrypted network PBC Wlan setup Want get MAC address Wlan region IP address etc View settings Want to shift to another wlan region Wlan region IP settings Subnet mas...

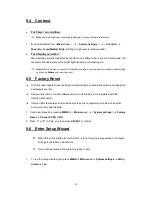
Страница 28: ...Reset A factory reset resets all user settings to default values so time date network configuration and presets are lost However the radio s current software version is maintained as is registered with the Internet radio portal Internet radio favourites can also be kept unless you re register your radio with another account on the portal website 1 It can be achieved by pressing MENU Main menu Syst...

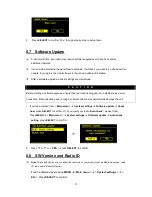
Страница 29: ...at your radio is plugged into a stable mains power connection Disconnecting power during a software update may permanently damage the unit It can be activated from Main menu System settings Software update Check now press SELECT to confirm Or if you want your radio Auto check please follow Press MENU Main menu System settings Software update Auto check setting press SELECT to confirm 2 Press or to...

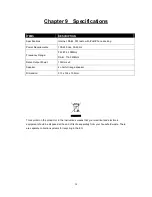
Страница 30: ... FM 87 5 108MHz DAB 174 240MHz Rated Output Power 10Wrms x 2 Speaker 4 ohm full range speaker Dimension 313 x 152 x 152mm This symbol on the product or in the instructions means that your electrical and electronic equipment should be disposed at the end of its life separately from your household waste There are separate collection systems for recycling in the EU ...

Отзывы: