background image

Doing more with your camera

12

www.kodak.com/go/easysharecenter

Using the self-timer

Use the self-timer when you want to be included in a picture or to ensure a steady 
Shutter button press. Place camera on a tripod or flat surface.

1

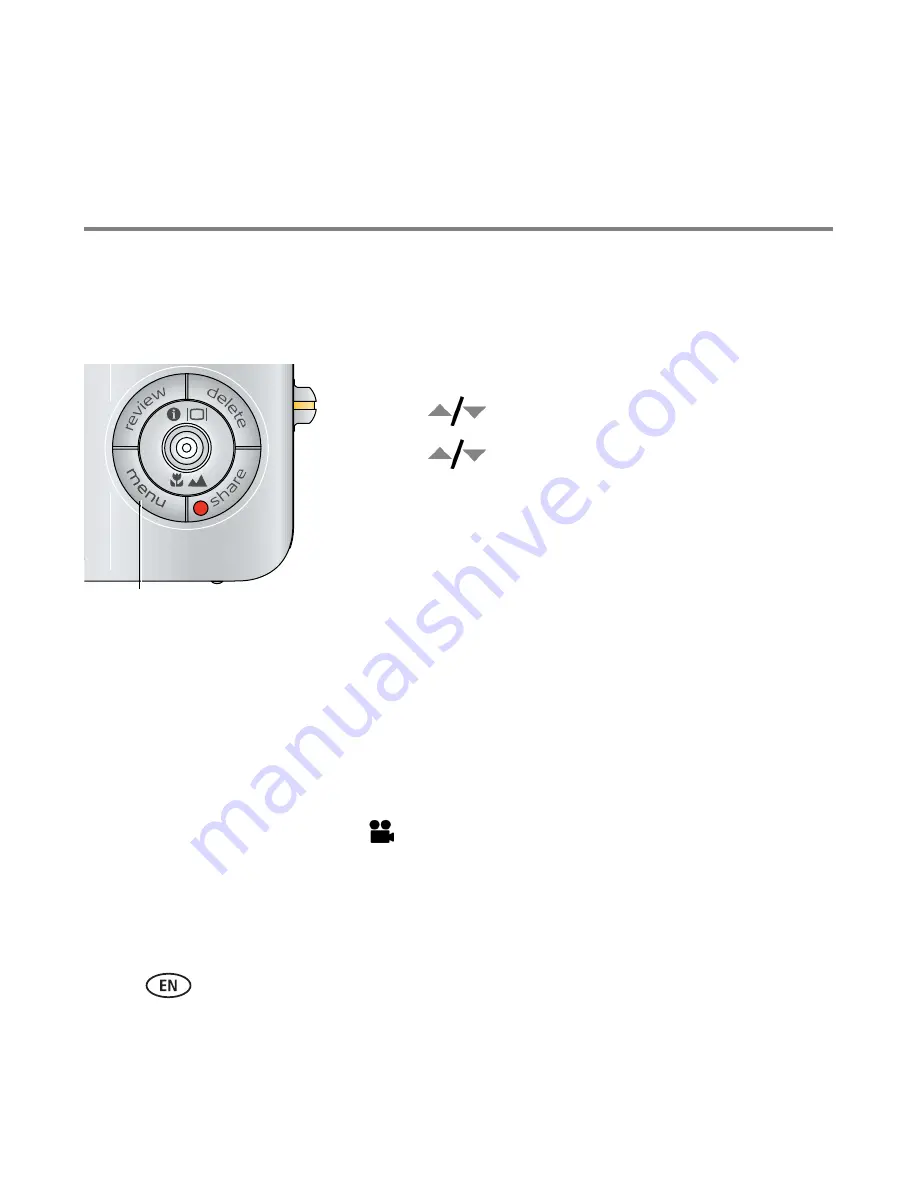
In any Still mode, press the Menu button.

2

Press 

 to highlight Self-Timer, then press OK.

3

Press 

 to highlight: 

10 seconds—

A picture is taken after a 10-second 

delay (so you have time to get into the scene).

2 seconds—

A picture is taken after a 2-second 

delay (for a steady, auto-shutter release on a tripod).

2 shot—

The first picture is taken after a 10-second 

delay. A second picture is taken 8 seconds later.

4

Press OK, then the Menu button.

5

Compose the scene.

6

Press the Shutter button 

halfway

, then 

completely down

.

The camera takes the picture/pictures after the delay.

Use the same procedure to take a video, but:

Press the Video mode button 

.

Press the Shutter button 

completely down

.

NOTE:  The video stops when no storage space remains. Only the 2- and 10-second options are available in 

video mode.

Menu

Содержание V1233 - Easyshare 12.1MP Digital Camera

Страница 1: ...Installing the software Loading the KLIC 7004 battery After installing the software return to this Getting Started Guide Before connecting any cables install the software that was included with your c...

Страница 2: ...ensure The USB cable is connected to a powered USB port The computer is turned on and not in sleep mode For more on USB charging visit www kodak com go USBcharging To purchase accessories visit www ko...

Страница 3: ...om go v1233support 3 ENGLISH Turning on the camera Setting the language date time 2 1 to change for previous next field OK to accept At the prompt press OK 2 1 to change OK to accept Language Date Tim...

Страница 4: ...recording press and release the Shutter button again 1 Press the On Off or the Auto SCN mode button to turn on the camera 2 Pictures Videos 1 2 Press the Video mode button Press the Shutter button hal...

Страница 5: ...us next Press Review Press again to exit Videos Play Press OK to pause unpause During playback to adjust the volume During playback to play at 2X speed press again for 4X During playback to reverse at...

Страница 6: ...use a dock see its Getting Started Guide For dock compatibility visit www kodak com go dockcompatibility To purchase accessories visit www kodak com go v1233accessories USB cable U 8 included USB A V...

Страница 7: ...kodak com go v1233support for the user s guide interactive troubleshooting and repairs interactive tutorials FAQs downloads accessories printing information product registration Keep learning Finish r...

Страница 8: ...Battery Charging lights 1 Zoom lever W T 7 Video mode button 2 Shutter button 8 Favorites mode button 3 Flash 9 Lens 4 Flash button 10 Video light Self timer light AF assist light 5 On Off button 11 D...

Страница 9: ...D 7 Share button 2 Speaker 8 Menu button 3 Review button 9 Battery compartment 4 Delete button 10 Slot for optional SD or MMC card 5 Joystick OK button press 11 Tripod socket 6 Strap post 12 USB A V O...

Страница 10: ...or MMC card to conveniently store more pictures videos visit www kodak com go v1233accessories CAUTION A card can only be inserted one way forcing it may cause damage Inserting or removing a card whil...

Страница 11: ...zoom in any picture taking mode to get up to 5X magnification beyond optical zoom You cannot use digital zoom for video recording Press Telephoto T until the slider is at the top of the optical zoom r...

Страница 12: ...to get into the scene 2 seconds A picture is taken after a 2 second delay for a steady auto shutter release on a tripod 2 shot The first picture is taken after a 10 second delay A second picture is ta...

Страница 13: ...ject In low light hold the camera steady or use a tripod Red Eye In Red Eye flash you can reduce red eye by using a preflash or by using automatic red eye reduction To make the camera Preflash turn th...

Страница 14: ...ee page 15 Video Capturing video with sound See page 4 Favorites Viewing favorite pictures Use this mode For Landscape Far away scenes The camera uses infinity auto focus Auto focus framing marks are...

Страница 15: ...2 Press to view scene mode descriptions The date time and the mode description appear If the mode description turns off before you finish reading it press the OK button 3 Press the OK button to choos...

Страница 16: ...re taking icons Camera mode Picture size Pictures time remaining Image storage location AF mode AF zone Exposure metering ISO White Balance Battery level Exposure compensation digital telephoto wide Z...

Страница 17: ...res videos 1 Press the Review button 2 Press for previous next picture video 3 Press the Delete button 4 Follow the screen prompts NOTE To delete protected pictures videos remove protection before del...

Страница 18: ...ption then press the OK button Using Kodak Perfect Touch technology Kodak Perfect Touch technology helps ensure better brighter pictures 1 Press the Review button 2 Press for previous next picture 3 P...

Страница 19: ...cture is created The original video is saved Press the Menu button to exit the menu Making a video action print From a video you can make a 4 9 or 16 up picture suitable for a 4 x 6 inch 10 x 15 cm pr...

Страница 20: ...view button to exit Review Selecting multiple pictures videos Use the multi select feature when you have two or more pictures videos to print copy delete etc Multi select is used most effectively in M...

Страница 21: ...res The camera is operating normally The camera estimates the number of pictures remaining after each picture is taken based on picture size and content Flash does not fire Check the flash setting and...

Страница 22: ...rline When removing the battery allow it to cool it may be hot Follow all warnings and instructions supplied by the battery manufacturer Use only batteries approved for this product to avoid risk of e...

Страница 23: ...ts and materials are warranted for the remaining warranty term of the original Product or 90 days after the date of repair or replacement whichever is longer Limitations This warranty does not cover c...

Страница 24: ...ny minimum requirements imposed by law even though defect damage or loss may be by negligence or other act Upgrading your software and firmware Download the latest versions of the software included on...

Страница 25: ...uraged to try to correct the interference by one or more of the following measures 1 reorient or relocate the receiving antenna 2 increase the separation between the equipment and the receiver 3 conne...

Страница 26: ...n environmental protection it is your responsibility to dispose of this equipment at a collection facility established for this purpose separate from municipal waste For more information contact your...

Страница 27: ...nner that complies with the MPEG 4 visual standard is prohibited except for use by a consumer engaging in personal and non commercial activities Eastman Kodak Company Rochester New York 14650 Eastman...

Отзывы: