


3-8
A-61670 August 2014
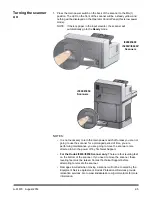
Scanning documents
The scanner must be enabled to scan documents. This is done through the
scanning application. After enabling the scanner, depending on how your
scanner is configured, your scanner will either automatically start scanning
(i.e., auto start), or will start scanning when you touch the
Start/Resume
button on the scanner. For more information, see the documentation that
supports your scanning application.
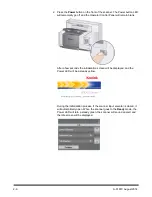
1. After you prepare your documents according to the guidelines in the
previous section, be sure your scan job is set up in your scanning
application as desired.
2. Place the documents you want to scan in the input elevator.
3. Start scanning via your scanning application.
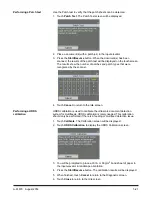
Depending on how your scanner is configured, the touchscreen will display
either the Scanning screen or the Paused screen.
Auto start options:
TWAIN
: Automatically start scanning
ISIS
: Automatically start transport
VRS
:
ADF
(Auto start enabled) /
Panel Feed
(Auto start disabled)
See the
Scanning Setup Guides for TWAIN, ISIS and VRS
for more
information.
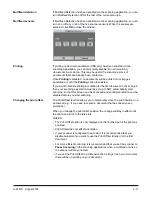
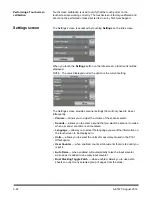
This screen will be displayed if the
auto start option is
enabled
in your
scanning application:
This screen will be displayed if the
auto start option is
disabled
in your
scanning application:
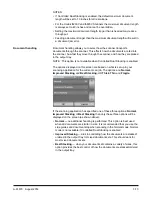
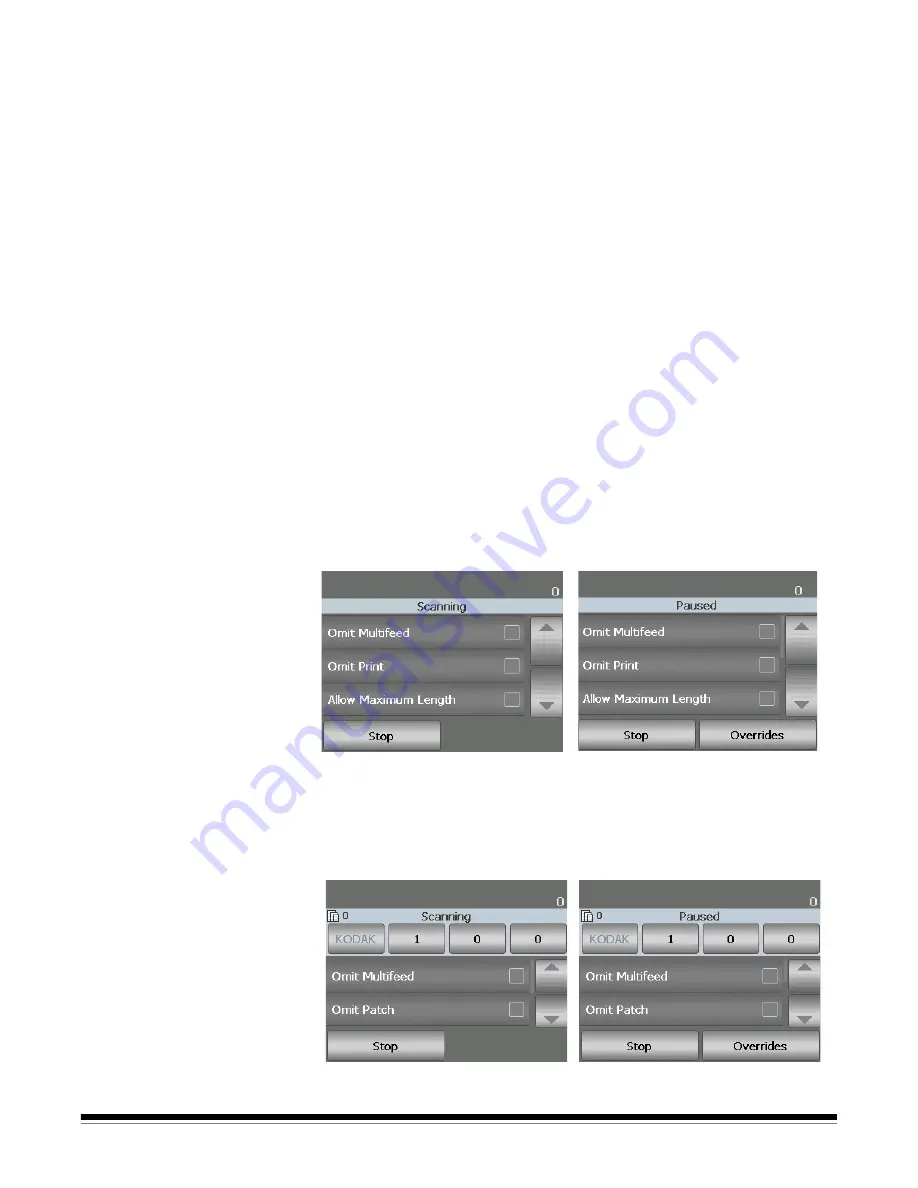
This screen will be displayed if the
indexing (i5850 Scanner only) and
auto start options are
enabled
in your
scanning application:
This screen will be displayed if the
indexing (i5850 Scanner only) and
auto start options are
disabled
in
your scanning application:


