


www.kodak.com/go/playtouchsupport
1
ENGLISH
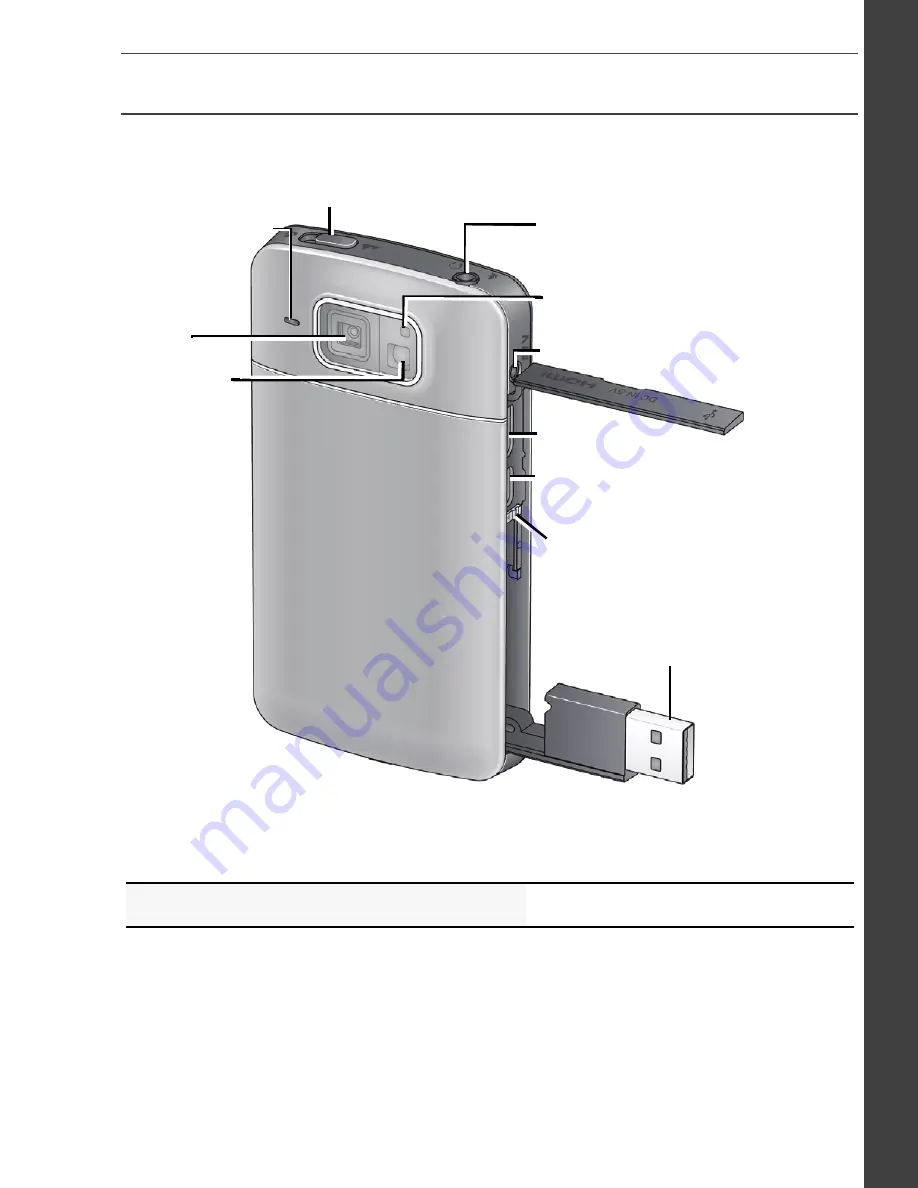
Front view
Download the Extended user guide
www.kodak.com/go/manuals
Jack for external
microphone, headphones
Video Recording LED
Lens
IR
receiver,
for
optional
remote
control
Microphone
Focus switch (Close-up/Normal)
A/V Out
HDMI Out
Micro USB, for battery
charging only
USB arm, for video and
picture transfer
USB Release
urg_01150.book Page 1 Friday, August 5, 2011 7:57 AM


