background image

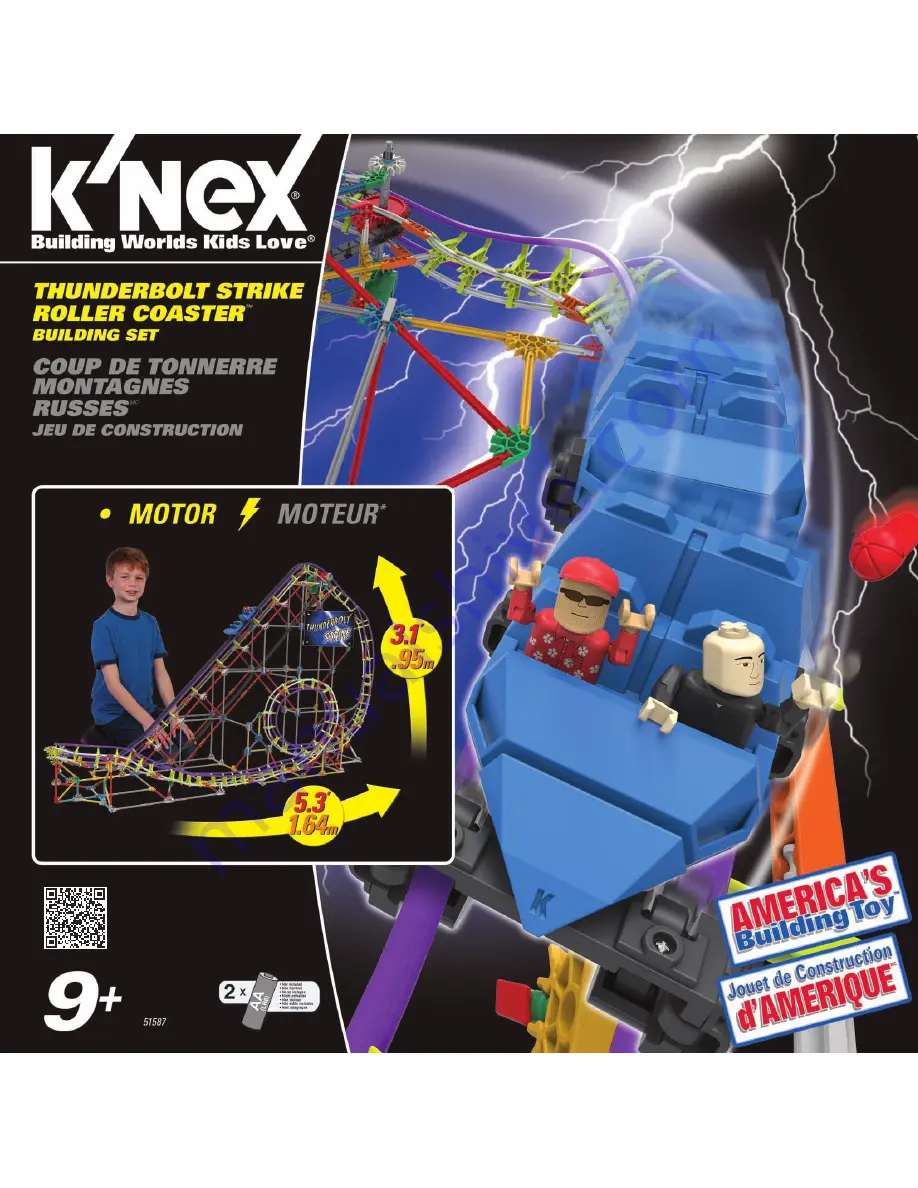
Содержание Thunderbolt Strike Roller Coaster

Страница 1: ......

Страница 2: ...instructions port e de la main Elles comportent d importantes informations de s curit Lis tous les avertissements et les instructions avant de commencer le montage et l exploitation du mod le AVERTISS...

Страница 3: ...uct and packaging responsibly The wheelie bin symbol indicates that the product and batteries must not be disposed of in the domestic waste as they contain substances which can be damaging to the envi...

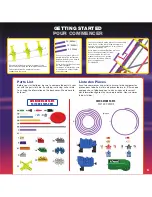
Страница 4: ...bles est une tige que tu peux courber pour faire des courbes Elle pourra tre attach e plus ais ment ton mod le si tu la plies en avant et en arri re plusieurs fois 2 1 Start Building To begin your mod...

Страница 5: ...he track in the wrong place you can use the splice pieces to re connect the track See page 39 Votre mod le contient 6 pi ces qui sont des clisses pour relier le circuit Si vous coupez le circuit au ma...

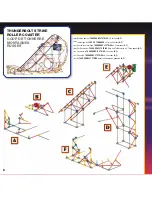
Страница 6: ...DERBOLT STRIKE en 6 secciones A F DE Der Rahmen der THUNDERBOLT STRIKE Berg und Talbahn wird in 6 Teilen gebaut A F IT Costruisce lo THUNDERBOLT STRIKE in 6 sezioni A F PT Constr i a THUNDERBOLT STRIK...

Страница 7: ...NG HAZARD SMALL PARTS Not for children under 3 years ATTENTION RISQUE D TOUFFEMENT PI CES DE PETITE TAILLE Ne convient pas aux enfants de moins de 3 ans ADVERTENCIA PELIGRO DE ASFIXIA PIEZAS PEQUE AS...

Страница 8: ...8 1 3 3 1 2 8...

Страница 9: ...es engrenages ensemble ES Engancha firmemente los engranajes DE Achte darauf dass das getriebe fest verzahnt ist IT Spingi gli ingranaggi insieme saldamente PT Engata as engrenagens conjuntamente e de...

Страница 10: ...ion A to section B FR Fixez la section A la section B ES Conecta la secci n A a la secci n B DE Verbinde Abschnitt A mit Abschnitt B IT Collega la sezione A alla sezione B PT Prende a sec o A sec o B...

Страница 11: ...11 9 9...

Страница 12: ...12 9 10 9 11 9 9 10 10 11...

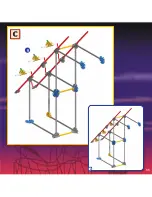
Страница 13: ...ions A B FR Fixez la section C aux sections A B ES Conecta la secci n C a las secci nes A B DE Verbinde Abschnitt C mit de Abschnitten A B IT Collega la sezione C alle sezioni A B PT Prende a sec o C...

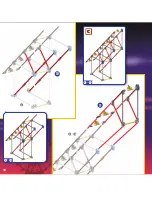
Страница 14: ...14 13 14 13 14 5...

Страница 15: ...15 13 15 13 17 13 15 13 14 15 16 17 15...

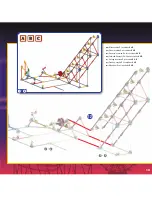
Страница 16: ...16 18 19 18 21 18 19 18 19 20 21...

Страница 17: ...e AA o LR6 nel motore PT Foram instaladas as pilhas 2 AA ou LR6 no motor NL Heb je er 2 AA of LR6 batterijen ingestoken 18 21 EN Push gears together tightly FR Pousse bien les engrenages ensemble ES E...

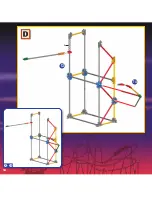
Страница 18: ...ez la sections D E aux sections A B C ES Conecta la secci nes D E a las secci nes A B C DE Verbinde Abschnitten D E mit de Abschnitten A B C IT Collega la sezioni D E alle sezioni A B C PT Prende a se...

Страница 19: ...19 25 27 25 25 26 25 26 6 4 11 2 2 2 25 26 27 19...

Страница 20: ...la section F aux sections A B C D E ES Conecta la secci n F a las secci nes A B C D E DE Verbinde Abschnitt F mit de Abschnitten A B C D E IT Collega la sezione F alle sezioni A B C D E PT Prende a s...

Страница 21: ...la section du circuit proprement dit ES Ahora empieza a construir la secci n de la pista DE Nun kannst du mit dem Bau der Schienen beginnen IT Ora inizia a costruire la sezione delle rotaie PT Seguida...

Страница 22: ...22 1 32 1 30 32 31...

Страница 23: ...lor blanco trasparentes van debajo del eje de engranaje DE Die durchsichtigen wei en flexiblen St be kommen unter die Schaltachse IT Le aste flessibili trasparenti bianche vanno sotto all asse degli i...

Страница 24: ...24 1 36 35 36 1 34 24...

Страница 25: ...25 1 38 1 36 37 38 25...

Страница 26: ...26 1 40 1 38 39 40...

Страница 27: ...27 1 42 1 40 41 42...

Страница 28: ...28 1 44 1 42 43 44 28...

Страница 29: ...29 1 46 1 44 45 46...

Страница 30: ...30 1 48 47 48 1 46...

Страница 31: ...31 1 50 1 48 49 50...

Страница 32: ...32 1 52 51 52 1 50...

Страница 33: ...lanco trasparentes van debajo del eje de engranaje DE Die durchsichtigen wei en flexiblen St be kommen unter die Schaltachse IT Le aste flessibili trasparenti bianche vanno sotto all asse degli ingran...

Страница 34: ...e 5 plg 1 524m gu a de Cadena se fija en el medio DE Das 5 1 524m lange Gleis Kettenf hrung wird an der Mitte befestigt IT La rotaia da 5 1 524m giuda della catena si attacca al centro PT O carril de...

Страница 35: ...slabones de la cadena en la misma direcci n DE WICHTIG Befestige die Kettenglieder immer in die gleiche Richtung IT IMPORTANTE Collegare le maglie della catena nella stessa direzione PT IMPORTANTE Pre...

Страница 36: ...debe pasar entre los engranajes y el conector del carril DE Die Kette muss wischen dem Getriebe und dem Gleisanschluss verlaufen IT La catena deve passare fra gli ingranaggi e il connettore della rot...

Страница 37: ...u eren Gleis an IT Inizia la rotaia esterna qui PT Come a o carril exterior aqui NL Begin hier met het buitenspoor EN Don t cut track yet FR Ne coupe pas encore la voie ES Todav a no cortes el carril...

Страница 38: ...nneren Gleis an IT Inizia la rotaia interna qui PT Come a o carril interior aqui NL Begin hier met het bunnenspoor EN Don t cut track yet FR Ne coupe pas encore la voie ES Todav a no cortes el carril...

Страница 39: ...ck um beide Enden von der Spur anzuschlie en Schwanken Sie die Position von der Klebestelle auf jeder Seite IT Usare un di Congiungere il pezzo per unire entrambe le fini della Pista Dubitare la posiz...

Страница 40: ...e junta y pon primero un lado del carro y luego el otro lado DE Die schienen zusammenpressen und erst eine seite des wagens einsetzen und dann die andere IT Premere le rotaie insieme e mettere prima u...

Страница 41: ...d finitivement Si tu coupes la voie trop courte tu peux te servir des pi ces de jonction pour les reconnecter Utilise un minimum de pi ces de jonction Vois la page 39 Applique la voie de sorte qu elle...

Страница 42: ...e aus dem Spielzeug entfernt werden bevor sie wieder aufgeladen werden das Wiederaufladen darf nur unter Aufsicht eines Erwachsenen stattfinden Nichtwiederaufladbare Batterien d rfen nicht wieder aufg...

Страница 43: ...problemas Carril importante que ajustes primeiro o Carril antes de o cortares finalmente Se cortares o Carril demasiado curto podes usar as pe as de Uni o para o conectar de novo Usa um n mero m nimo...

Страница 44: ......
Отзывы: