Mounting Continued
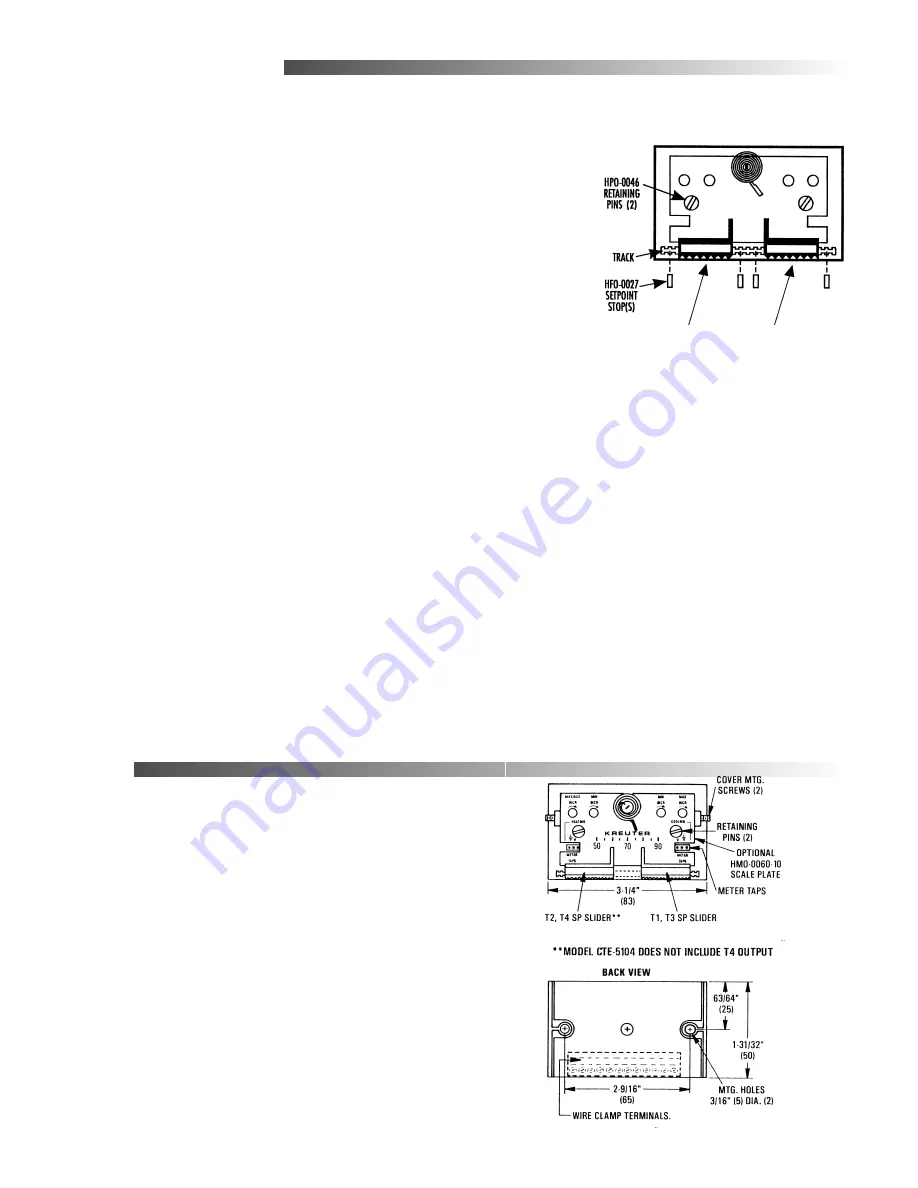
Setpoint Stops
Setpoints can be locked, or limited, using setpoint stops. Each HFO–0027
Setpoint Stop Strip (accessory sold separately) contains four stops.
1. Break a stop from the strip by gently folding on the seam with pliers.
2. Insert a stop into the slider track on one or both sides of the slider.
3. Repeat for second slider.
Scale Plates (required)
1. Install scale plate under the setpoint indicators.
2. Align mounting holes.
3. Insert the two retaining pins (HPO–0046, supplied) into the holes.
4. Twist pins 1/4 turn to firmly seat.
Covers
A symbol-coded label strip is included with the window style covers for
setpoint indication.
1. Remove the window by applying light pressure on its underside and
flexing upward.
2. Peel-off correct identity label from the strip of labels provided.
3. Position the label on the covers’ recessed area.
4. Snap window back in place.
5. Slide cover onto base.
6. Locate the set screw on each of the thermostats short sides.
7. Using a 1/16" hex/key wrench, turn set screws outward CCW until the
cover is secure. Turn set screws CW to remove cover.
Wiring
Removeable thumb adjusters. See NOTE
NOTE:
When using a blank cover, remove the finger pads on the setpoint sliders. Hold the slider in
place, insert a small flatblade screwdriver into the slot in the metal slider. Twist the screwdriver
slightly to pop the pad off.
Setpoint Stops
Refer to the project plans, as built drawings or table
on the oposite pages for more information.


