17
Suggestions for Use
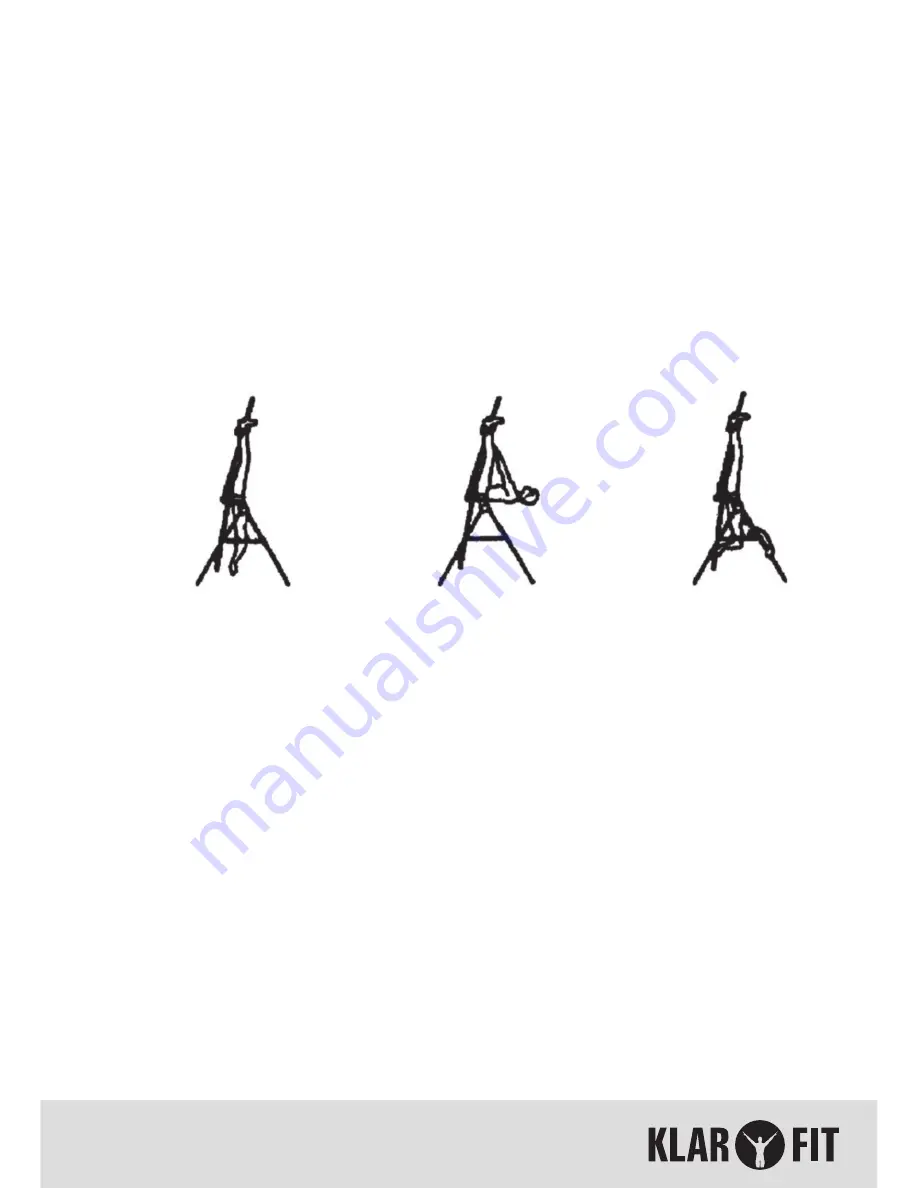
1. Start by lying fully back on the bed with your hands at your side, or resting on your
thighs.
2. Keeping your hands close to your body begins to raise your arms slowly allowing the
table to rotate backward. Stop, or 1ower your arms to control the downward rotation
of the table
3. Raise your arms until they are over your head, at this point, the inversion table will be
as fall back as it can go.
4. As you get more comfortable, rock the bed slowly by moving your arms up an own
slowly.
5. It is recommended that the inversion table be used for five or ten minutes each morning
and again each evening.
6. Return to the upright position by slowly moving your hands back down to your thighs.
Locking the Bed
When the inversion table rotates past the vertical Inverted position the bed becomes lo
-
cked. And will not return to the upright position in the usual way. The locked position allows
you to hang straight upside-down completely free of the bed. This position allows you to
enjoy all of the benefits of a handstand with none of the discomforts. It also allows you to
do exercises such as the waistband. To get into the locked position adjust the pivot arms so
the studs go through the top holes and then mount and use normally. When your arms are
completely extended above your head, the bed will rotate all the way to the locked position.
To recover from the locked position, simply grab the handlebars and pull on them while
pushing back on the heel holders with your legs. If you cannot reach the handlebars than
you can still recover by grabbing the back of the bed with one hand, the rear u-frame with
the other, and pulling your hands together.
Producer: Chal-Tec GmbH; Wallstraße 16; 10179 Berlin
Содержание Inversionsbank
Страница 1: ...10009800 Inversionsbank ...
Страница 3: ...3 Stückliste ...
Страница 4: ...4 Schrauben und Werkzeuge ...
Страница 5: ...5 Zusammenbau Schritt 1 ...
Страница 6: ...6 Schritt 2 ...
Страница 7: ...7 Schritt 3 Schritt 4 ...
Страница 11: ...11 Parts List ...
Страница 12: ...12 Hardware and Tools ...
Страница 13: ...13 Assembly Step 1 ...
Страница 14: ...14 Step 2 ...
Страница 15: ...15 Step 3 Step 4 ...
Страница 21: ...21 Montaje Paso 1 ...
Страница 22: ...22 Paso 2 ...
Страница 23: ...23 Paso 3 Paso 4 ...


