7
6
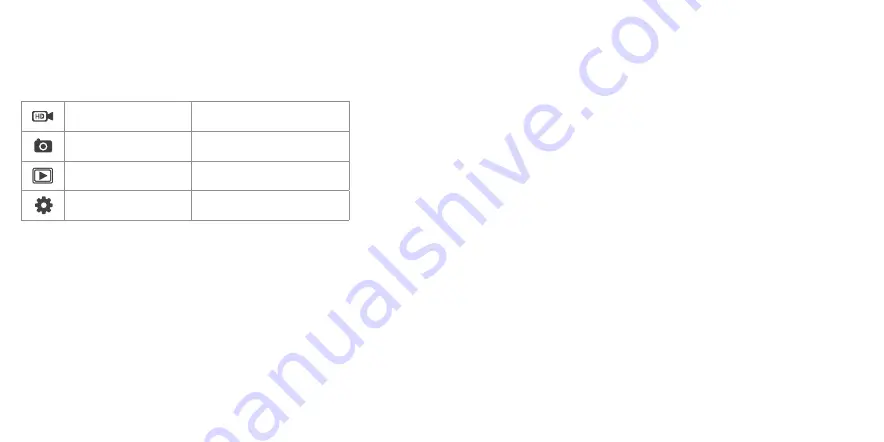
Camera Modes
Press Power/Mode (12) to cycle through modes.
1.
Once powered on, press Power/Mode (12) quickly once to skip to the next mode.
The corresponding icon will display in the top left of the screen to indicate the selected mode.
Video Mode
Record video clips
Photo Mode
Take still photos
Playback Mode
View photos and videos
Settings
Change settings
Video mode
The camera will start in Video Mode. Press Shutter/OK (11) to start/stop recording.
When recording the Touch Screen (10) will show a flashing red video dot next to the video icon
in the top left-hand corner and will display how long it has been recording for in the top
right-hand corner of the Touch Screen (10).
There are 3 preset video options available in Video Mode: Loop, Lapse, & Slow Motion.
Tap the central bottom of the Touch Screen (10) to access the shortcuts to these options.
Note:
The camera will stop recording and save automatically when the memory remaining or
battery power is empty.
Audio
Using the camera with the waterproof case will record less audible sound. For best audio
quality, use without the case, and make sure it does not get wet.
Photo Mode
1. Turn on the camera and press Power/Mode (12) once to select Photo Mode
2. Press Shutter/Ok (11) to take a photo
There are 3 preset options available in Photo Mode: Timer, Auto & Burst. Tap the central
bottom of the Touch Screen (10) to access the shortcut to these options.
Playback Mode
1. Press Power/Mode (12) to cycle to Playback Mode. (Alternatively, you can press the
playback icon in the bottom left corner of the Touch Screen.)
2.
Use Up (4) and Down (5) to navigate through your files or alternatively use the Touch function
by swiping swipe left to access the next saved item or right to access the previous file
3. When viewing a video, press Shutter/OK (11) to play and pause, or alternatively, press the
play icon displayed in the middle of the Touch Screen (10)


