background image

14

The doors will not close completely

Door blocked open? Move food packages away from door. 

Bin or shelf in the way? Push bin or shelf back into the 
correct position. 

The doors are difficult to open

Gaskets dirty or sticky? Clean gaskets and contact surfaces 
with mild soap and warm water. Rinse and dry with soft cloth.

Temperature and Moisture

Temperature is too warm

New installation? Allow 24 hours following installation for the 
refrigerator to cool completely.

Door(s) opened often or left open? Allows warm air to enter 
refrigerator. Minimize door openings and keep doors fully 
closed. 

Large load of food added? Allow several hours for 
refrigerator to return to normal temperature. 

Controls set correctly for the surrounding conditions? 
Adjust the controls a setting colder. Check temperature in 
24 hours. See “Using the Control(s).”

Temperature is too cold in refrigerator

Refrigerator air vent blocked? If the air vent located in the 
top, left, rear corner of the refrigerator compartment is 
blocked by items placed directly in front of it, the refrigerator 
will get too cold. Move items away from the air vent.

Ice storage bin in correct position? See “Ice Maker and Ice 
Storage Bin.” 

Controls set correctly for the surrounding conditions? 
Adjust the controls a setting warmer. Check temperature in 
24 hours. See “Using the Control(s).”

There is interior moisture buildup

NOTE: Some moisture buildup is normal.

Humid room? Contributes to moisture buildup.

Door(s) opened often or left open? Allows humid air to enter 
refrigerator. Minimize door openings and keep doors fully 
closed. 

Ice and Water

The ice maker is not producing ice or not enough ice

Refrigerator connected to a water supply and the supply 
shutoff valve turned on?
 Connect refrigerator to water 
supply and turn water shutoff valve fully open. 

Kink in the water source line? A kink in the line can reduce 
water flow. Straighten the water source line. 

Ice maker turned on? Make sure ice maker is on. See “Ice 
Maker and Ice Storage Bin.” 

New installation? Wait 24 hours after ice maker installation 
for ice production to begin. Wait 72 hours for full ice 
production.

Refrigerator door closed completely? Close the door firmly. 
If it does not close completely, see “The doors will not close 
completely.”

Large amount of ice recently removed? Allow 24 hours for 
ice maker to produce more ice. 

Ice cube jammed in the ice maker ejector arm?
Remove ice from the ejector arm with a plastic utensil.

Water filter installed on the refrigerator? Remove filter and 
operate ice maker. If ice volume improves, then the filter may 
be clogged or incorrectly installed. Replace filter or reinstall it 
correctly. 

Reverse osmosis water filtration system connected to 
your cold water supply?
 This can decrease water pressure. 
See “Water Supply Requirements.” 

The ice cubes are hollow or small

NOTE: This is an indication of low water pressure.

Water shutoff valve not fully open? Turn the water shutoff 
valve fully open.

Kink in the water source line? A kink in the line can reduce 
water flow. Straighten the water source line. 

Water filter installed on the refrigerator? Remove filter and 
operate ice maker. If ice quality improves, then the filter may 
be clogged or incorrectly installed. Replace filter or reinstall it 
correctly. 

Reverse osmosis water filtration system connected to 
your cold water supply?
 This can decrease water pressure. 
See “Water Supply Requirements.”

Questions remain regarding water pressure? Call a 
licensed, qualified plumber.

Off-taste, odor or gray color in the ice

New plumbing connections? New plumbing connections 
can cause discolored or off-flavored ice. 

Ice stored too long? Discard ice. Wash ice bin. Allow 
24 hours for ice maker to make new ice. 

Odor transfer from food? Use airtight, moisture proof 
packaging to store food. 

Are there minerals (such as sulfur) in the water? A water 
filter may need to be installed to remove the minerals. 

Water filter installed on the refrigerator? Gray or dark 
discoloration in ice indicates that the water filtration system 
needs additional flushing. Flush the water system before using 
a new water filter. Replace water filter when indicated. See 
“Water Filtration System.”

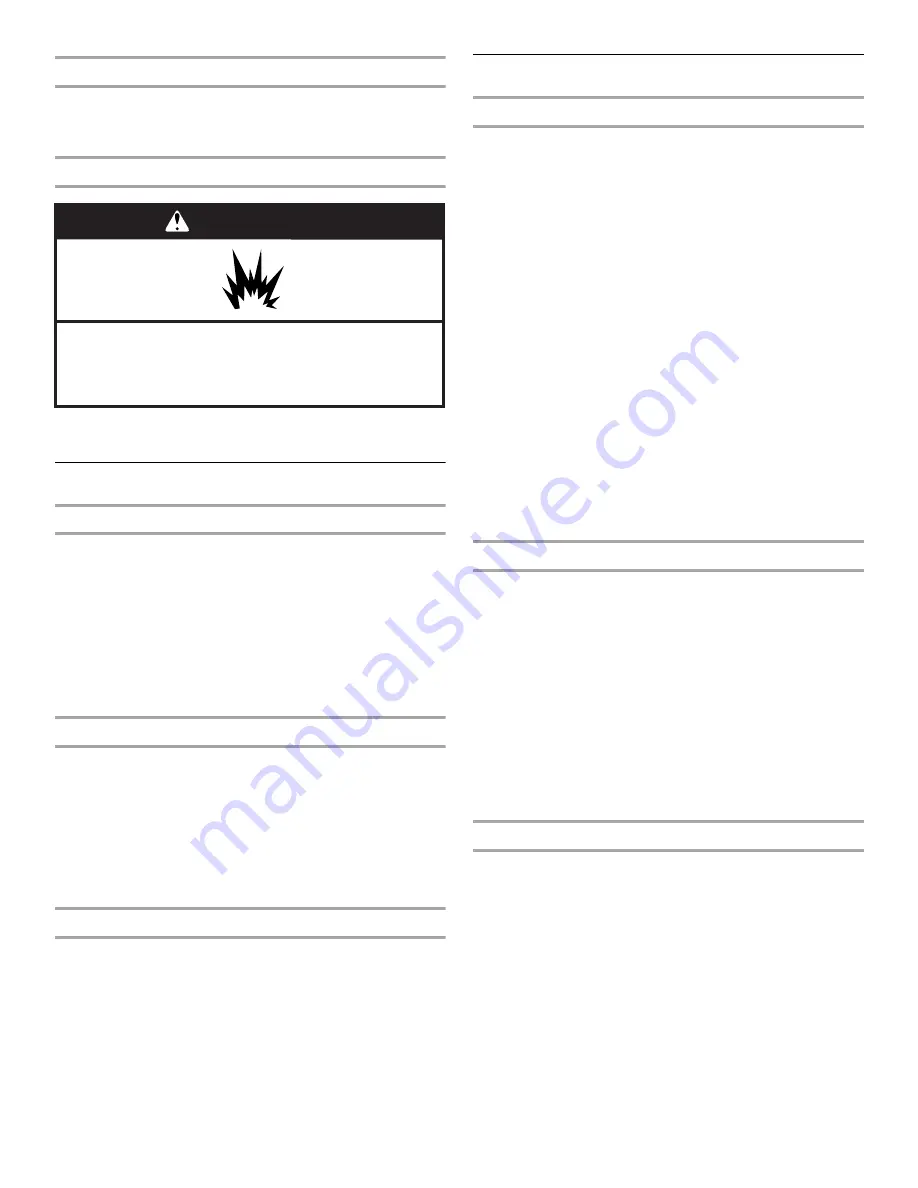
WARNING

Explosion Hazard

Use nonflammable cleaner.

Failure to do so can result in death, explosion, or fire.

Содержание KFIS25XVMS3

Страница 1: ... DATOS DEL RENDIMIENTO 36 GARANTÍA 38 SÉCURITÉ DU RÉFRIGÉRATEUR 40 INSTRUCTIONS D INSTALLATION 41 UTILISATION DU RÉFRIGÉRATEUR 47 ENTRETIEN DU RÉFRIGÉRATEUR 52 DÉPANNAGE 53 FEUILLES DE DONNÉES SUR LA PERFORMANCE 56 GARANTIE 58 REFRIGERATORUSER INSTRUCTIONS W10329364A You can be killed or seriously injured if you don t immediately You can be killed or seriously injured if you don t follow All safet...

Страница 2: ...utlet Do not remove ground prong Do not use an adapter Do not use an extension cord Disconnect power before servicing Replace all parts and panels before operating Remove doors from your old refrigerator Use nonflammable cleaner Keep flammable materials and vapors such as gasoline away from refrigerator Use two or more people to move and install refrigerator Disconnect power before installing ice ...

Страница 3: ...cal connection Recommended Grounding Method A 115 Volt 60 Hz AC only 15 or 20 amp fused grounded electrical supply is required It is recommended that a separate circuit serving only your refrigerator be provided Use an outlet that cannot be turned off by a switch Do not use an extension cord NOTE Before performing any type of installation cleaning or removing a light bulb turn Cooling OFF and then...

Страница 4: ...tions before you begin IMPORTANT If you turn on the refrigerator before the water line is connected turn off the ice maker to avoid excessive noise or damage to the water line Connect to Water Line 1 Unplug refrigerator or disconnect power 2 Turn OFF main water supply Turn ON nearest faucet long enough to clear line of water 3 Find a to 1 12 7 mm to 31 8 mm vertical cold water pipe near the refrig...

Страница 5: ...uctions are included later in this section after Final Steps Remove and Replace Handles 1 Using a or hex key loosen the two setscrews located on the side of each handle See Metal Handle graphics 1 and 2 2 Pull the handle straight out from the door Make sure you keep the screws for reattaching the handles 3 To replace the handles reverse the directions Remove Doors and Hinges IMPORTANT Remove food ...

Страница 6: ...ign the door so that the bottom of the refrigerator door aligns evenly with the top of the freezer drawer Tighten all screws 4 Reconnect the wiring plug on top of the left hand side refrigerator door 5 Reconnect the water line by pulling back the locking collar ring while firmly pushing the water line into the connector 6 Check for leaks Replace the top hinge covers Remove and Replace Freezer Draw...

Страница 7: ...t Top Hinges A Shim on some models C Hinge Screws B Bottom Hinge Bottom Hinges A B C Connections A Wiring Plug B Water Line Connection A 3 32 or 1 8 Setscrew A 3 32 or 1 8 Setscrew A A Metal Handle Metal Handle 1 2 A Hinge Cover Screw B Top Hinge Cover C 5 16 Hex Head Hinge Screws D Top Hinge B A C D A B ...

Страница 8: ... The doors can be opened and closed either separately or together There is a vertically hinged seal on the left refrigerator door When the left side door is opened the hinged seal automatically folds inward so that it is out of the way When both doors are closed the hinged seal automatically forms a seal between the two doors Usingthe Controls IMPORTANT The control panel is located on the front of...

Страница 9: ...door hinge seal Use in humid environments or when you notice moisture on the door hinge seal The refrigerator uses more energy when Humidity Control is on 1 On the main menu press the touch pad next to Options 2 Press the touch pad next to Humid Ctrl Is On to switch between ON and OFF Press the touch pad next to Done to lock in the desired setting and return to the main menu Vacation Mode The vaca...

Страница 10: ...ctivate the Auto On mode for the dispenser light 1 On the main menu press the touch pad next to User Settings 2 In each of the following screens continue to press the touch pad next to More Settings until Adjust LiteSensor appears on the display 3 Press the touch pad next to Lighter or Darker to adjust the setting between 1 darkest and 9 lightest Press the touch pad next to Done to lock in the des...

Страница 11: ...spensing water to avoid flooding To continue dispensing remove the container and press the dispensing lever again Allow 24 hours for the refrigerator to cool down and chill water Dispense enough water every week to maintain a fresh supply Allow 24 hours to produce the first batch of ice Discard the first three batches of ice produced Dispense Ice and Water The dispenser will dispense either water ...

Страница 12: ...h to avoid buildup of odors Wipe up spills immediately IMPORTANT Because air circulates between both sections any odors formed in one section will transfer to the other You must thoroughly clean both sections to eliminate odors To avoid odor transfer and drying out of food wrap or cover foods tightly To Clean Your Refrigerator NOTE Do not use abrasive or harsh cleaners such as window sprays scouri...

Страница 13: ...on Make sure the refrigerator controls are on See Using the Control s New installation Allow 24 hours following installation for the refrigerator to cool completely NOTE Adjusting the temperature controls to coldest setting will not cool either compartment more quickly The motor seems to run too much Your new refrigerator may run longer than your old one due to its high efficiency compressor and f...

Страница 14: ... maker installation for ice production to begin Wait 72 hours for full ice production Refrigerator door closed completely Close the door firmly If it does not close completely see The doors will not close completely Large amount of ice recently removed Allow 24 hours for ice maker to produce more ice Ice cube jammed in the ice maker ejector arm Remove ice from the ejector arm with a plastic utensi...

Страница 15: ... top of the refrigerator door See Refrigerator Doors and Drawer Reverse osmosis water filtration system connected to your cold water supply This can decrease water pressure See Water Supply Requirements Water is leaking from the dispenser system NOTE One or two drops of water after dispensing is normal Glass not being held under the dispenser long enough Hold the glass under the dispenser 2 to 3 s...

Страница 16: ...benzene Carbofuran Toxaphene Cysts Turbidity Asbestos Tetrachloroethylene and Lindane Substance Reduction Aesthetic Effects NSF Reduction Requirements Average Influent Influent Challenge Concentration Maximum Effluent Average Effluent Minimum Reduction Average Reduction Chlorine Taste Odor Particulate Class I 50 reduction 85 reduction 2 00 mg L 14 000 000 mL 2 0 mg L 10 At least 10 000 particles m...

Страница 17: ...rements Average Influent Influent Challenge Concentration Maximum Effluent Average Effluent Minimum Reduction Average Reduction Chlorine Taste Odor Particulate Class I 50 reduction 85 reduction 2 00 mg L 14 000 000 mL 2 0 mg L 10 At least 10 000 particles mL 0 06 mg L 370 000 mL 0 050625 mg L 196 666 mL 97 00 97 40 97 52 99 00 Contaminant Reduction NSF Reduction Requirements Average Influent Influ...

Страница 18: ...air labor if this major appliance is used for other than normal single family household use or when it is used in a manner that is inconsistent to published user or operator instructions and or installation instructions 2 Service calls to correct the installation of your major appliance to instruct you on how to use your major appliance to replace or repair house fuses or to correct house wiring o...

Страница 19: ...e refrigerator compartment For assistance or service in the U S A call 1 800 422 1230 In Canada call 1 800 807 6777 If you need further assistance you can write to KitchenAid with any questions or concerns at the address below In the U S A KitchenAid Brand Home Appliances Customer eXperience Center 553 Benson Road Benton Harbor MI 49022 2692 In Canada KitchenAid Brand Home Appliances Customer eXpe...

Страница 20: ...l símbolo de advertencia de seguridad Este símbolo le llama la atención sobre peligros potenciales que pueden ocasionar la muerte o una lesión a usted y a los demás Todos los mensajes de seguridad irán a continuación del símbolo de advertencia de seguridad y de la palabra PELIGRO o ADVERTENCIA Estas palabras significan Para reducir el riesgo de incendio choque eléctrico o lesiones personales al us...

Страница 21: ...acio de 1 2 54 cm detrás del refrigerador Si su refrigerador tiene fábrica de hielo asegúrese que hay espacio adicional atrás para las conexiones de la línea de agua Si Ud instala el refrigerador próximo a una pared fija deje un espacio mínimo de 2 7 0 cm entre el refrigerador y la pared para permitir que la puerta se abra bien ADVERTENCIA Peligro de Asfixia Remueva las puertas de su refrigerador ...

Страница 22: ...los con filtros de agua el filtro de agua desechable deberá reemplazarse por lo menos cada 6 meses Presión del agua Se necesita un suministro de agua fría con presión de agua entre 35 y 120 lbs pulg 241 y 827 kPa para hacer funcionar el despachador de agua y la fábrica de hielo Si tiene preguntas acerca de la presión del agua llame a un plomero competente autorizado Suministro de agua por ósmosis ...

Страница 23: ...y la tuerca de compresión sobre la tubería de cobre como se muestra Inserte el extremo de la tubería en el extremo de salida hasta donde sea posible Atornille la tuerca de compresión con el extremo de salida usando la llave de tuercas ajustable No apriete demasiado porque se puede quebrar la tubería de cobre 8 Coloque el extremo libre de la tubería en un recipiente o fregadero y ABRA el suministro...

Страница 24: ...chufe el refrigerador o desconecte el suministro de energía 2 Quite la rejilla de la base Tome la rejilla con firmeza y jálela hacia usted 3 Comenzando por la puerta derecha saque las piezas de la bisagra superior como se muestra en la ilustración Bisagra superior Levante y saque la puerta del refrigerador del pasador inferior de la bisagra 4 Saque la cuña del pasador de la bisagra inferior y guár...

Страница 25: ...sta sección Para quitar el frente del cajón 1 Abra el cajón del congelador en toda su extensión 2 Afloje los cuatro tornillos que sujetan las guías del cajón al frente del cajón Vea la ilustración Cómo quitar el cajón de enfrente NOTA Afloje los tornillos girándolos tres o cuatro veces Mantenga los tornillos en el frente del cajón 3 Levante el frente del cajón hacia arriba y fuera de los tornillos...

Страница 26: ...erta de la bisagra B Cubierta de la bisagra superior C Tornillos de cabeza hexagonal de 5 16 de la bisagra D Bisagra superior A Cuña en algunos modelos C Tornillos de la bisagra B Bisagra inferior Bisagras inferiores A B C Conexiones A Tornillo fijo de 3 32 ó 1 8 A Tornillo fijo de 3 32 ó 1 8 A A Manija de metal Manija de metal 1 2 B A C D A B A Enchufe de cableado B Conexión de la línea de agua ...

Страница 27: ...cerrar las puertas El compartimiento del refrigerador tiene dos puertas Las puertas pueden abrirse y cerrarse ya sea individualmente o a la vez Hay una junta con bisagras verticales en la puerta izquierda del refrigerador Cuando se abre la puerta izquierda la junta con bisagras se pliega hacia adentro automáticamente para quedar fuera del camino Cuando ambas puertas están cerradas la junta con bis...

Страница 28: ...e Alarma de la puerta hace sonar una señal audible cada pocos segundos cuando cualquiera de las puertas del refrigerador ha quedado abierta durante 3 minutos seguidos La alarma sonará hasta que se cierre la puerta o se apague la Alarma de la puerta 1 En el menú principal presione el botón táctil al lado de Opciones 2 Presione el botón táctil al lado de Alrm Puert Encend para cambiar de Encendido a...

Страница 29: ... Español Presione el botón táctil al lado de Confirmar para fijar el ajuste deseado y volver al menú principal Pantalla de temperatura La preferencia de pantalla de temperatura le permite cambiar en el panel de control de grados Fahrenheit a centígrados 1 En el menú principal presione el botón táctil al lado de Config Personal 2 Presione el botón táctil al lado de Grados F Encend para cambiar entr...

Страница 30: ...r Vea Uso de los controles Deje pasar 24 horas entre cada ajuste Recuerde La calidad del hielo dependerá de la calidad del agua que suministre a su fábrica de hielo Evite la conexión de la fábrica de hielo a un suministro de agua blanda Los químicos para ablandar el agua como la sal pueden dañar ciertos componentes de la fábrica de hielo y producir un hielo de muy baja calidad Si no se puede evita...

Страница 31: ...ontrol le recordará cuando es tiempo de pedir y reemplazar su filtro de agua mostrando un mensaje cuando despache agua Order Water Filter Pida un filtro de agua significa que ya casi es tiempo de cambiar el filtro de agua y Replace Water Filter Reemplace el filtro de agua significa que se debe instalar un nuevo filtro de agua Se recomienda reemplazar el filtro de agua cuando vea el mensaje Replace...

Страница 32: ...s como las piezas decorativas las tapas del despachador o las empaquetaduras de la puerta Si se produce contacto no intencional limpie la pieza de plástico con una esponja y detergente suave en agua tibia Seque meticulosamente con un paño suave 4 Una limpieza rutinaria del condensador no es necesaria en ambientes normales de operación en el hogar Si el ambiente es particularmente grasoso o polvori...

Страница 33: ... reducción es posible que escuche ruidos intermitentes en su nuevo refrigerador que no había notado en el modelo viejo A continuación se enumeran algunos sonidos normales con explicaciones Zumbido se escucha cuando la válvula de agua se abre para llenar la fábrica de hielo Sonido pulsante los ventiladores el compresor se están ajustando para obtener el máximo desempeño Sonido sibilante vibraciones...

Страница 34: ...tamente la válvula de cierre Hay una torcedura en la tubería de suministro de agua Una torcedura en la tubería puede reducir el flujo de agua Enderece la tubería de suministro de agua Está encendida la fábrica de hielo Asegúrese de que la fábrica de hielo esté encendida Vea Fábrica de hielo y depósito de hielo Es nueva la instalación Espere 24 horas después de la instalación de la fábrica de hielo...

Страница 35: ...bstruido o haberse instalado incorrectamente Reemplace el filtro o vuelva a instalarlo correctamente Está completamente cerrada la puerta del refrigerador Cierre la puerta con firmeza Si no se cierra completamente vea Las puertas no cierran completamente Ha quitado las puertas recientemente Asegúrese de que el conjunto de tubería alambre del despachador de agua se haya vuelto a conectar como es de...

Страница 36: ...educción de plomo mercurio atrazina benceno paradiclorobenceno carbofurano toxafeno quistes turbidez asbestos tetracloroetileno y lindano Reducción de sustancias Efectos estéticos Requisitos de reducción de NSF Promedio influente Concentración en el agua a tratar Máximo efluente Promedio efluente mínimo de reducción promedio de reducción Cloro sabor olor Clase de partículas I 50 reducción 85 reduc...

Страница 37: ...n de sustancias Efectos estéticos Requisitos de reducción de NSF Promedio influente Concentración en el agua a tratar Máximo efluente Promedio efluente mínimo de reducción promedio de reducción Cloro sabor olor Clase de partículas I 50 reducción 85 reducción 2 00 mg L 14 000 000 mL 2 0 mg L 10 Por lo menos 10 000 partículas mL 0 06 mg L 370 000 mL 0 050625 mg L 196 666 mL 97 00 97 40 97 52 99 00 R...

Страница 38: ...epuesto o mano de obra si este electrodoméstico principal se usa de un modo diferente al doméstico normal de una familia o cuando se use de un modo contrario a las instrucciones publicadas para el usuario u operador y o las instrucciones de instalación 2 Visitas de servicio técnico para corregir la instalación de su electrodoméstico principal para enseñarle a usar su electrodoméstico principal par...

Страница 39: ...gerador Si necesita ayuda o servicio técnico en EE UU llame al 1 800 422 1230 En Canadá llame al 1 800 807 6777 Si necesita asistencia adicional puede escribir a KitchenAid con sus preguntas o dudas a la dirección que aparece a continuación En los EE UU KitchenAid Brand Home Appliances Customer eXperience Center 553 Benson Road Benton Harbor MI 49022 2692 En Canadá KitchenAid Brand Home Appliances...

Страница 40: ...demark of KitchenAid U S A KitchenAid Canada licensee in Canada Marca registrada TM Marca de comercio de KitchenAid U S A usada en Canadá bajo licencia de KitchenAid Canada Marque déposée TM Marque de commerce de KitchenAid U S A Emploi sous licence par KitchenAid Canada au Canada 9 10 Printed in U S A Impreso en EE UU Imprimé aux É U ...

Отзывы: